
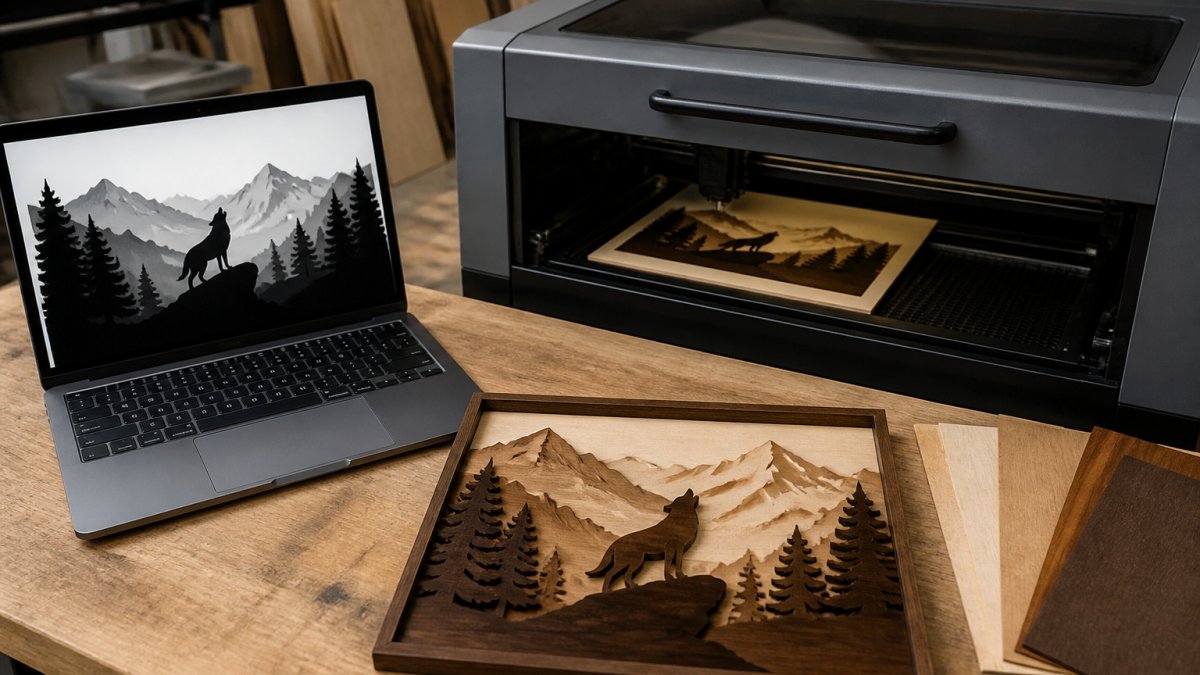
 comparison
Buy Laser File Conversion Software: 2026 Review
Table of Contents
- Quick Comparison: Laser File Conversion Software at a Glance
- Laser Layer Maker: Automated Depth-Layer Conversion for Etsy and Shopify Sellers
- LightBurn: All-in-One Control and Conversion for $99
- Inkscape: Free Vector Conversion and Node Editing
- Adobe Illustrator: Professional-Grade Vector Tools at $22.99/Month
- GIMP: Free Image Optimization for Laser Engraving
- How to Prepare Photos for Laser Engraving Before You Convert
- 1. Crop, straighten, and remove backgrounds
- 2. Adjust contrast and levels
- 3. Convert to grayscale and check midtones
- 4. Apply a dithering pattern matched to your machine
- 5. Export at the resolution your controller expects
- 6. Test-engrave a small section on scrap
- How preparation changes for layer-based depth conversion
- OS-specific notes
- Best Vector Conversion Software for Laser Cutters: Choosing the Right Engine
- Frequently Asked Questions
Last Updated: September 30, 2026
Quick Comparison: Laser File Conversion Software at a Glance
Buying laser file conversion software in 2026 means choosing between a dedicated depth-layer engine, an all-in-one control suite, and general design tools that export SVG and DXF.
| Software | Price | Best For | Direct Machine Control | Key Strength |
|---|---|---|---|---|
| Laser Layer Maker | Subscription (see site) | Photo-to-layer conversion for sellers | No | Automated engraving-depth layers |
| LightBurn | $99 one-time | All-in-one design and control | Yes | Hardware compatibility |
| Inkscape | Free | Vector conversion and node editing | No | Trace Bitmap tool |
| Adobe Illustrator | $22.99/month | Professional vector design | No | Image Trace engine |
| GIMP | Free | Photo optimization before conversion | No | Dithering and thresholding |
Laser Layer Maker: Automated Depth-Layer Conversion for Etsy and Shopify Sellers
Laser Layer Maker turns any photo, cartoon, or logo into laser-ready layered files. It splits an image into precise engraving-depth layers automatically, then exports to LightBurn SVG, DXF, or xTool Studio.
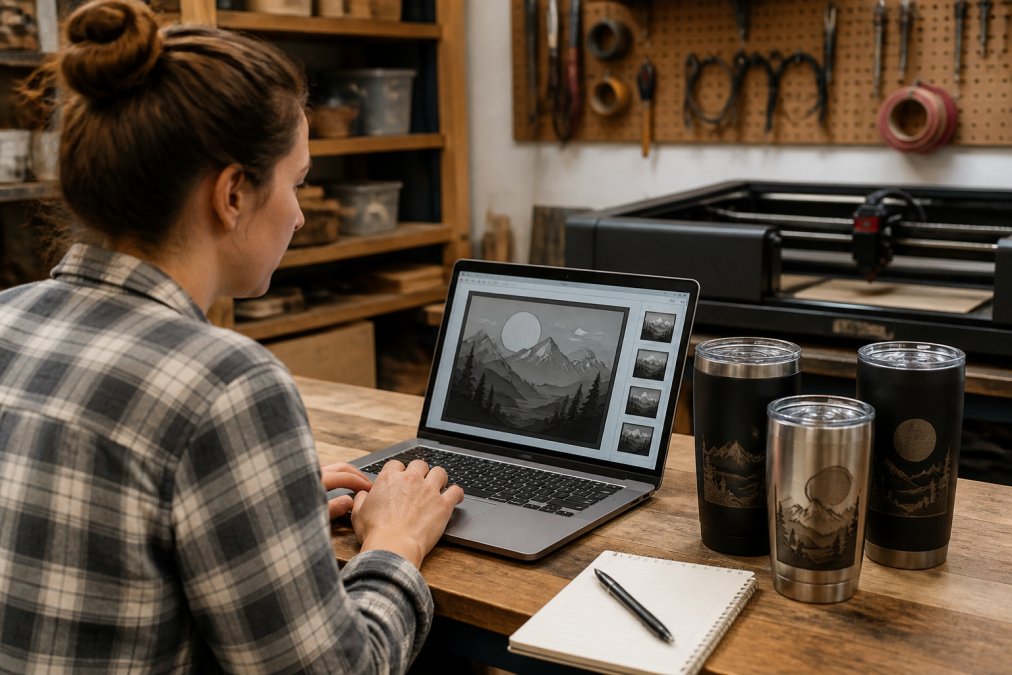
Where it fits best:
- Sellers running hundreds of photo-based orders who need repeatable layer output
- Creators who are comfortable in LightBurn or xTool Studio but not in a vector editor
- Shops producing corporate gifting and branded merchandise from logos
LightBurn: All-in-One Control and Conversion for $99
LightBurn is the industry default. For $99 one-time, it combines layout, vector editing, image tracing, and direct control of GCode, DSP, and Galvo controllers in one program.
Pros:
- Works with most laser brands without a separate driver
- Frequent feature updates and an active user community
- Built-in node editing saves a round trip to another program
Cons:
- Steeper learning curve than a basic design tool
- Photo-to-layer conversion is manual compared to a dedicated engine
Inkscape: Free Vector Conversion and Node Editing
Inkscape is a free, open-source vector editor whose Trace Bitmap feature converts raster images into vector paths and exports SVG, DXF, and EPS for laser workflows.
Adobe Illustrator: Professional-Grade Vector Tools at $22.99/Month
Illustrator is the industry standard for high-precision vector work at $22.99/month. Its Image Trace engine produces the cleanest raster-to-vector conversion of any general design tool.
GIMP: Free Image Optimization for Laser Engraving
GIMP is a free, open-source image editor that solves a different problem: before conversion, photos need contrast adjustment, dithering, and thresholding so the laser interprets tone correctly.
How to Prepare Photos for Laser Engraving Before You Convert
Preparing photos for laser engraving is a four-stage process: adjust tone, convert to grayscale, apply a dithering pattern matched to your machine, then export at the resolution your controller expects. Skipping any stage shows up as muddy or blown-out engraving.
1. Crop, straighten, and remove backgrounds
Isolate the subject. Backgrounds add noise that the laser reads as unwanted burn. For portraits, a clean cutout against a neutral background produces the sharpest result.
2. Adjust contrast and levels
Boost contrast so shadows and highlights separate cleanly. In GIMP, use Colors > Levels and drag the black and white input sliders inward until the histogram fills the range without clipping; in Photoshop or Affinity Photo, use a Levels or Curves adjustment layer. Aim for a full tonal range, not a high-contrast look.
3. Convert to grayscale and check midtones
Convert to grayscale and inspect the midtones. If the face in a portrait turns into a flat gray patch, the engraving will too. Pull midtone detail back with a gentle curves adjustment before moving on.
4. Apply a dithering pattern matched to your machine
This step separates a clean engraving from a gray rectangle: dithering converts continuous tone into a pattern of dots the laser can reproduce.
- Jarvis or Stucki dithering produces smooth gradients and is a good default for portraits on diode and CO2 machines.
- Floyd-Steinberg is faster and works well for logos and high-contrast graphics.
- Ordered or Bayer dithering gives a visible halftone pattern that some shops prefer for a vintage look.
- Threshold (no dither) is only appropriate for pure black-and-white line art.
5. Export at the resolution your controller expects
Resolution matters more than most guides admit. Start around 254 DPI for CO2 and diode machines and 300 DPI or higher for fiber and Galvo marking lasers, but the correct value depends on your machine's spot size and material. Exporting at 72 DPI from a phone photo and upscaling later produces soft edges no dithering will fix.
6. Test-engrave a small section on scrap
Run a small test on the same material you plan to use for the final job. Material batches vary, and a setting that worked last month may need adjustment.
How preparation changes for layer-based depth conversion
If you are converting a photo into multi-depth engraving layers rather than a single raster engrave, preparation changes. Instead of dithering for tone, you separate the image into discrete depth bands. Contrast and grayscale still matter, but edge definition becomes critical: clean, well-separated tonal regions convert into cleaner layers. A dedicated layer engine handles this automatically, which is why sellers often pair a layer converter with a basic editor like GIMP for pre-conversion cleanup.
OS-specific notes
GIMP, Inkscape, and LightBurn all run on Windows, macOS, and Linux, but performance and plugin availability vary. On macOS, recent GIMP versions run natively on Apple silicon; older builds required Rosetta and felt sluggish on large files. On Linux, Inkscape and GIMP come through most package managers, while LightBurn needs a manual install and a licensed USB dongle or software license.
Best Vector Conversion Software for Laser Cutters: Choosing the Right Engine
Choosing the best vector conversion software for laser cutters comes down to one question: do you need paths or layers? Vector tools trace outlines for cutting; layer-based tools build engraving depth for raster work. Cut-only projects work fine in Inkscape or Illustrator, but photographs, gradients, or multi-depth engraving can benefit from a dedicated layer engine.
Match the export format to your controller, not the other way around
File format support is not a checkbox. Controllers interpret the same extension differently, and a file that renders perfectly on screen can arrive with layers merged, curves flattened, or units scaled wrong.
- Ruida DSP controllers (common on CO2 cutters from brands like OMTech and Thunder Laser) read DXF and SVG reliably, but DXF layer separation is more predictable than SVG when you have multiple engrave depths. Export DXF when depth order matters.
- LightBurn imports AI, PDF, SVG, DXF, and PLT, and it is the most format-tolerant host for files coming out of a converter. If your workflow runs through LightBurn, SVG is the safe default because it preserves layer names and groups.
- Galvo and fiber controllers (common on marking lasers) often prefer DXF or PLT and can choke on complex SVG paths with embedded raster fills. Flatten and simplify before export.
- Diode machines running manufacturer software (xTool Studio, Ortur, AtomStack) usually accept SVG and PNG, but their importers vary in how they handle nested groups. Test one file before committing a production run.
- Older CAD-adjacent controllers still in service in sign shops read DXF natively and may not open SVG at all.
Hardware-agnostic converters protect you from a machine change
Small shops often buy a converter that outputs only to one brand's ecosystem, then upgrade the laser a year later and find the files no longer open. Hardware-agnostic tools that export standard SVG and DXF keep your file library portable across Ruida, LightBurn, Galvo, and diode machines.
Batch processing is where the real time savings live
Most guides treat conversion as a one-file-at-a-time task, but in production it rarely is. A shop filling 40 tumbler orders does not want to open, convert, and export 40 files individually.
Look for these capabilities when you buy:
- Folder-level or multi-file import so you can queue a whole order batch in one action
- Saved presets for material, depth count, and export format so repeat jobs do not require re-dialing settings
- Consistent layer naming across exports, which lets your control software apply the same cut and engrave settings to every file in the batch
- Command-line or watched-folder automation on advanced tools, which lets a converter process new files as they land in a directory
A short buying checklist
- Confirm your controller's preferred format before you buy, not after
- Prefer converters that export standard SVG and DXF over proprietary formats
- Verify batch or multi-file import if you run more than a handful of jobs per week
- Test one real file end-to-end on your machine before committing to a subscription
- Keep a hardware-agnostic converter in your toolkit so files survive a machine change
That last point is where most shops leave money on the table. Converting files one at a time, with a fresh setup between each, burns hours that batch processing would recover.
Frequently Asked Questions
Is there a free alternative to LightBurn for laser file conversion?
Yes. Inkscape and GIMP are free and handle vector conversion and raster optimization respectively. Inkscape's Trace Bitmap feature converts bitmaps to vectors, and GIMP's dithering filters prepare photos for engraving. Neither controls your laser directly, so you still need LightBurn or your machine's native software to send the job. For automated depth-layer conversion, Laser Layer Maker is a paid option that exports to LightBurn SVG, DXF, and xTool Studio.
What file formats are essential for laser engraving?
For cutting and vector work, SVG, DXF, and AI are the most widely accepted. For engraving raster images, PNG and BMP preserve the grayscale detail needed for dithering and depth maps. LightBurn accepts AI, PDF, SVG, DXF, and PLT, while xTool Studio works with SVG and DXF. Always confirm your laser's supported formats before buying laser file conversion software, because a format mismatch means manual rework.
Do I need specialized software to convert photos for laser cutting?
Not always. GIMP handles dithering and thresholding for free, and Inkscape traces outlines. However, if you need layered depth maps for multi-pass engraving on tumblers or signage, general editors require manual layer splitting. Laser Layer Maker automates that step by splitting images into engraving-depth layers and exporting to LightBurn SVG, DXF, or xTool Studio.
How do I convert a JPEG to a vector file for laser engraving?
Open the JPEG in Inkscape, select it, and use Path > Trace Bitmap. Choose Brightness Cutoff for simple logos or Multiple Scans for photos, then adjust threshold and smoothing. Delete the original bitmap, save as SVG or DXF, and import into LightBurn. For detailed photographs with gradients, tracing alone often produces messy nodes. In that case, a depth-layer tool or Illustrator's Image Trace with custom presets gives cleaner results.
Can I use free laser file conversion software for commercial work?
Yes. Inkscape and GIMP are open-source under licenses that permit commercial use, so you can sell products made with files converted in them. Check individual plugin or font licenses before bundling assets. Paid tools like LightBurn ($99 one-time) and Adobe Illustrator ($22.99/month) include commercial rights in their standard terms. Always review the specific license for any stock imagery you incorporate into designs.