
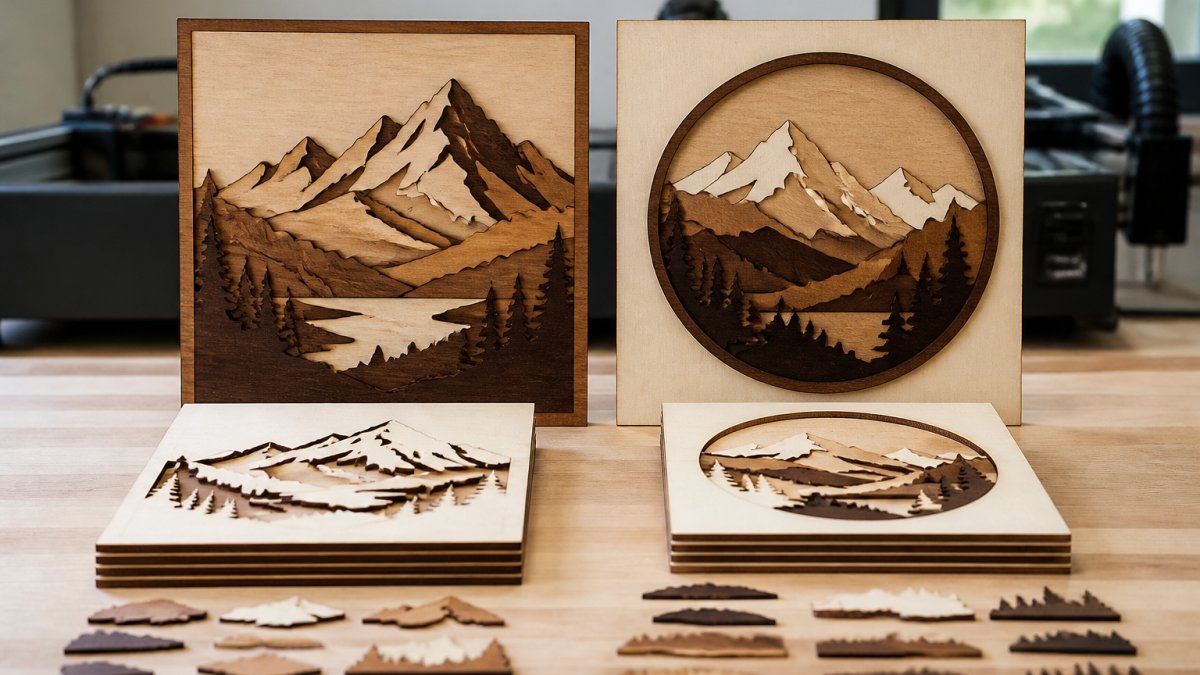
 comparison
EngraveIQ vs CraftGineer for Laser Files: 2026 Comparison
Table of Contents
- EngraveIQ vs CraftGineer for Laser Files: Quick Comparison
- EngraveIQ vs CraftGineer: Feature-by-Feature Breakdown
- Pricing Breakdown: Subscription Costs and Long-Term Value
- How to Prepare Photos for Laser Engraving: A Step-by-Step Workflow
- Step 1: Choose a high-contrast source image
- Step 2: Convert to grayscale and set levels
- Step 3: Increase resolution before conversion, not after
- Step 4: Match tonal bands to your laser's wattage
- Step 5: Split the image into engraving-depth layers
- Step 6: Assign power and speed per layer in your laser software
- Step 7: Run a test burn on scrap
- Desktop vs tablet: where each step actually happens
- DXF File Optimization for Lasers: What to Check Before You Cut
- Vectorize Image Software: Where EngraveIQ and CraftGineer Fit
- Where Each Tool Wins: Use-Case Recommendations
- Conclusion: Choosing the Right Tool for Your Laser Workflow
- Frequently Asked Questions
Last Updated: October 2, 2026
EngraveIQ vs CraftGineer for Laser Files: Quick Comparison
The engraveiq vs craftgineer for laser files decision comes down to one question: do you want a tool that traces designs, or one that prepares the full engraving-depth workflow?
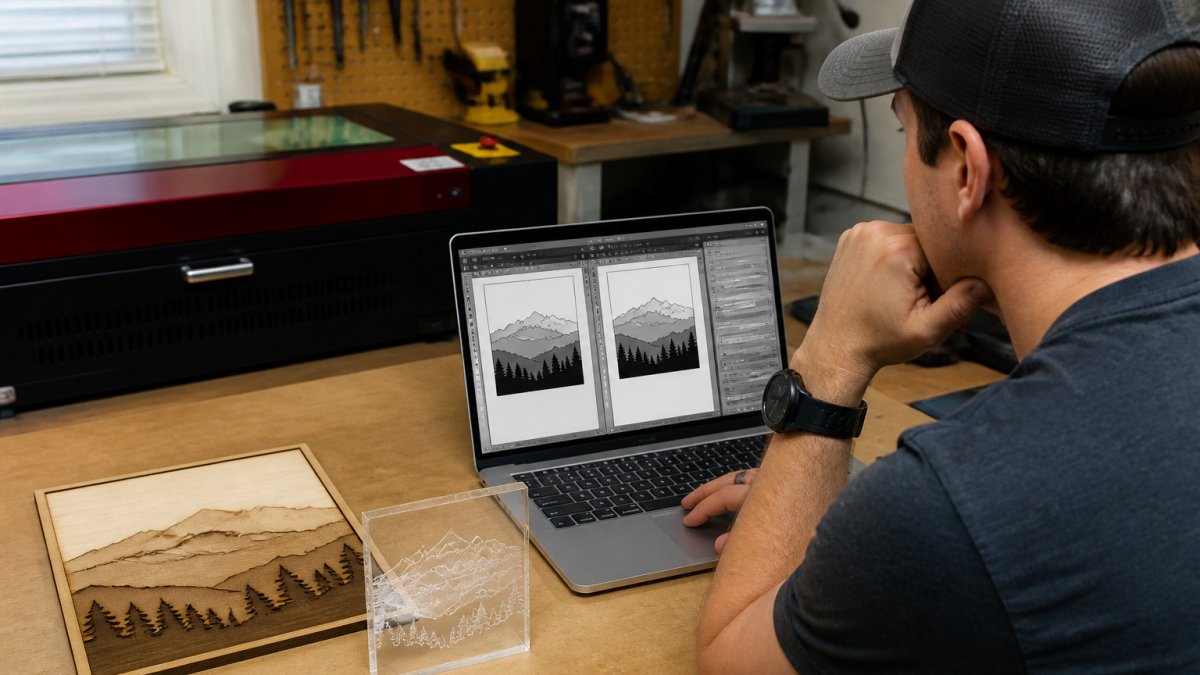
Here's the short version: if your projects are simple logos and vector cuts, either tool can work.
| Feature | EngraveIQ | CraftGineer | Laser Layer Maker |
|---|---|---|---|
| Photo-to-layered-file | Limited | Limited | Yes |
| Export formats | SVG, DXF | SVG, DXF | LightBurn SVG, DXF, xTool Studio |
| Engraving-depth layers | No | No | Yes |
| Best for | Simple vector tracing | Template-based designs | Photo and logo engraving |
EngraveIQ vs CraftGineer: Feature-by-Feature Breakdown
Both tools sit in the "prepare a file, then send it to your laser" category. The differences show up in the details.
File format support and export options
EngraveIQ and CraftGineer both export SVG and DXF, which covers most laser cutter software, and DXF file optimization for lasers depends on clean paths, closed shapes, and correct layer assignment. What neither does well is export directly into a layered format that maps to engraving depth. Laser Layer Maker exports to LightBurn SVG, DXF, and xTool Studio, so the file arrives ready for your machine settings.
Precision, resolution, and engraving depth control
Resolution is where these tools diverge. EngraveIQ handles raster engraving reasonably well for high-contrast images; CraftGineer leans on vector conversion, which suits logos but struggles with photographic gradients. Neither splits an image into separate engraving-depth layers, forcing you to manually assign power settings per shade, slow and inconsistent.
Workflow integration and automation
Automation is the weakest point for both. EngraveIQ and CraftGineer require manual file cleanup, node editing, and path simplification before export, and batch processing is not a core feature in either. For a shop running 5-10 custom orders a month, that adds up.
Pricing Breakdown: Subscription Costs and Long-Term Value
Most comparisons stop at the monthly sticker price. That is the wrong number. For laser file software, the number that decides whether a tool pays for itself is the three-year total cost of ownership, subscription fees plus the labor cost of the manual work the tool does not remove.
Here is the framework to run, using your own numbers rather than a vendor's marketing tier.
The three-year cost formula
Total cost = (monthly subscription × 36) + (hours of manual prep per month × 36 × your effective hourly rate)
The subscription half is easy to look up. The labor half is where the tools separate, and the half almost nobody calculates before they buy.
Why the labor half dominates
A common pattern among small laser shops is a 30-60 minute manual prep cycle per photo-engraved file: grayscale cleanup, vector trace, node repair, layer assignment, and a test burn.
A $20-$40 monthly subscription looks trivial next to that. The subscription is not the cost, the manual prep is, and the subscription only pays off if it removes a meaningful share of the prep hours.
Break-even by volume
| Files per month | Manual prep (45 min/file) | Automated prep (10 min/file) | Monthly hours saved |
|---|---|---|---|
| 2 | 1.5 hrs | 0.3 hrs | ~1.2 hrs |
| 5 | 3.8 hrs | 0.8 hrs | ~3.0 hrs |
| 10 | 7.5 hrs | 1.7 hrs | ~5.8 hrs |
| 25 | 18.8 hrs | 4.2 hrs | ~14.6 hrs |
At two files a month, a manual workflow is genuinely cheaper, the subscription cannot earn back its own fee. Between five and ten files a month, labor savings overtake the subscription cost for most shops, and the gap widens fast above that.
The hidden cost of subscription churn
Subscription tools carry a risk one-time-purchase tools do not: if you stop paying, you typically lose access to the workflow, not just updates. Exported files are yours, but regenerating or re-layering a project requires an active plan. When modeling three-year cost, factor in whether you expect the same volume in year three, a shop that scales down and cancels may have to rebuild its prep process from scratch.
What to actually compare
Rather than comparing two monthly prices, compare two cost-per-finished-file figures:
- Estimate your manual prep time per file in minutes.
- Multiply by your effective hourly rate, divided by 60.
- Add the per-file share of any subscription (monthly fee ÷ files per month).
- Do the same for the automated workflow.
The tool with the lower cost-per-finished-file at your real volume is cheaper, regardless of sticker price. For current rates on any specific plan, check the vendor's pricing page, but run the labor math first, because that is the number that actually moves.
How to Prepare Photos for Laser Engraving: A Step-by-Step Workflow
Preparing a photo for engraving is the step most beginners rush, and it shows in the final burn. The part almost every guide skips is that the right prep depends on your laser's wattage: a file tuned for a 10W diode will scorch on a 40W CO2 and look washed out on a 5W diode.
Step 1: Choose a high-contrast source image
Pick an image with clear subject separation and a full tonal range. Flat, low-contrast phone photos force you to manufacture contrast later, which crushes detail. Shoot or source at the highest resolution available.
Step 2: Convert to grayscale and set levels
Convert to grayscale and pull the black and white points in until shadows and highlights are distinct without clipping. This determines how many usable depth bands your image has, an image with only midtones will produce a flat engraving no matter what software you use.
Step 3: Increase resolution before conversion, not after
Upscale while the image is still a raster, once it becomes vector paths, upscaling only multiplies nodes. A common target for photo engraving is 300 DPI at final print size; below roughly 200 DPI, banding becomes visible in gradients.
Step 4: Match tonal bands to your laser's wattage
This is the step the other guides leave out. The number of engraving-depth layers you can actually resolve is limited by your machine:
- 5W diode: narrow power window, slow feed. You can typically resolve only a few distinct depth bands before the material saturates. Keep the layer count low and lean on dithering for smooth gradients.
- 10W diode: the most common hobby and small-shop class. A moderate number of depth bands works well; this is the sweet spot for layered photo engraving.
- 20W+ diode or 40W CO2: wide power range and fast feed. You can push more depth bands and higher contrast, but you must lower power per band or you will char fine detail.
The practical rule: more wattage means you can use more layers, but you must reduce the power assigned to each one. A file built for a 10W machine and run unchanged on a 40W CO2 will burn through the lightest bands.
Step 5: Split the image into engraving-depth layers
Split the grayscale image into tonal bands, each mapped to a power/speed pair. This separates a flat etch from a dimensional engraving. Doing it by hand in a vector editor is possible but slow and inconsistent across a batch.
Step 6: Assign power and speed per layer in your laser software
In LightBurn or xTool Studio, each layer gets its own power and speed. Keep a written record of settings that worked for each material and wattage, this becomes your preset library and removes guesswork from repeat jobs.
Step 7: Run a test burn on scrap
Always test on the same material and thickness as the final piece. Power settings do not transfer cleanly between plywood, acrylic, and coated tumblers.
The mistake I see most often is converting to vector too early. Once a photo becomes a flat vector, the tonal information needed for depth layering is gone.
Desktop vs tablet: where each step actually happens
A workflow angle almost no comparison covers: which steps are practical on a tablet. Grayscale and level adjustment work fine on mobile editing apps, and reviewing a proof on a tablet is convenient. But node editing, layer assignment, and power-setting mapping remain desktop-first tasks in LightBurn and xTool Studio, the interfaces assume a mouse and a full layer panel.
DXF File Optimization for Lasers: What to Check Before You Cut
DXF file optimization for lasers is about removing everything your machine does not need. A bloated DXF slows LightBurn, causes firmware hiccups, and increases the chance of a failed cut.
- Remove duplicate and overlapping paths.
- Close all open shapes intended for cutting.
- Simplify nodes on curves without changing the shape.
- Group paths by operation: cut, score, engrave.
- Set kerf compensation based on your material thickness.
- Name layers clearly so material settings map correctly.
According to Autodesk's documentation on DXF file structure, DXF files store geometry as entities, and redundant entities are a common cause of slow rendering. Cleaning them before export is faster than fixing them in your laser software.
Vectorize Image Software: Where EngraveIQ and CraftGineer Fit
Vectorize image software converts a raster image into scalable vector paths. EngraveIQ and CraftGineer both offer this, and for simple logos it works fine. The gap appears with photographs and gradients.
A vector trace flattens tonal information into hard-edged shapes. For a logo, that is exactly what you want. For a portrait with soft shadows, it produces a posterized look that needs heavy manual cleanup. Laser Layer Maker takes a different route: instead of flattening the image, it splits it into engraving-depth layers, preserving the tonal range that makes photo engraving look professional.
Where Each Tool Wins: Use-Case Recommendations
EngraveIQ suits users who need quick vector traces of simple artwork. CraftGineer works for template-driven projects where the design is already vector. Neither is built for photographic engraving with depth control.
For that use case, Laser Layer Maker is the stronger fit. It turns any photo, cartoon, or logo into laser-ready layered files, splits images into engraving-depth layers, and exports to LightBurn SVG, DXF, and xTool Studio. If you are weighing the engraveiq vs craftgineer for laser files choice and your work involves photographs, the layering capability is the deciding factor.
Conclusion: Choosing the Right Tool for Your Laser Workflow
The right tool depends on what you engrave. Simple vectors and templates? EngraveIQ or CraftGineer can handle it. Photographs, gradients, and multi-depth projects?
Laser Layer Maker turns any image into laser-ready layered files, splits images into engraving-depth layers, and exports directly to LightBurn SVG, DXF, and xTool Studio.
Frequently Asked Questions
What is the best file format for laser engraving?
SVG and DXF are the most widely supported vector formats for laser engraving. SVG works well with LightBurn and xTool Studio, while DXF is preferred for CAD-based workflows. For raster engraving, high-resolution PNG or BMP files at 300-600 DPI produce detailed results. AI files are also compatible with some software. The best format depends on your design type and your laser software's capabilities.
How do I convert photos into laser-ready files?
Start with a high-contrast, well-lit photo. Use vectorize image software or a dedicated tool to convert the photo into layers or vectors. Adjust brightness and contrast before conversion. For engraving, you'll want to create depth layers or dither patterns. Tools like Laser Layer Maker automate this by splitting images into engraving-depth layers, then exporting to LightBurn SVG, DXF, or xTool Studio formats.
Are automated laser file generators worth the investment?
For high-volume sellers or those without design software experience, automated generators save significant time. They handle file conversion, layer separation, and optimization that would otherwise require manual work in Illustrator or LightBurn. If you produce 10+ custom orders monthly, the time savings often justify the cost. For occasional hobbyists, free or one-time-purchase tools may be sufficient.
What should I check in a DXF file before laser cutting?
Verify that all paths are closed and there are no overlapping lines, which can cause double-cutting. Check that the file units match your laser software's settings (millimeters or inches). Ensure kerf compensation is applied if needed for tight-fitting parts. Also confirm that layers are correctly assigned for cut, score, and engrave operations. Testing on scrap material first is always recommended.
Can I use EngraveIQ or CraftGineer with LightBurn or xTool Studio?
Both tools export to common formats like SVG and DXF, which are compatible with LightBurn and xTool Studio. However, the level of integration varies. Some tools offer direct export presets for specific laser software, while others require manual import and layer reassignment. Always test a sample file to ensure layers and settings transfer correctly before running a full project.