
 how-to
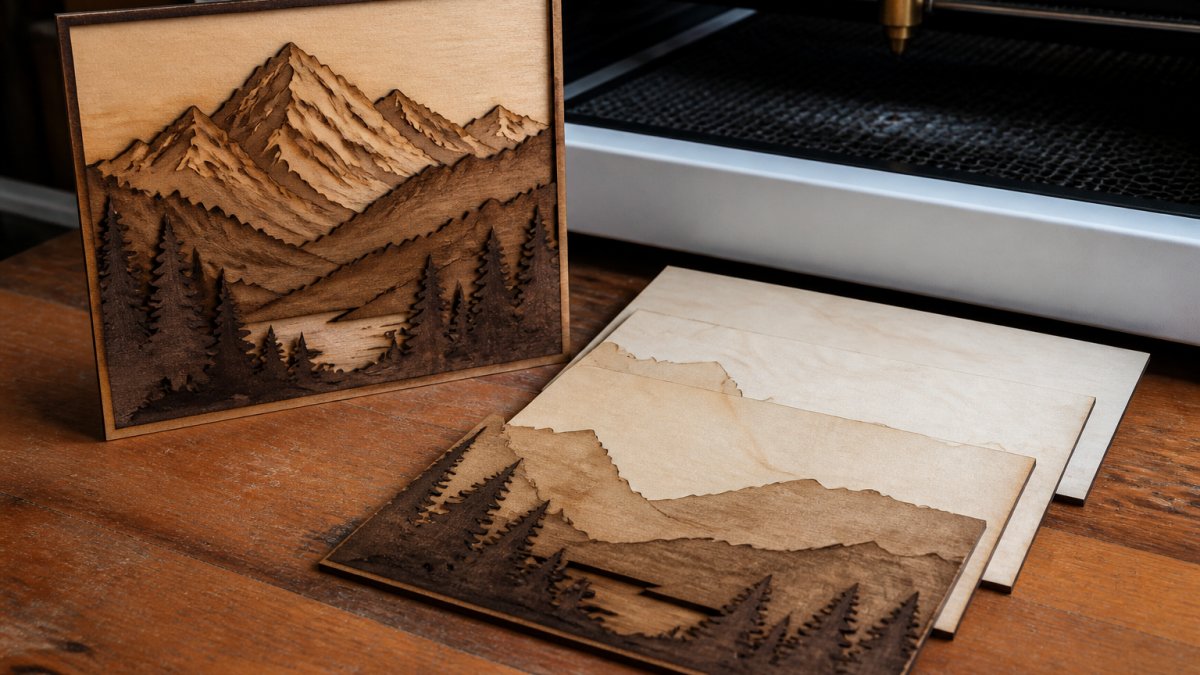
How to Create Depth Layers for Laser Engraving
Table of Contents
- Understanding Depth Maps and Layer Separation
- Converting Your Image to 3D Laser Engraving Depth Maps
- Laser Engraving Grayscale Settings and Calibration
- Best Software for Layered Laser Art Workflows
- Step-by-Step Layering Process for Professional Results
- Troubleshooting Engraving Depth Issues and Burn-Through Prevention
- Safety and Ventilation for Deep Engraving Operations
- Frequently Asked Questions
Last Updated: October 2, 2026
Understanding Depth Maps and Layer Separation
A depth map is a grayscale image where lighter pixels engrave shallow and darker pixels engrave deep, the foundation of understanding how to create depth layers for laser engraving.
Z-axis control moves the laser head between passes at different depths. Each pass burns at a different intensity based on your depth map, creating dimensional results.
How Depth Maps Control Engraving Intensity
Laser power and speed work together with your depth map.
Splitting your image into layers lets you make multiple passes at lower power instead of one high-power pass, giving you precise control over each depth level.
Material density matters enormously, wood burns differently than acrylic, and hardwoods like walnut need different settings than softwoods like pine.
The Role of Z-Axis Control in Multi-Pass Engraving
Z-axis control moves your laser head between passes. Autofocus machines handle this automatically; manual machines require focus adjustment before each pass.
Material thickness is critical: thin material (1/8 inch) handles 2-3 passes safely, while thick material (1/2 inch) handles 5-10 passes. Adjust your depth map strategy accordingly.
Converting Your Image to 3D Laser Engraving Depth Maps
Your source image determines your depth layer quality. Start with the right material, and everything else becomes easier.
Starting with the Right Source Material
High-resolution photos work best for depth map conversion, aim for at least 300 DPI for designs larger than 4 inches.
Photos with strong contrast work better than flat images.
Cartoons and logos require a different approach than photographs because they lack natural gradients. You'll need to add gradients manually or use conversion software to interpolate them.
Avoid overly compressed JPEGs, website screenshots, and poorly lit photos, these create noisy depth maps with random speckles that engrave as unwanted marks.
Splitting Images into Engraving-Ready Layers
Learning how to create depth layers for laser engraving is where the real work happens when converting your image into separate depth layers.
Most tools work the same way: import your image, set the number of layers (typically 3-8), adjust threshold values, and export.
Laser Layer Maker automates this process, splitting images into engraving-ready depth layers automatically.
Laser Engraving Grayscale Settings and Calibration
Your laser reads brightness values from 0 (black) to 255 (white), not colors, getting grayscale settings right is where most people struggle.
Material-Specific Depth Calibration
Every material burns differently, wood, acrylic, leather, and anodized aluminum each require their own calibration. Settings perfect for basswood will scorch acrylic or barely mark anodized metal.
Create a test file with grayscale bars from 0 to 255 in 25-point increments and engrave on your material at standard settings.
Adjusting Laser Power and Speed for Consistent Depth
Laser power and speed work together. High power with fast speed creates shallow marks. Low power with slow speed creates deep burns.
For consistent depth, keep power constant and adjust speed: slower speed = deeper burn, faster speed = shallower burn.
Test on scrap material at different speeds (50%, 75%, 100% of standard) to see exactly how speed affects depth on your material.
Best Software for Layered Laser Art Workflows
Your software choice affects how smoothly your workflow runs. Different tools handle depth layers differently.
LightBurn SVG Export and Vector Layer Management
LightBurn is the industry standard for laser work. It handles vector files and supports raster layers with grayscale depth control.
Import your depth-mapped image as a raster layer, set it to Grayscale mode, adjust power and speed, add additional layers for each pass, and export as SVG or send directly to your laser.
xTool Studio and DXF File Preparation
xTool Studio is designed specifically for xTool machines, but it also works with other laser cutters.
xTool Studio handles DXF files natively.
The main advantage of xTool Studio is the preview. You see your depth layers rendered in 3D before engraving.
For photo-based depth layers, xTool Studio is less powerful than LightBurn.
Step-by-Step Layering Process for Professional Results
This is where theory becomes practice. Follow these steps exactly and you'll get consistent, professional results.
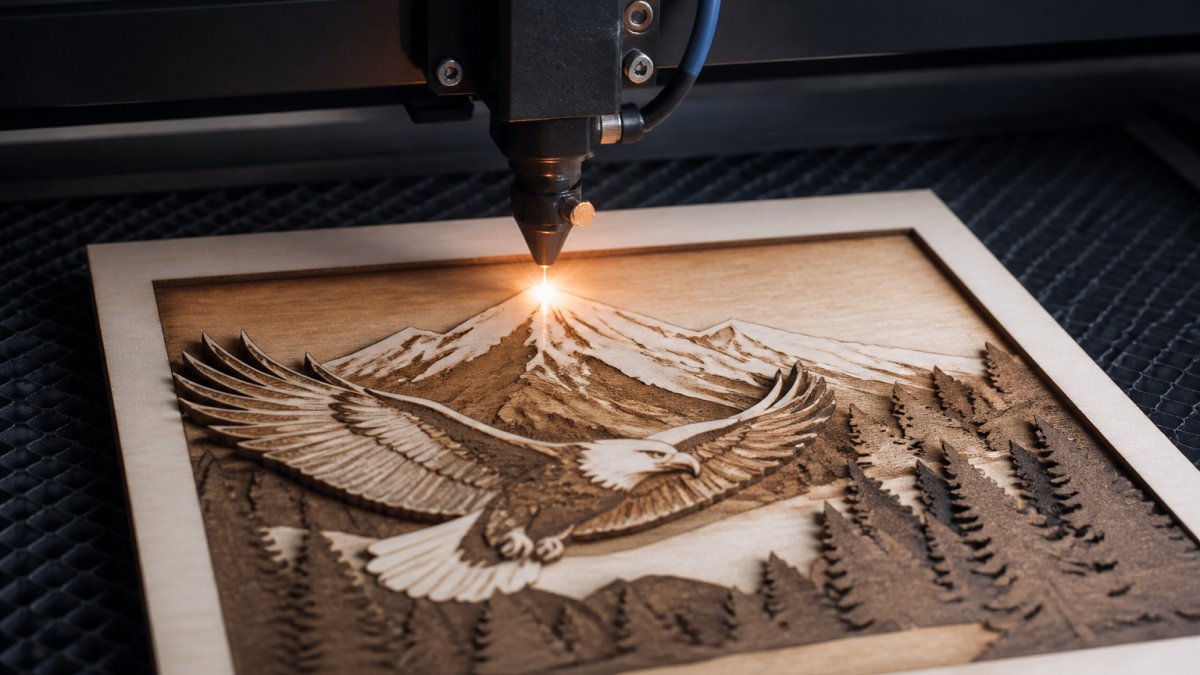
Step 1: Prepare and Import Your Image
Start with your high-resolution source image. Open it in your image editor and check the dimensions. Your engraving size should match your design.
Convert your image to grayscale if it's in color.
Adjust contrast if needed. Increase contrast slightly to make your shadows darker and highlights brighter.
Save your prepared image as a PNG or TIFF file.
Step 2: Generate Depth Layers with Grayscale Conversion
Import your grayscale image into your layering tool or software.
If you're doing this manually in Photoshop or similar software, use the Threshold tool to create separate layers for each brightness range.
The result is a stack of layers, each representing a different depth. Layer 1 is your shallowest burn, and your final layer is your deepest.
Step 3: Configure Laser Settings for Each Layer
Open your laser software (LightBurn or xTool Studio) and import your layered files. Each layer gets its own power and speed settings.
For your shallowest layer:
- Power: 40-50%
- Speed: 200-300 mm/s (adjust based on material)
For your middle layers:
- Power: 50-70%
- Speed: 150-200 mm/s
For your deepest layer:
- Power: 70-90%
- Speed: 100-150 mm/s
These are starting points. Your actual settings depend on your material and machine. Test on scrap first.
Step 4: Test and Refine on Sample Material
Cut a piece of your material to the same size as your design.
Examine the result closely. Is the depth progression smooth or does it look blocky?
If the depth is too shallow overall, increase the power on all layers by 5-10%.
Run a second test with your adjusted settings. Keep testing until the result matches your vision.
Troubleshooting Engraving Depth Issues and Burn-Through Prevention
Problems happen. Here's how to fix the most common ones.
Preventing Burn-Through and Edge Charring
Burn-through happens when your laser goes completely through your material instead of just engraving the surface. This creates holes instead of depth.
Both problems have the same cause: too much power or too slow speed.
Prevention strategies:
- Start with lower power (40-50%) and increase gradually
- Keep your speed consistent across all layers
- Use air assist if your machine has it (blows away burning particles)
- Don't engrave the same spot twice in quick succession
If you're seeing burn-through, reduce power by 10-15% and increase speed by 20%. Test on scrap before running your production pieces.
Managing Heat Dissipation in Deep Engraving
Deep engraving creates more heat in your material. If you're making 6-8 passes on the same spot, heat builds up.
Let your material cool between passes. If your software allows delays between layers, add 5-10 seconds.
Thinner materials need more cooling time. A 1/8-inch piece of acrylic needs longer breaks between passes than a 1/2-inch piece of wood.
Fixing Uneven Depth Across Layers
If some areas of your engraving are deeper than others, your focus is probably off. Laser focus is critical.
Check your machine's autofocus function. If it's not working properly, your focus drifts across the material.
Also check your material surface. If it's not flat, different areas will be at different distances from the laser head.
Safety and Ventilation for Deep Engraving Operations
Deep engraving creates more smoke and fumes than shallow engraving.
Proper ventilation removes smoke and fumes from your work area.
Use a laser air assist system if your machine supports it.
Keep your laser lens clean. Smoke residue builds up on the lens and reduces power.
Ready to simplify your layered laser engraving workflow? Laser Layer Maker transforms any photo or logo into professional-grade, laser-ready depth layers automatically. Our tool splits your images into precise engraving layers, exports to LightBurn SVG and DXF formats, and works seamlessly with xTool Studio. Let Laser Layer Maker handle the technical work so you can focus on creating. Get started today and bring your custom engraving projects to life faster.
Frequently Asked Questions
How can I create a depth map for laser engraving from a photograph?
Start with a high-resolution photograph with good contrast. Convert the image to grayscale to establish tonal values, where darker areas represent deeper engraving and lighter areas represent shallower cuts. Use software like Laser Layer Maker to automatically split the grayscale image into discrete depth layers. Each layer corresponds to a specific laser power or pass count setting. Export as vector lines (SVG or DXF) for your laser software. Test on scrap material first to verify the depth map produces the desired surface relief.
What laser engraving grayscale settings work best for different materials?
Grayscale settings vary by material density and thickness. For wood, use 40-60% power with slower speeds to achieve consistent depth without excessive charring. For acrylic, increase power to 70-80% but reduce speed to prevent cracking. For leather, lower power (30-40%) prevents burn-through. Material-specific calibration is essential: test small sections at different power and speed combinations, measure the resulting depth with calipers, and record your settings. Pixel density in your grayscale image also affects results, higher density produces finer detail but may require slower engraving speeds.
What is the difference between raster and vector approaches for creating depth layers?
Raster engraving uses bitmap images and laser power modulation to create depth by varying beam intensity across pixels. Vector approaches use discrete contour lines, each assigned a separate laser power or pass count. Most depth-layer workflows combine both: convert grayscale to vector contours, then assign power settings per contour.
How do I prevent burn-through and edge charring when engraving deep layers?
Burn-through occurs when laser power is too high or speed too slow, causing the beam to penetrate completely. Edge charring happens from excessive heat dissipation. Reduce laser power by 10-15% for deep passes, increase speed slightly to allow material cooling, and use proper ventilation to remove smoke and heat. Run a test pass on scrap material at your target depth before committing to finished pieces. For materials prone to charring (wood, leather), consider multiple lighter passes instead of one deep pass. Monitor kerf width and adjust focal length if edges appear scorched.