
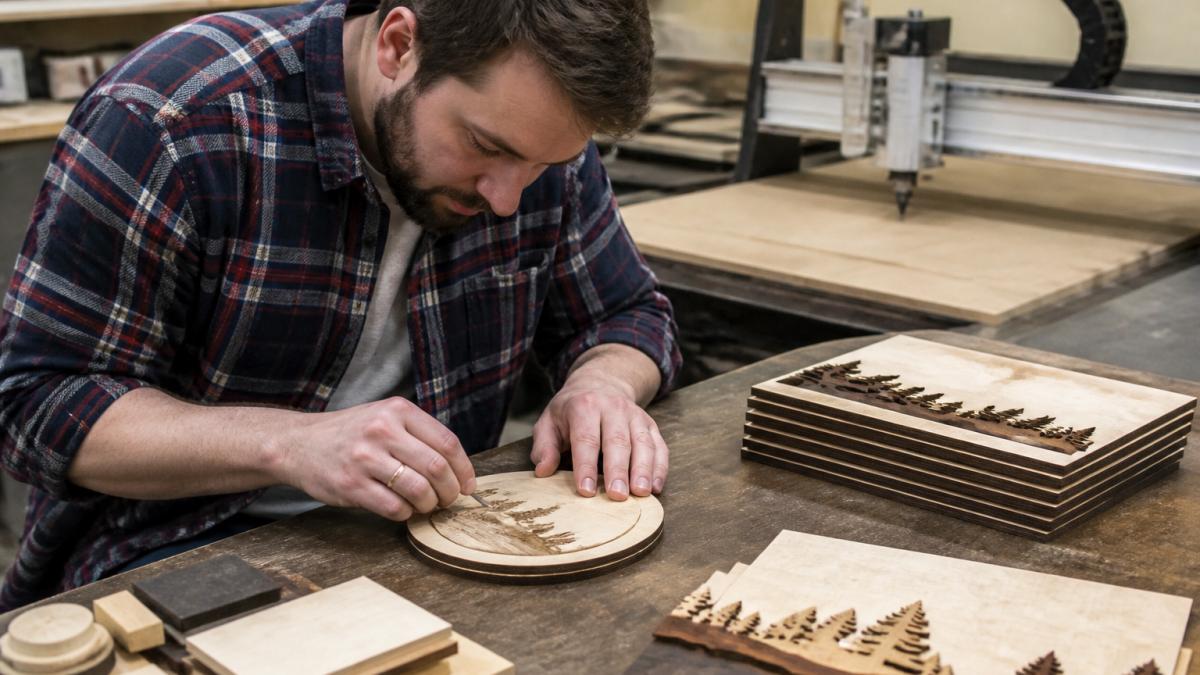
 listicle
Laser Engraving Alternatives to Craftgineer
Table of Contents
- Why Creators Switch From Craftgineer
- How to Vectorize Image Software for Laser-Ready Files
- Laser Layer Maker: Automatic Layered File Generation
- How to Create Layered Laser Files From Photos
- Laser Engraving Workflow Optimization Across Software
- File Format Compatibility and Export Standards
- Choosing the Right Alternative for Your Operation
- Frequently Asked Questions
Last Updated: September 30, 2026
Why Creators Switch From Craftgineer
Many creators now find themselves exploring laser engraving alternatives that better match their workflow demands. The shift typically happens when volume increases, design complexity grows, or teams need tighter integration with professional laser equipment like LightBurn and xTool systems.
The real pain point is that many tools were not designed for the scale and precision modern production demands. Etsy sellers managing hundreds of tumbler orders, small fabrication shops running daily batches, and corporate gifting providers need something faster. They need automatic layering without manual node editing. They need exports that work seamlessly across multiple platforms without rework.
This is where workflow optimization becomes critical. When you're processing ten custom orders per week, every minute of setup time multiplies into lost productivity. A tool that requires manual adjustments to every file layer becomes a bottleneck. Creators often cite friction points such as slow processing, limited vectorization options, and export compatibility issues that force re-editing in LightBurn or Adobe Illustrator.
How to Vectorize Image Software for Laser-Ready Files
Vectorization is the process of converting raster images (pixels) into vector paths (mathematical curves) that laser systems can interpret with precision. This is essential because laser cutters and engravers work with paths, not pixels. A raster photograph needs to become a clean vector file before it can produce a professional engraving.
The vectorization workflow typically involves three core steps: image preparation, path conversion, and cleanup. First, you simplify the image by adjusting contrast and removing unnecessary detail. High-contrast images vectorize cleaner than those with gradients. Next, the software traces the edges and converts them into vector paths. Finally, you refine the paths by removing stray nodes and simplifying curves.
Most creators use one of two approaches. Browser-based vectorization tools offer speed and accessibility, you upload, click a button, and download an SVG. Desktop software like LightBurn or Adobe Illustrator gives you granular control but requires more skill. The trade-off is always the same: convenience versus precision.
For laser engraving specifically, dithering becomes relevant when you're working with photographs. Dithering is a technique that converts grayscale tones into patterns of black and white dots. This allows grayscale detail to survive the binary nature of laser intensity (on or off). Without dithering, a photograph becomes either too dark or loses detail entirely.
Laser Layer Maker: Automatic Layered File Generation
Laser Layer Maker transforms the vectorization and layering process by automating what typically requires manual work in LightBurn or Illustrator. Instead of uploading a photo and spending time adjusting contrast, tracing paths, and manually splitting layers by depth, Laser Layer Maker handles the heavy lifting.
The tool accepts any image, a photograph, cartoon, or logo, and automatically splits it into precise engraving-depth layers. This is fundamentally different from basic vectorization. Vectorization converts pixels to paths. Laser Layer Maker goes further: it analyzes the image's tonal range and automatically creates separate layers for each engraving depth. A photo with shadows, midtones, and highlights becomes three distinct layers, each optimized for a specific laser intensity setting.
The output exports directly to LightBurn SVG, DXF, or xTool Studio format. No rework. No manual node editing. The files arrive ready to load into your laser software and begin production.
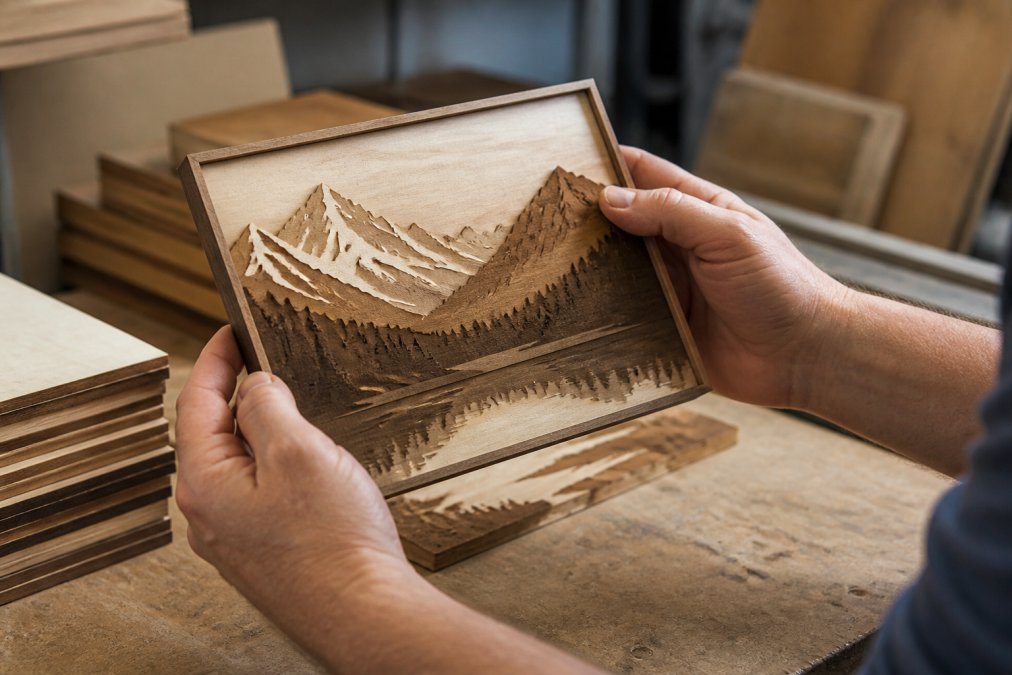
This automation is what makes the tool relevant for high-volume production. An Etsy seller processing fifty tumbler orders per month can upload a batch of customer photos, generate layered files in minutes, and move directly to the laser without hours of manual file preparation. The time savings multiply across hundreds of projects.
Laser Layer Maker also handles the color-to-grayscale conversion that many creators struggle with. Converting a color image to grayscale isn't just about desaturating, it's about preserving tonal information that translates into laser depth. The tool manages this automatically, ensuring that the resulting grayscale mapping maintains visual hierarchy and engraving quality.
How to Create Layered Laser Files From Photos
Creating layered laser files from photographs requires understanding both the source image and the target output. Start with a high-quality source image. Low-resolution or heavily compressed photos produce muddy results. A photo shot at 300 DPI or higher gives the software enough detail to work with.
The second step is preparing the image for conversion. This means adjusting contrast to enhance the distinction between tones. Many creators use simple tools like Photoshop or free alternatives like GIMP to boost contrast before vectorization. Higher contrast makes the conversion cleaner because the software has clearer boundaries to trace.
Once the image is prepped, the conversion process begins. If you're using Laser Layer Maker, you upload the image and the tool automatically analyzes the tonal range. It identifies shadows, midtones, and highlights, then creates separate layers for each range. If you're using manual vectorization in LightBurn, you'll trace the image yourself, which takes significantly longer.
The third step is refinement. After conversion, examine the vector paths for stray nodes or unwanted details. A few stray marks might seem minor, but they create unexpected lines in your engraving. Path simplification, reducing nodes while preserving the overall shape, makes the file cleaner and faster to engrave.
| Step | Purpose | Time Estimate |
|---|---|---|
| Image preparation | Boost contrast, remove noise | 2-3 minutes |
| Vectorization/layering | Convert image to vector paths and split by depth | 1-2 minutes (automated) or 15-20 minutes (manual) |
| Path refinement | Remove stray nodes, simplify curves | 2-5 minutes |
| Export and testing | Generate final file, test in laser software | 2-3 minutes |
The time difference between automated layering and manual work is substantial. A single photo that takes 20 minutes to vectorize manually takes 2-3 minutes with automatic layering. Across a week of production, that's 10+ hours recovered.
Laser Engraving Workflow Optimization Across Software
Workflow optimization is about reducing friction between design and production. Most creators use multiple tools: a design application, vectorization software, and laser control software. Each handoff introduces delay and the possibility of error.
The ideal workflow minimizes these handoffs. Upload a photo → automatic layering → direct export to your laser software → immediate production. This is what modern laser engraving demands, especially for high-volume operations.
LightBurn remains the industry standard for laser control. It supports AI, SVG, DXF, and PDF files, and it works across Windows, macOS, and Linux. But LightBurn isn't a design tool, it's a control and layout application. You bring finished designs to LightBurn; you don't create them there.
File Format Compatibility and Export Standards
File format compatibility determines whether your workflow flows or stutters. The wrong export format forces rework. The right one moves files directly from creation to production.
Choosing the Right Alternative for Your Operation
Selecting among laser engraving alternatives depends on three factors: your current workflow pain point, your hardware setup, and your production volume.
The decision matrix is straightforward:
| Situation | Best Alternative |
|---|---|
| High-volume photo engraving, multiple orders per week | Laser Layer Maker for automated layering + LightBurn for control |
| Beginner looking for simplicity | Glowforge Aura or Creality Falcon A1 Pro with built-in software |
| Professional shop with mixed hardware | LightBurn (works with any laser) |
| Budget-conscious hobbyist with diode laser | LaserGRBL (free) or Two Trees TS2 (affordable hardware) |
| Portable on-site engraving needs | LaserPecker 5 |
| Metal engraving and batch production | xTool F2 Ultra with xTool Studio |
Frequently Asked Questions
What software is best for converting photos to laser-ready files?
The best choice depends on your workflow. Laser Layer Maker specializes in converting photos directly into layered laser files with automatic depth splitting, eliminating manual vector editing. LightBurn offers professional-grade control for complex designs. For batch processing hundreds of photos, Laser Layer Maker handles volume efficiently without requiring design expertise.
How do I prepare images for professional laser engraving?
Start with high-contrast images or photos with clear subject separation. Convert to grayscale if working with depth variation. For raster images, use dithering or thresholding to define engraving intensity. Vector files require path simplification and node editing for clean output. Laser Layer Maker automates this process by analyzing your image and splitting it into precise engraving-depth layers, ready for export to LightBurn, DXF, or xTool Studio without additional editing.
Is there a better alternative to Craftgineer for layered laser designs?
Laser Layer Maker offers a focused solution for creators who need automatic layered file generation from photos. It specifically handles engraving-depth layering without requiring manual vector work. The tool supports direct export to professional software like LightBurn and xTool Studio, making it ideal for Etsy sellers and small fabrication shops processing high volumes of custom orders.
What file formats do professional laser engraving machines require?
Most professional systems accept SVG, DXF, and PDF formats. LightBurn supports AI, SVG, DXF, and PDF. xTool machines work with SVG and proprietary formats. Laser Layer Maker exports to SVG and DXF, ensuring compatibility across hardware platforms. Always verify your specific machine's requirements before uploading files. Vector formats preserve engraving paths and cutting speed settings, while raster formats require conversion for precision work.
Can I use vector software alone for professional laser engraving?
Yes, but with limitations. Adobe Illustrator and CorelDRAW handle vector design well, but they require manual layer creation and depth adjustment for engraving. For photo-based projects, you need additional tools to convert raster images to vector paths. Laser Layer Maker bridges this gap by automating the conversion and layering process, saving hours on complex projects while maintaining professional output quality.