
 blog
blog
Best Software for xTool Studio Users: 2026 Guide
Table of Contents
- What xTool Studio Users Actually Need From Software
- LightBurn for xTool: What It Does Well and Where It Falls Short
- Best Software for Layered Laser Files in 2026
- xTool Laser Workflow Optimization: From Design to Finished Cut
- Open-Source vs. Proprietary Laser Software: Which Fits Your Shop?
- How to Choose the Best Software for xTool Studio Users
- Conclusion
- Frequently Asked Questions
Last Updated: September 21, 2026
What xTool Studio Users Actually Need From Software
Finding the best software for xTool Studio users starts with one question: what does the machine need before it can cut? xTool Studio handles machine control well, but was never built to prepare complex images for engraving.
Here's the distinction that matters most:
- Design software creates or edits artwork: vector shapes, text, logos, traced photos.
- Machine control software translates that artwork into movement: power settings, speed, passes, and positioning.
- Layered file preparation sits between them, splitting a single image into separate engraving depths so the laser can reproduce shading and contrast.
Design Software vs. Machine Control Software
These categories get lumped together constantly, and that confusion costs hours. Design software is where you build artwork; machine control software is where you set how the laser executes it.
File Compatibility: SVG, DXF, AI, and Raster Formats
File compatibility is the biggest source of integration headaches for laser users. Vector formats carry clean paths; raster formats carry pixels, which need conversion before a laser can cut them.
| Format | Type | Best For | Watch Out For |
|---|---|---|---|
| SVG | Vector | Cutting paths, logos, text | Converted text can lose fonts |
| DXF | Vector | CAD-style parts, precise cuts | Limited color and layer data |
| AI | Vector | Complex illustrations | Version mismatches on import |
| PNG/JPG | Raster | Photo engraving | Needs tracing or layering first |
LightBurn for xTool: What It Does Well and Where It Falls Short
LightBurn for xTool machines is a strong pairing and the control software most experienced users reach for first. It offers layer management, precise power and speed control, and a preview mode showing exactly how the job will run before you commit material.
Best Software for Layered Laser Files in 2026
The best software for layered laser files separates an image into distinct engraving depths before it reaches your machine. Layer count drives how much depth and contrast the final piece shows.
Layer Management and Engraving Depth Control
Layer management determines engraving depth control, which determines whether your piece looks dimensional or flat. Each layer maps to a power and speed combination in your control software.
A workable starting approach:
- Assign your darkest layer the highest power or slowest speed
- Step power down gradually across midtones
- Keep highlights light to preserve paper, wood grain, or coating
- Run a small test tile before committing a full batch
xTool Laser Workflow Optimization: From Design to Finished Cut
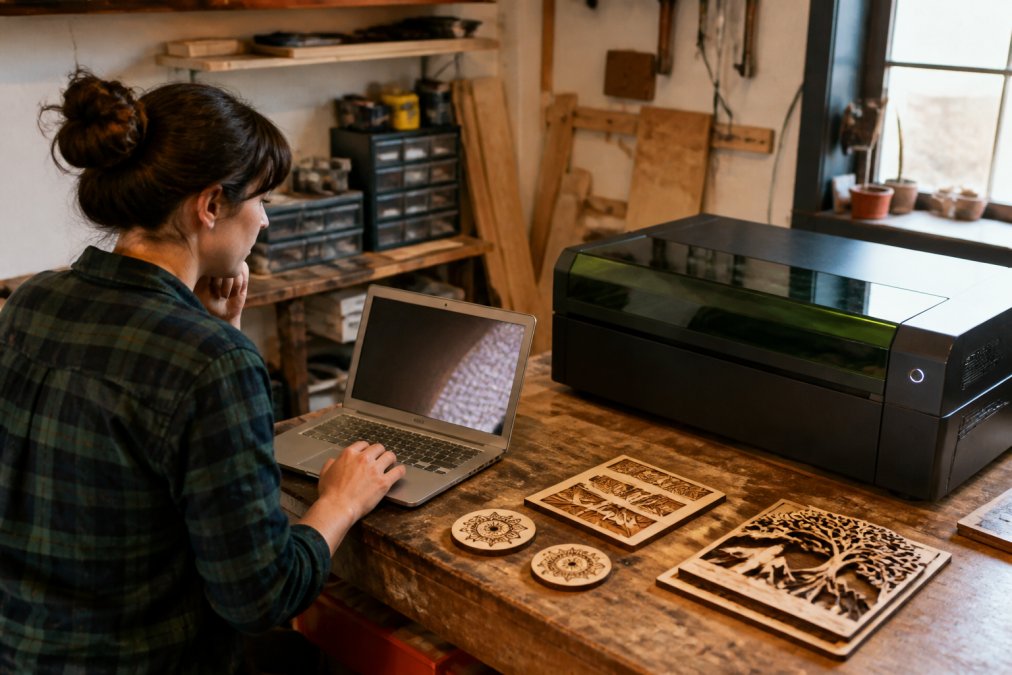
xTool laser workflow optimization comes down to removing handoffs where files degrade. Every move between tools risks broken paths, collapsed layers, or dropped resolution.
Export Settings That Prevent Common Cutting Errors
Most integration failures happen at the export dialog, not the laser bed. Format and settings determine whether paths stay closed, text stays legible, and scale stays true.
Hardware-Specific Plugin Compatibility
Not every design tool talks to every laser the same way. Some push jobs straight to the machine via plugins; others require manual export and import.
- Direct-plugin tools send jobs to the laser from inside the design application. They're convenient for simple vector cuts but often lock you into the plugin's own power and speed presets, which may not match your material.
- Manual-import tools require an export step but give you full control over layer mapping, power, and speed inside the control software. For production work, this is usually the better trade.
- Hybrid tools export a layered file that the control software reads natively, preserving layer assignments without a plugin. This is the pattern most multi-depth engraving workflows rely on.
Importing, Positioning, and Frame Functionality
Importing and positioning decide whether your engraving lands where you intended. Frame functionality verifies placement before the laser fires, the cheapest insurance in the shop.
- Import at final size whenever possible; scaling after import can shift node positions
- Use frame functionality on every job with a pre-placed workpiece
- Set your workpiece alignment reference point before you import, not after
- Check preview mode for stray paths that would cut where they shouldn't
Troubleshooting Common Software Integration Issues
Most integration problems trace to four causes: format mismatches, resolution loss, unit mismatches, and firmware compatibility.
Open-Source vs. Proprietary Laser Software: Which Fits Your Shop?
Open-source and proprietary laser software trade control for convenience, and the right pick depends on how you sell. But the usual comparison, cost, support, updates, misses the question that matters: which category handles laser-specific tasks like kerf compensation, layer-depth control, and multi-pass engraving better?
What Open-Source Tools Actually Do Well for Laser Work
Open-source design and control tools are not toys. Several run in production shops daily, handling laser-specific tasks some paid tools ignore.
- Kerf compensation: open-source vector editors let you offset paths by an exact kerf width, which is essential for press-fit parts.
- Layer-based power mapping: open-source control software lets you assign power and speed per layer, the foundation of multi-depth engraving.
- Scripting and batch processing: open-source tools often expose a scripting layer, so you can automate repetitive exports or generate design variations programmatically.
- No subscription lock-in: you own the tool. If the vendor changes direction, your workflow doesn't break.
Where Proprietary Tools Pull Ahead
Proprietary and subscription-based tools, including cloud platforms, tend to offer polished interfaces, cross-platform support, and predictable updates, real value for a shop onboarding a new operator quickly.
- Onboarding speed: a new hire can often run a job in an afternoon on a well-designed proprietary tool. The same hire on an open-source stack may need a week.
- Vendor support: when an export fails before a deadline, a support channel beats a forum thread.
- Scheduled updates: firmware and software stay in sync without you tracking versions manually.
- Cloud collaboration: multiple operators can share templates and job files without a local file server.
The Laser-Specific Comparison Most Guides Skip
| Factor | Open-Source | Proprietary / Subscription |
|---|---|---|
| Cost model | Free, one-time setup effort | Recurring subscription |
| Kerf compensation | Manual offset, full control | Often built-in, less flexible |
| Layer-depth control | Per-layer power/speed mapping | Varies by tool; sometimes limited |
| Customization | High, plugin and script driven | Limited to built-in features |
| Support | Community forums | Vendor support channels |
| Updates | Irregular, community-paced | Scheduled releases |
| Onboarding time | Days to weeks | Hours to days |
| Best for | Tinkerers, custom workflows | Production shops, sellers |
The Gap Neither Category Fills
What the open-source vs. proprietary debate misses: neither category reliably turns a single photograph into engraving-depth layers. Open-source gives you controls to do it manually; proprietary gives a polished interface, but layer-splitting itself is a specialized task.
How to Choose the Best Software for xTool Studio Users
Choosing the best software for xTool Studio users means matching tools to the work you actually sell, not the work you might do someday. Start by writing down your three most common jobs.
Then score each candidate tool against these criteria:
- File compatibility: does it export SVG, DXF, or native formats your machine reads?
- Layer support: can it produce separate engraving-depth layers, or only flat artwork?
- Learning curve: how many hours before you can run a paid job?
- Support: is there a real answer when an export fails?
- Cost model: subscription, one-time purchase, or free?
Conclusion
The hard part of laser work isn't the machine. It's getting a clean, layered file to the machine without losing detail along the way.
Frequently Asked Questions
Which is better, xTool Creative Space or xTool Studio?
xTool Creative Space is the browser-based option, while xTool Studio is the desktop application with more control over engraving parameters and cutting speed. For simple projects, Creative Space works fine. For multi-layer work, kerf compensation, and precise power settings, xTool Studio gives you more tools. Most production-focused users run xTool Studio on their main machine and keep Creative Space as a quick-access backup.
Can I use third-party design software with my xTool laser?
Yes. xTool machines accept SVG, DXF, and common raster formats, so you can design in Illustrator, Inkscape, Affinity Designer, or a layered file tool, then import into xTool Studio or LightBurn for machine control. The key is exporting at the right resolution (300 DPI or higher for raster) and checking that vector paths are closed before import. Test one file first to confirm your export settings match what xTool Studio expects.
How do I export files from design software for xTool machines?
Export as SVG for vector cuts and DXF if your design tool handles layers differently. For raster engraving, use PNG at 300 DPI or higher. When exporting from a layered laser file tool, confirm each engraving-depth layer is on a separate path group so xTool Studio can assign power settings per layer. Always open the exported file in preview mode before cutting to catch stray nodes or open paths.
Is LaserGRBL or LightBurn better for xTool laser engraving?
LaserGRBL is free and open-source, works well for basic GRBL-based diode lasers, and handles simple raster engraving. LightBurn costs more but supports layer management, kerf compensation, node manipulation, and hardware-specific plugin integration for a wider range of machines. If you run an xTool with multiple engraving-depth layers or do production work, LightBurn's workflow efficiency and preview mode save time. For hobby-level single-layer cuts, LaserGRBL covers the basics.