
 blog
blog
Is Laser Layer Software Worth It? A 2026 Guide
Table of Contents
- What Laser Layer Software Actually Does
- How to Create Layered Laser Files Without Specialized Software
- The Time-Saving Reality: When Automation Pays Off
- Vectorize Image Software: Comparing Manual vs. Automated Approaches
- Laser Engraving Depth Settings and File Quality
- Hidden Costs and Real-World Limitations
- Who Benefits Most From Laser Layer Software
- Frequently Asked Questions
Last Updated: September 23, 2026
What Laser Layer Software Actually Does
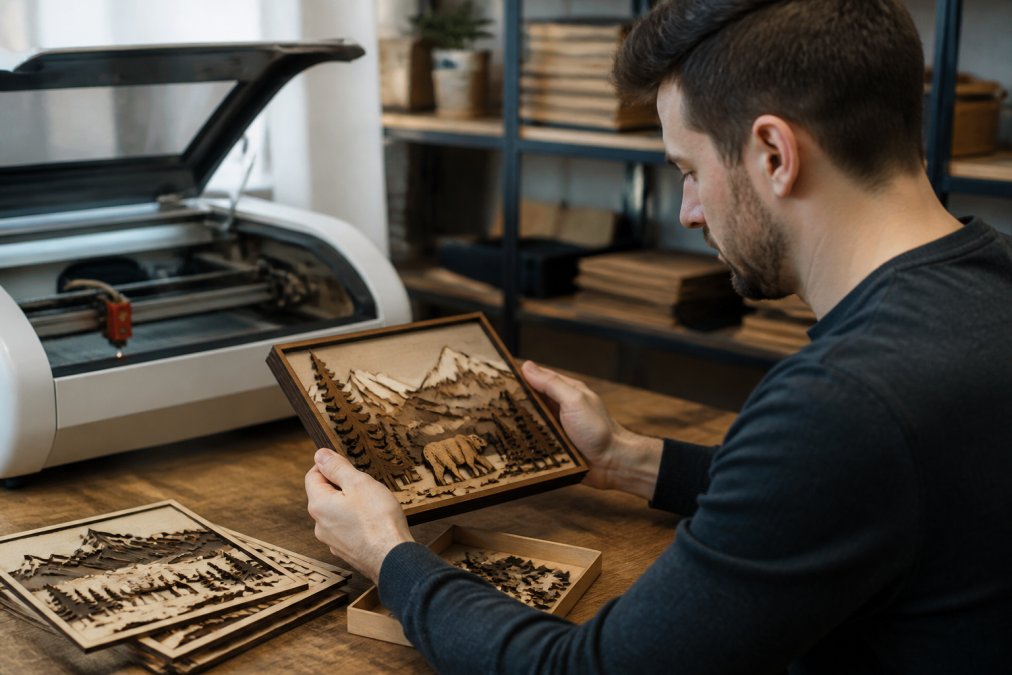
Laser layer software transforms a single image into multiple depth-separated files that your laser cutter can engrave with precision. Instead of treating an image as one flat design, the software splits it into layers that correspond to different power and speed settings on your machine.
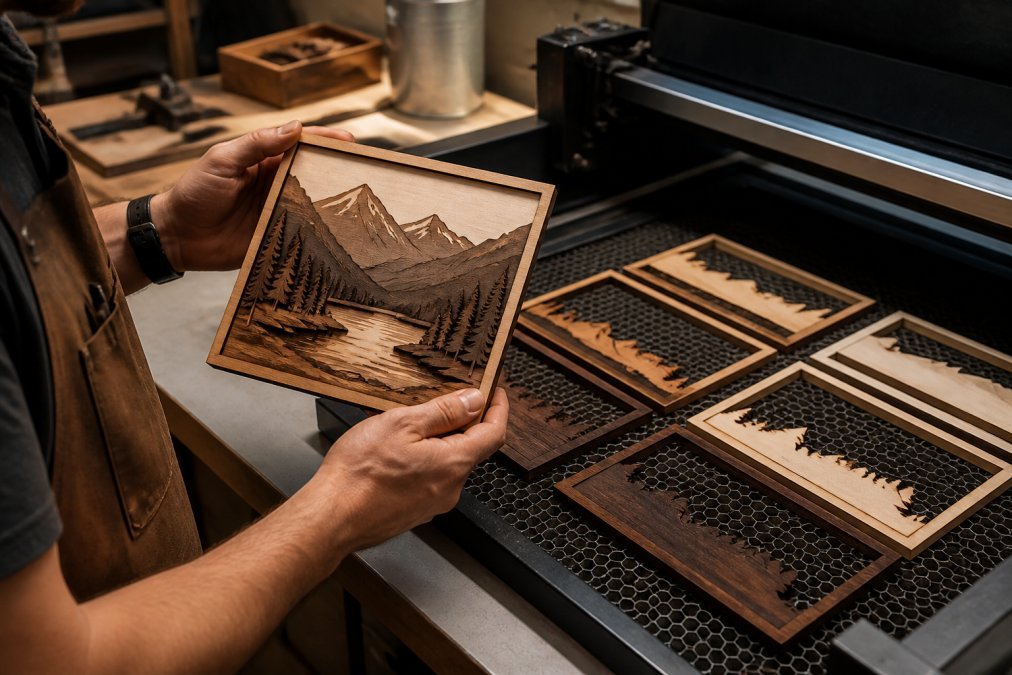
Here's the practical difference: a photo of a face becomes 5-8 separate SVG or DXF files. Each layer represents a different engraving depth. Your laser follows layer one at 30% power, then layer two at 50% power, and so on. The result is a 3D effect carved into wood, acrylic, or leather, something impossible with a single-pass approach.
Laser Layer Maker empowers creators to transform any photo, cartoon, or logo into professional-grade, laser-ready layered files. By automatically splitting your images into precise engraving-depth layers, our tool streamlines your workflow for seamless production. Whether you are using LightBurn, DXF, or xTool Studio, we provide the high-quality exports you need to bring your designs to life. Experience a faster, more efficient way to prepare your projects for laser cutting and engraving.
The core question most people ask is simple: does this actually save time, or does it just move the work around? That's worth examining directly.
How to Create Layered Laser Files Without Specialized Software
You can create layered laser files manually using design software like Adobe Illustrator or Inkscape. The process involves converting your image to grayscale, adjusting levels or curves to isolate tonal ranges, then manually creating separate vector shapes for each depth level.
This approach works. It also takes time.
A typical workflow looks like this: import image, convert to grayscale, use threshold or levels to isolate a specific tonal range, trace that range into a vector shape, save that as a layer, then repeat for each depth level you want. For a simple portrait with moderate detail, expect 45 minutes to two hours. For a complex photograph with fine gradients, you're looking at several hours or abandoning detail entirely.
The manual method gives you complete control. You decide exactly which tones map to which depths. You can refine individual layers by hand. But that control comes with a labor cost that compounds quickly when you're processing multiple designs per week.
The Time-Saving Reality: When Automation Pays Off
The actual time savings depend on your volume and image complexity. A simple logo might take 10 minutes to process manually but only 2 minutes with automated software. A detailed photograph might take 90 minutes manually versus 5 minutes automated.
The real payoff emerges when you multiply that across your monthly output.
Vectorize Image Software: Comparing Manual vs. Automated Approaches
Vectorize image software converts raster images (photographs, scans) into vector shapes that laser cutters can read. However, the type of laser you own determines whether vectorization is even necessary, and this is where most articles mislead creators.
Diode lasers (the most common in maker spaces and small shops) work best with rasterized depth information. They excel at grayscale engraving where power variation creates tonal depth. For diode machines, pure vectorization is often a wasted step. You want your laser layer software to output grayscale or depth-separated raster files that your diode laser can interpret directly through power modulation.
CO2 lasers handle both vector cutting and raster engraving, but their strength lies in crisp vector cuts. If you're using a CO2 laser primarily for cutting (not engraving), vectorization matters more. Laser layer software for CO2 machines should output clean vector layers that map to distinct power settings for each cut depth.
Fiber lasers mark metal and some plastics through ablation, not heat. They require precise vector paths and don't benefit from grayscale depth layering the way diode and CO2 machines do. Fiber-specific laser layer software is rare because the technology doesn't align with how fiber lasers operate.
Manual vectorization in Adobe Illustrator uses the Image Trace function. You import a photo, run Image Trace, adjust threshold and color depth, and get a vector result. This works well for logos and simple graphics. For photographs with fine detail and gradients, you get either oversimplified shapes or unmanageable complexity. The real problem: Image Trace doesn't know what your laser machine is. It just converts format.
Laser Engraving Depth Settings and File Quality
Your laser cutter controls engraving depth through power and speed settings (Depth Model and 5-Axis Variable-Angle Laser Engraving Experiment Based on the Energy...). Lower power and faster speed produce shallow marks. Higher power and slower speed create deeper cuts.
Laser layer software doesn't change those settings, your LightBurn or xTool software does. What the layering tool does is organize your image so each layer maps to a different power-speed combination.
File quality matters enormously here. If your layered files contain too many subtle gradations, you end up with dozens of layers. Your machine spends hours processing a single design. If your layers are too coarse, you lose detail and the 3D effect flattens.
The quality of the original image affects the output dramatically. A high-resolution photograph with good contrast produces better layered files than a low-resolution or washed-out image. Laser layer software can't fix a bad source image, but it can make a good one sing.
Hidden Costs and Real-World Limitations
The obvious cost is the software subscription or one-time license. What's less obvious are the secondary costs and learning investments that emerge in real workflows.
Learning curve and time-to-mastery is rarely quantified in software reviews, but it directly impacts ROI. Most laser layer software has a shallow initial learning curve, uploading an image and generating layers takes 5-10 minutes for a first-time user. However, mastering the settings that produce optimal results for your specific machine takes longer.
Processing time and batch workflows vary significantly.
File management complexity increases substantially. Instead of one design file, you now have 5-8 layered exports per image. Organizing, naming, and versioning these across multiple projects requires discipline. A typical workflow might look like: original image → processed layers → machine-specific exports → production run → archive. Without a naming convention (e.g., "client_name_design_v2_layer_3_of_6.svg"), you risk losing track of which version produced which result.
Export compatibility and machine lock-in matters critically. Laser layer software should export to your specific machine format. If you use LightBurn, you want SVG exports. If you're on xTool Studio, you want their native format or compatible SVG.
Software that exports only to proprietary formats or requires additional conversion steps adds friction. You've bought a tool that creates extra work rather than eliminating it. Before purchasing, verify the software explicitly supports your software platform.
Data security and cloud processing is a legitimate concern for commercial users.
Hardware requirements can be underestimated.
Who Benefits Most From Laser Layer Software
Etsy sellers producing custom engraved products can benefit. If you're offering personalized wooden plaques, custom tumblers, or photo-engraved gifts, layering software can streamline your production time per order.
Small fabrication shops with custom orders can see benefits. The time savings can compound.
Graphic designers creating multi-layer designs for clients can benefit from the consistency and speed. You can offer layered engraving as a premium service.
Corporate gifting providers using laser engraving for branded merchandise can gain an advantage. Faster turnaround and consistent quality matter in that market.
Educators and STEM program leaders managing laser cutter workflows for student projects can benefit from the simplification. Students can focus on design concepts. Teachers can process student work more efficiently.
Hobbyists and maker-fair sellers may see value if they're producing multiple designs regularly.
Is laser layer software worth it? The answer depends on your production volume and complexity. If you're processing fewer than five designs monthly, manual layer creation in standard design software is adequate. If you're running any kind of regular production workflow, whether Etsy shop, small fabrication business, or educational program, the time recovery and consistency gains justify the investment.
Laser Layer Maker empowers creators to transform any photo, cartoon, or logo into professional-grade, laser-ready layered files. By automatically splitting your images into precise engraving-depth layers, our tool streamlines your workflow for seamless production. Whether you are using LightBurn, DXF, or xTool Studio, we provide the high-quality exports you need to bring your designs to life.
Frequently Asked Questions
Does laser layer software actually save time on high-volume orders?
Yes, for high-volume work. If you're processing dozens of photos per month for Etsy or custom orders, automated layering eliminates manual vectorization in design software. Each photo that would take 30-60 minutes to layer manually in a standard design tool can be processed in minutes. The payoff depends on order volume, shops doing 5-10 custom orders monthly may see minimal ROI, but operations handling 50+ monthly engravings typically recover costs within weeks.
How does laser layer software compare to doing this manually in LightBurn or Illustrator?
Manual layering gives you complete control but demands expertise and time. Laser layer software automates the depth-splitting process from photos, which accelerates workflow for photographers and non-designers. However, manual tools offer more precision for complex artistic work. The trade-off: speed and simplicity versus granular control. For bulk production of straightforward designs, automation wins; for one-of-a-kind custom pieces requiring artistic refinement, manual approaches may be better.
Can laser layer software handle detailed photographs with gradients and shadows?
Results depend on image quality and contrast. High-contrast photos with clear subject separation can produce better layered files than low-contrast or heavily shadowed images. Complex gradients may not translate perfectly into discrete depth layers. Simpler cartoons and logos with defined edges can outperform photorealistic images.
What file formats should laser layer software support for compatibility?
Essential formats include SVG and DXF files for compatibility with LightBurn, xTool Studio, and other control software. SVG is the most universal; DXF ensures compatibility with older machines and CAD workflows. Support for these formats means your layered files will import cleanly without reformatting. Before purchasing, verify that the software exports to your software's native format to avoid compatibility headaches and rework.