
 how-to
Best Way to Layer Images for LightBurn: Step-by-Step
Table of Contents
- What You'll Need Before You Start Layering
- Understanding the Cuts and Layers Window
- Assigning Elements to Layers and Managing Laser Parameters
- LightBurn Image Trace Settings for Clean Vector Layers
- Raster vs. Vector Layering: Which to Use Where
- Using the Offset Tool for Outlines and Cutout Paths
- Previewing Output Before Cutting
- 3D Laser Engraving Techniques: Building Depth with Layers
- Frequently Asked Questions
Last Updated: September 23, 2026
What You'll Need Before You Start Layering
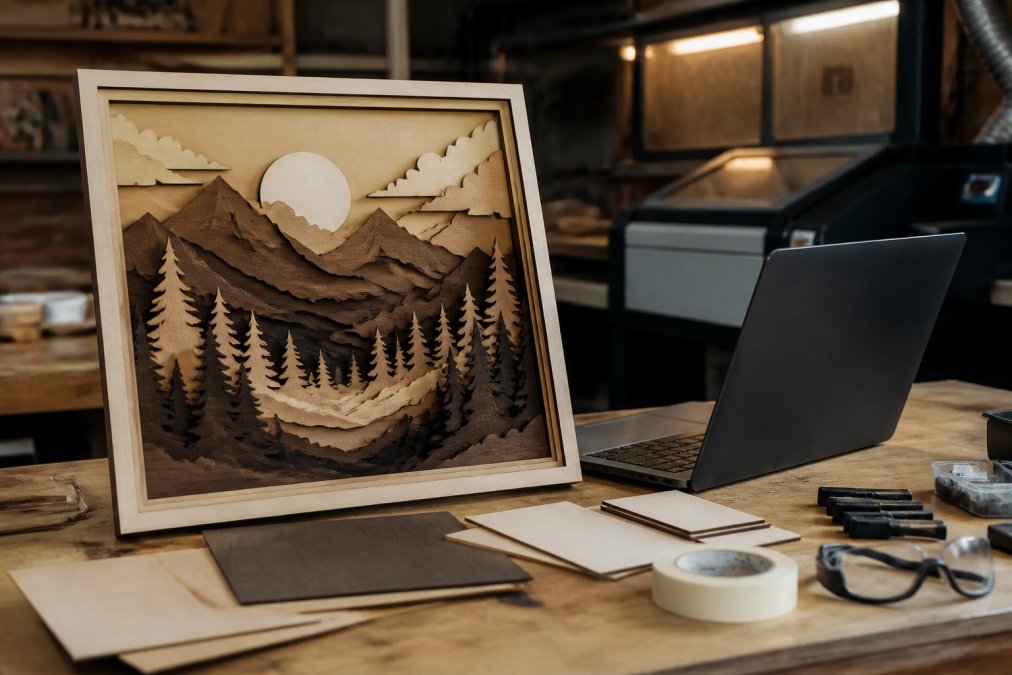
The best way to layer images for LightBurn starts before you open the software. A clean source file saves hours of fixing later.
Here's what to have ready:
- A high-contrast source image (photo, logo, or cartoon)
- LightBurn installed and your laser connected
- Your material measured with calipers
- A test scrap of the same material
- Basic knowledge of your laser's power range
Understanding the Cuts and Layers Window
The Cuts and Layers window is the control panel for every operation in your file. It sits on the right of the LightBurn screen and lists each layer with its own color, mode, and settings.
Reading the Columns
From left to right you get:
- Show/Hide toggle, the eye icon. Turning it off hides the layer from preview and job without deleting anything.
- Layer number, the position in the list, which is also the fire order.
- Color swatch, the layer's display color; double-click to open the picker.
- Mode, Line, Fill, Offset Fill, or Image. The most consequential setting on the row.
- Power / Speed / Passes, per-layer parameters.
- Air Assist, on/off per layer. Air on for cuts, off for fine engraving.
- Output, whether the layer fires at all. Leave it visible but Output off while dialing in settings.
Reading Layer Order and Cut Sequence
LightBurn runs layers top to bottom. Drag a layer up and it fires first, this matters when cutting an outline before engraving the inside, or the part shifts mid-job.
- Layer order controls cut sequence
- Each layer has a color that maps to a preview shade
- The number to the left is the layer's position
- Locked layers can't be edited by accident
Non-Destructive Layer Management
Most tutorials teach you to flatten, merge, or delete as you go, destructive editing that costs you the ability to revise. Treat the Cuts and Layers window as a control surface over an untouched source file.
Three rules keep your work non-destructive:
- Never delete a shape to remove it from the job. Toggle its Output off instead. The shape stays in the file, so you can bring it back without re-importing.
- Keep a hidden "master" layer at the bottom of the list holding your original traced or imported artwork. Leave its Output off. When you need to re-derive a path, copy from the master instead of re-tracing.
- Save a pre-cut version of the file before you run any job. If a test goes wrong, you reopen the pre-cut file rather than undoing twenty steps.
Keyboard Shortcuts for Layer Work
These hotkeys are worth committing to muscle memory:
- Ctrl+D, duplicate the selected object. Useful for cloning a cut path before offsetting it.
- Ctrl+G, group selected objects. Keeps a multi-shape element on one layer as you move it.
- Ctrl+Shift+G, ungroup to reassign individual pieces.
- Ctrl+L, open the Layer settings dialog for the active layer.
- Ctrl+Page Up / Ctrl+Page Down, move the selected object up or down one layer in the stack.
- Tab, cycle through overlapping objects under the cursor.
A common pattern: build the whole design on one layer, then use Ctrl+Page Down to push cut paths to the bottom while engrave layers stay on top. That habit replaces most drag-and-drop fiddling.
Assigning Elements to Layers and Managing Laser Parameters
Select a shape, then click the layer color you want in the Cuts and Layers window; the shape inherits that layer's settings. For multiple objects, shift-click to add each one, then assign them all at once.
Power, Speed, and Pass Count per Layer
Each layer holds its own power, speed, and pass count. These three settings decide how deep the laser bites.
| Setting | What It Controls | When to Raise It |
|---|---|---|
| Power | Beam intensity | Deeper cuts, harder material |
| Speed | Travel rate of the head | Faster jobs, but less burn |
| Pass count | Number of repeats | Thick material, clean edges |
Never guess power settings on a new material. A wrong setting can scorch the surface, crack acrylic, or start a small fire. Run a test grid first.
LightBurn Image Trace Settings for Clean Vector Layers
LightBurn image trace settings convert a raster image into vector paths using contrast and edge detection.
- Import your raster image
- Open the Trace Image tool
- Adjust the threshold slider until edges look clean
- Set the smoothing value to remove jagged nodes
- Preview the trace before committing
- Click OK to generate vector paths
Raster vs. Vector Layering: Which to Use Where
Raster and vector layers do different jobs; pick the wrong one and you lose detail or waste time.
| Feature | Raster Layer | Vector Layer |
|---|---|---|
| Best for | Photos, gradients | Logos, outlines |
| File size | Larger | Smaller |
| Cut speed | Slower | Faster |
| Detail capture | High | Medium |
| Edit flexibility | Low | High |
A Decision Rule You Can Apply in Ten Seconds
Ask two questions in order:
- Does the element need a gradient, a photo, or a continuous tone? If yes, it is raster. Vector fills are flat; they cannot reproduce a smooth shadow.
- Does the element need a crisp edge, a cut, or a score line? If yes, it is vector. Raster edges are pixel-bound and will show stair-stepping at small sizes.
If both answers are yes, a photo with a clean cut border, say, split the element: raster the interior, vector the outline, on separate layers.
How Material Changes the Choice
Material properties drive the layering strategy more than most tutorials admit. The same file behaves differently on wood and acrylic.
Wood (plywood, basswood, walnut):
- Grain direction affects raster engraving depth. Rotate the raster layer 90 degrees and re-preview if the first result looks uneven.
- Wood chars. A vector cut layer needs air assist on and a slightly higher speed than acrylic to avoid a wide, dark kerf.
- Multi-pass raster on wood builds depth predictably. Three passes at moderate power usually reads as a deeper engrave than one pass at high power, with less charring.
Acrylic (cast and extruded):
- Cast acrylic engraves to a frosty white; extruded tends to melt and re-deposit. Raster settings that work on cast will smear on extruded.
- Acrylic cuts with a narrow kerf and a flame-polished edge. A vector cut layer on acrylic can run faster and with less air than on wood.
- Vector fills on acrylic look best with a light score. Keep the fill layer's power low and let the outline carry the visual weight.
Kerf Compensation by Material
Kerf is the width of material the beam removes. It changes with material, focus, and power, so one offset value won't serve every job.
- Wood: kerf commonly lands in the 0.1-0.3 mm range on a diode laser at typical focus. Plywood with voids can widen it unpredictably.
- Acrylic: kerf is usually tighter and more consistent than wood, often 0.1-0.2 mm on the same machine.
- Cardstock and paper: kerf is small but the material is thin, so a 0.1 mm offset can still be visible on a tight fit.
A Combined Workflow for a Photo on Wood
- Import the photo and place it on a raster layer. Set mode to Image and tune power and speed on scrap.
- Trace the outer silhouette to create a vector path. Assign it to a new vector layer.
- Offset that path outward by your measured wood kerf plus margin. Assign the offset to a cut layer.
- Order the stack: raster engrave on top, vector outline in the middle, cut path at the bottom.
- Preview and confirm the cut fires last.
That sequence, raster for tone, vector for edge, offset for kerf, scales across materials. Change the material, change the numbers, keep the structure.
Using the Offset Tool for Outlines and Cutout Paths
The offset tool creates a parallel path around any shape. It's how you build cutout paths that leave a clean border around your engraving.
For a cutout path:
- Select the outer boundary of your design
- Open the offset tool
- Enter a distance slightly larger than your kerf
- Click to generate the offset path
- Assign the new path to your cut layer
Previewing Output Before Cutting
The preview window shows exactly what the laser will do, in order, before you burn anything. It's the last checkpoint before you commit material.
Open preview and watch the sequence. Check that:
- Cut layers fire after engrave layers
- No paths overlap where they shouldn't
- The bounding box fits inside your material
- Travel moves don't cross finished areas
3D Laser Engraving Techniques: Building Depth with Layers
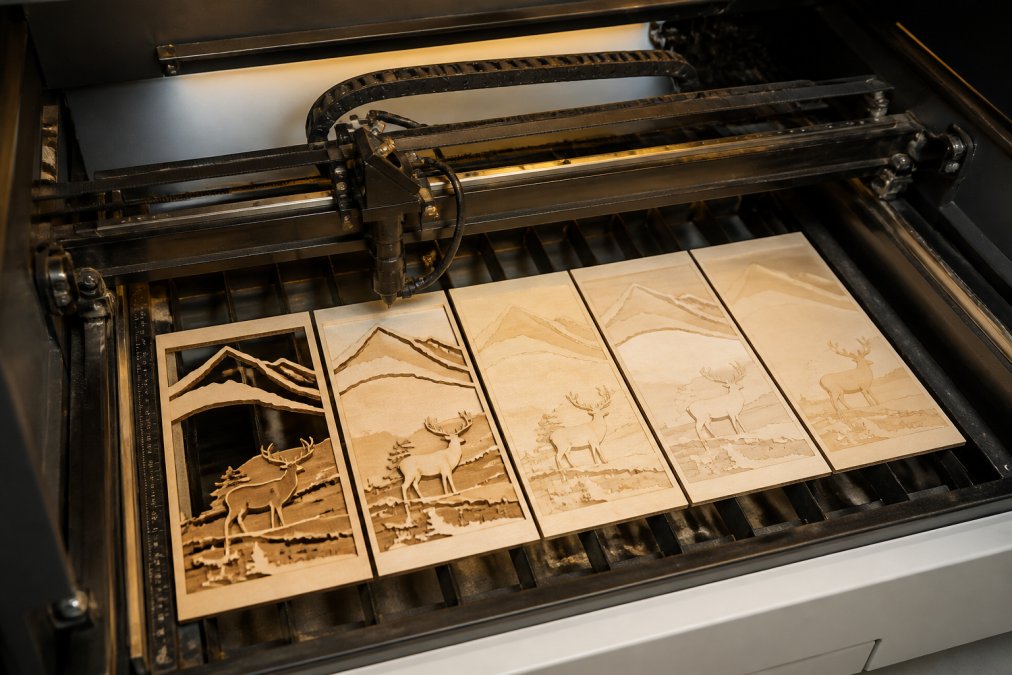
3D laser engraving techniques rely on layering to build depth, with each layer representing a different tone or height.
- Split the image into 3 to 5 tone bands
- Assign each band to its own layer
- Set power and pass count per band
- Order layers from lightest to darkest
- Preview the full sequence
- Run a test on scrap wood
Frequently Asked Questions
How do I split a single image into multiple layers for laser engraving?
Start by separating the image into tonal or depth bands. In LightBurn, trace the lightest areas first, then assign each band to its own layer with its own power and speed settings. A tool like Laser Layer Maker can automate this by splitting a photo into engraving-depth layers and exporting them as LightBurn SVG or DXF files, which saves manual node editing and keeps the layer order consistent.
What are the best LightBurn image trace settings for detailed photos?
For detailed photos, lower the threshold so faint edges are not dropped, and raise the smoothing slightly to reduce stray nodes. Trace one tonal band at a time instead of the whole image at once, then check the preview for gaps. If the result looks noisy, adjust the threshold in small steps rather than re-tracing the entire file, and confirm the vector path matches the raster image before cutting.
Is SVG or PNG better for layered laser engraving projects?
SVG is better for the cut and outline layers because it stores true vector paths that scale without loss. PNG is fine for the raster engraving layer, where the laser fires per pixel to create shading. A typical multi-layer project uses both: a PNG for the depth engraving and an SVG for the offset outline and cutout path, all assigned to separate layers in LightBurn.
How do I align multiple layers in LightBurn for perfect registration?
Keep every layer inside the same bounding box and use the alignment tools to center each element before cutting. Group related objects, then shift-click to select the group and align it to the page or to a reference layer. Lock the base layer so it cannot move, and re-check the preview window after every change. Consistent registration depends on never moving the material between passes.
Layering images well takes practice, and the manual route eats hours per project. Laser Layer Maker removes that step by splitting any image into precise engraving-depth layers and exporting straight to LightBurn SVG, DXF, or xTool Studio. Upload a photo, get a laser-ready file, and spend your time cutting instead of tracing. Get started with Laser Layer Maker and turn your next photo into a finished layered panel.