 how-to
How to Fix Burnt Edges and Gaps on Laser-Cut Layers
Last Updated: November 4, 2026
Quick Summary
Burnt edges on laser cut layers come from too much heat, so raise speed first, then trim power and boost air assist. Gaps are a fit problem caused by uncompensated kerf, so offset every cut path by half the kerf width. Test on the same sheet before cutting the full job.
- A light brown edge on wood is normal heat-affected zone, not excessive burning.
- Kerf equals slot width minus tab width, divided by two, measured with calipers.
- Cut one layer and dry-fit it before committing the whole sheet.
- Cut the same file in fresh known-good wood to tell material defects from setup problems.
- Change only one setting per test square so you know which one fixed the cut.
Table of Contents
- Why Laser Cut Layers Get Burnt Edges and Gaps
- How to Prevent Scorching on Laser-Cut Wood
- How to Remove Laser-Cut Burn Marks
- Laser Cutting Kerf Compensation for Tighter Fits
- Why Laser Cut Layers Are Not Fitting Together
- A Symptom-to-Cause Troubleshooting Chart
- Running a Controlled Test Cut on Your Machine and Material
- Preparing Clean Layer Files Before You Cut
- Frequently Asked Questions
Why Laser Cut Layers Get Burnt Edges and Gaps
Burnt edges and gaps on laser cut layers usually come from too much heat in one spot and too little material where two pieces should meet. This guide from Laser Layer Maker breaks down both problems, because they rarely share the same fix. One is a heat problem.
Most guides treat scorching as the whole story. It isn't. A dark edge means the laser lingered or the air assist failed. A gap means the kerf, the file, or the material is off. Mixing the two wastes time and material.
Below, we'll show you how to tell them apart, fix each one, and run a test cut that proves the fix worked.
Normal Edge Darkening vs. Excessive Burning
A light brown edge on laser-cut wood is normal. It's the heat-affected zone, where the beam scorches the cut face as it passes through.
Excessive burning looks different:
- Deep black, crumbly edges that smear when you touch them
- Burnt corners where the head slowed down to change direction
- Charring that spreads onto the flat face, not just the cut line
If you can wipe the edge with a rag and it stays dark, that's normal. If charcoal powder comes off on your fingers, the cut ran too hot.
How to Prevent Scorching on Laser-Cut Wood
Scorching drops when you cut faster with less power and more air. The goal is to get through the material in one clean pass before heat builds up in the wood.
Here's what most guides miss: power and speed work as a pair. Turning down power without raising speed just means the beam sits longer and burns deeper. Raise speed first, then trim power until the cut still goes through.
Power, Speed, and Air Assist Settings That Reduce Heat
Three settings do most of the work:
- Power: use the lowest setting that cuts through in one pass. Multiple passes pile up heat.
- Speed: faster is cooler. If edges char, speed up before you touch power.
- Air assist: strong airflow blows smoke away and cools the cut. Weak airflow lets smoke residue settle back onto the material.
Check your focus too. A beam focused above or below the surface spreads out, cuts wider, and needs more power to get through. That extra power shows up as burnt edges.
How to Remove Laser-Cut Burn Marks
Watch out: sanding too hard rounds the edge and ruins the fit on interlocking layers. Light passes beat heavy pressure.
Laser Cutting Kerf Compensation for Tighter Fits
Kerf is the width of material the beam removes, and it can cause laser-cut layers not to fit. Every cut is slightly wider than the line you drew, so tabs come out loose and slots come out tight unless you compensate.
Most guides stop at that sentence. The useful part is measuring kerf correctly and applying the offset in a way that survives a real assembly.
Measuring Kerf with a Test Slot
Cut a test slot in the same material, thickness, and sheet you plan to use for the real job. A simple L-shaped coupon works: cut a slot 1 inch wide and a tab 1 inch wide on the same piece, then measure both with calipers.
- Cut a 1 inch slot and a 1 inch tab in one pass at your normal settings.
- Measure the slot width and the tab width with digital calipers, reading to 0.001 inch.
- Kerf equals the slot width minus the tab width, divided by two. If the slot measures 1.008 inches and the tab measures 0.992 inches, kerf is 0.008 inches.
- Record the number on the material label. Kerf changes with material, thickness, focus, and lens, so a number from 1/8 inch plywood does not transfer to 1/4 inch acrylic.
Applying the Offset in Your File
Offset every cut path outward by half the kerf so the finished part lands on the design dimension.
Watch out: applying a single kerf offset to a file with both tabs and slots can double the error if the offset direction is wrong for one feature. Offset tabs and slots separately, or design the file with a shared centerline and let the software handle the direction.
Test-Fit Before You Cut the Whole Sheet
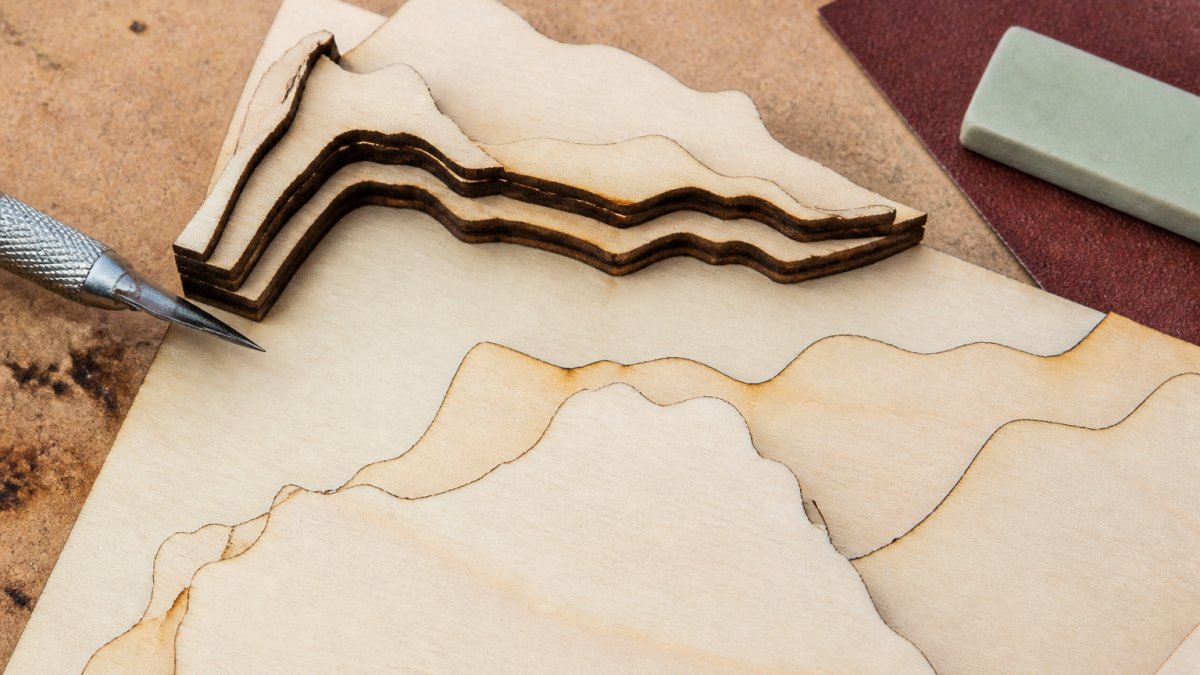
Cut one layer of the assembly, not the full job, and dry-fit it before committing material. A press fit that needs light hand pressure is the target for interlocking layers. If the layer drops in with no resistance, the offset is too small.
For a deeper look at layer separation and assembly tolerances, see our guide to layered wood map design techniques.
Why Laser Cut Layers Are Not Fitting Together
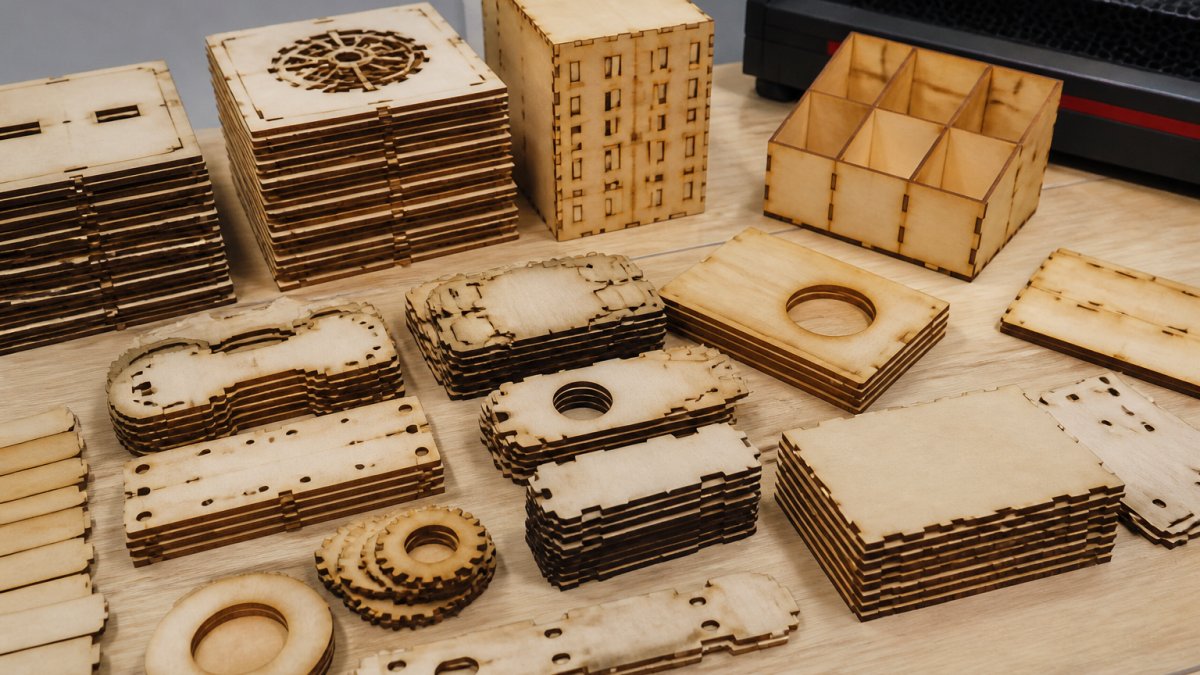
Gaps between laser cut layers are a fit problem, not a heat problem. The usual causes are wrong kerf offset, material thickness that varies from batch to batch, glue lines inside plywood, and files where layers were never designed to share the same registration points.
Telling Material Defects Apart from Machine Setup Problems
Cut the same file twice: once in your current material, once in a fresh sheet of known-good craft wood. If the fresh sheet fits, the problem is the material. If both fail the same way, it's your setup.
Signs of a material defect:
- Glue lines or resin pockets that stop the beam mid-cut
- Layer inconsistency inside the plywood, so thickness changes across one sheet
- Warped boards that lift off the bed and change focus
Signs of a setup problem:
- Gaps that appear on every material, not just one sheet
- Cut-through that fails in the same spot every time
- Layers that fit in the design file but not after export
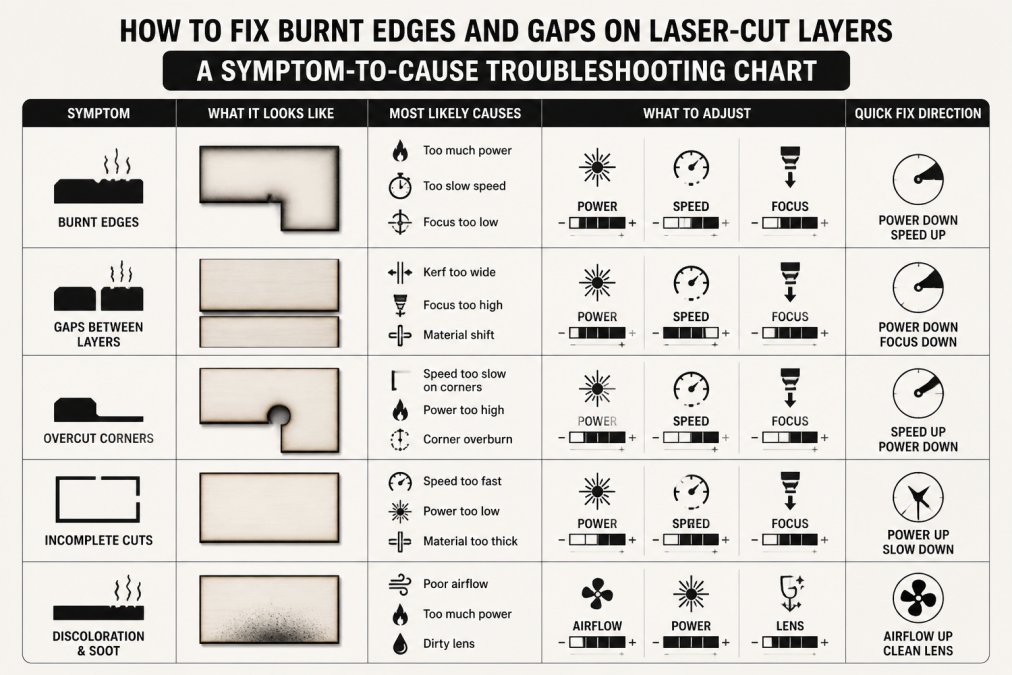
A Symptom-to-Cause Troubleshooting Chart
Use this chart to match what you see to the most likely cause before you change any settings.
| Symptom | Likely Cause | First Fix |
|---|---|---|
| Deep black, crumbly edges | Power too high or speed too low | Raise speed, then trim power |
| Burnt corners | Head slows at direction changes | Lower min power, add corner smoothing |
| Smoke residue on the face | Weak air assist or dirty lens | Boost airflow, clean the lens |
| Layers fit loose | Kerf not compensated | Offset paths by half the kerf |
| Layers fit tight | Over-compensated kerf | Reduce offset, re-test |
| Cut fails in one spot | Glue line or resin pocket | Rotate the layout, swap the sheet |
| Thickness varies across a sheet | Layer inconsistency in plywood | Measure, then re-nest parts |
Running a Controlled Test Cut on Your Machine and Material
A controlled test cut tells you exactly where your machine and material meet, and it is the only reliable way to separate a heat problem from a fit problem. Cut a small grid of squares at different power and speed pairs, all in the same sheet, and label each one. The goal is not to find one magic setting. It is to build a baseline you can repeat when a new batch of plywood arrives.
Laying Out the Test Grid
Use a 3 by 3 grid of 1 inch squares spaced 1/4 inch apart, cut from one sheet of the material you plan to use. Vary speed across the columns and power down the rows, holding focus and air assist constant.
Label each square with a permanent marker before you cut, and keep a paper log with the power and speed for each position. Without the log, the grid is just scrap.
Reading the Results for Both Problems
For each square, record three things: whether the beam cut through, the edge color, and the kerf width measured with calipers.
- Cut-through: a square that does not separate cleanly from the sheet is underpowered or too fast. Note where the cut failed, because a failure in one spot points to a glue line or void rather than a setting.
- Edge color: light brown is normal. Deep black or crumbly edges mean the beam lingered, so raise speed before trimming power.
- Kerf width: measure the slot in each square. Kerf that changes across the grid tells you focus or air assist is drifting, not just power.
That setting becomes your baseline for that material. Re-run the test when you open a new batch of plywood, because thickness and glue content vary between sheets.
Isolating One Variable at a Time
Change only one setting per square. If you move power and speed together, you cannot tell which one fixed the cut.
Watch out: testing on a scrap piece that is a different thickness or from a different batch than the production sheet gives you a baseline that will not transfer. Cut the grid from the same sheet you plan to use.
Turning the Baseline into a Fix
Once you have a baseline, compare it to the symptoms in the troubleshooting chart. If the baseline cuts clean but the production file burns, the file is asking for too many passes or the air assist is restricted. If the baseline cuts clean but the layers still gap, the problem is kerf compensation or material thickness, not the laser settings.
Preparing Clean Layer Files Before You Cut
Clean files prevent half the gaps you'd otherwise chase on the machine. Readers who want to speed up this prep can follow our workflow guide to save time on laser file preparation. For the next step, see how to organize laser cut files for batch production.
A quick file checklist:
- One layer per engraving depth, clearly named
- Kerf offset applied to every cut path
- Registration marks shared across all layers
Laser Layer Maker turns any photo, cartoon, or logo into laser-ready layered files and splits images into engraving-depth layers. If you're building multi-layer files from scratch, our step-by-step workflow for creating multi-layer laser files shows how to set them up fast.
Frequently Asked Questions
How do I laser cut without burnt edges?
Run a test grid on the exact material before production. Lower power and raise speed until the cut just severs the wood, then add air assist at full flow to blow smoke away from the kerf. Keep focus set to the top surface for thin stock. Masking the surface with transfer tape also stops smoke residue from settling on the face. If edges still char, the material may have high glue or resin content, so switch to a cleaner craft plywood.
Why are there gaps between my laser-cut layers?
Gaps usually come from kerf, not burning. The beam removes a small strip of material, so every slot is slightly wider than the line in your file. If your layers were designed at nominal size, they will sit loose. Apply kerf compensation by offsetting cut paths inward by half the kerf width, and confirm material thickness matches the file. Glue lines and inconsistent plywood layers can also change effective thickness across a single sheet.
How do I get rid of burn marks on laser-cut wood?
Start with the lightest method. A soft eraser or a cloth dampened with isopropyl alcohol lifts surface smoke residue without touching the grain. For darker edges, a fine-grit sanding sponge at 220 to 400 grit smooths char without rounding corners. Charcoal powder from the cut can be brushed off with a stiff nylon brush. If the burn goes deep into the edge, cleaning will not fix it, so adjust power, speed, and air assist instead.
How can I make laser-cut layers fit together more accurately?
Build a small test coupon first: cut a slot and tab pair at three or four kerf offsets, then measure which one holds with light hand pressure. Apply that offset to your production file and keep it saved per material. Check that all layers use the same wood thickness and sheet, since plywood can vary between sheets. Exporting layers from a tool that preserves exact dimensions, such as LightBurn SVG or DXF, prevents scaling errors before the file ever reaches the machine.
Burnt edges and gaps both cost you material and time, and they rarely fix themselves with random setting changes. Diagnose the heat problem and the fit problem separately, then prove the fix with a test cut. Laser Layer Maker handles the file side by generating clean, layered exports for LightBurn, DXF, and xTool Studio, with automatic layer splitting and precise engraving-depth control. Get started with Laser Layer Maker and cut cleaner layers that fit the first time.