 how-to
Creating Multi-Layer Laser Files Fast: A Step-by-Step Workflow
Table of Contents
- Why Speed Matters When Creating Multi-Layer Laser Files
- What You'll Need Before Starting
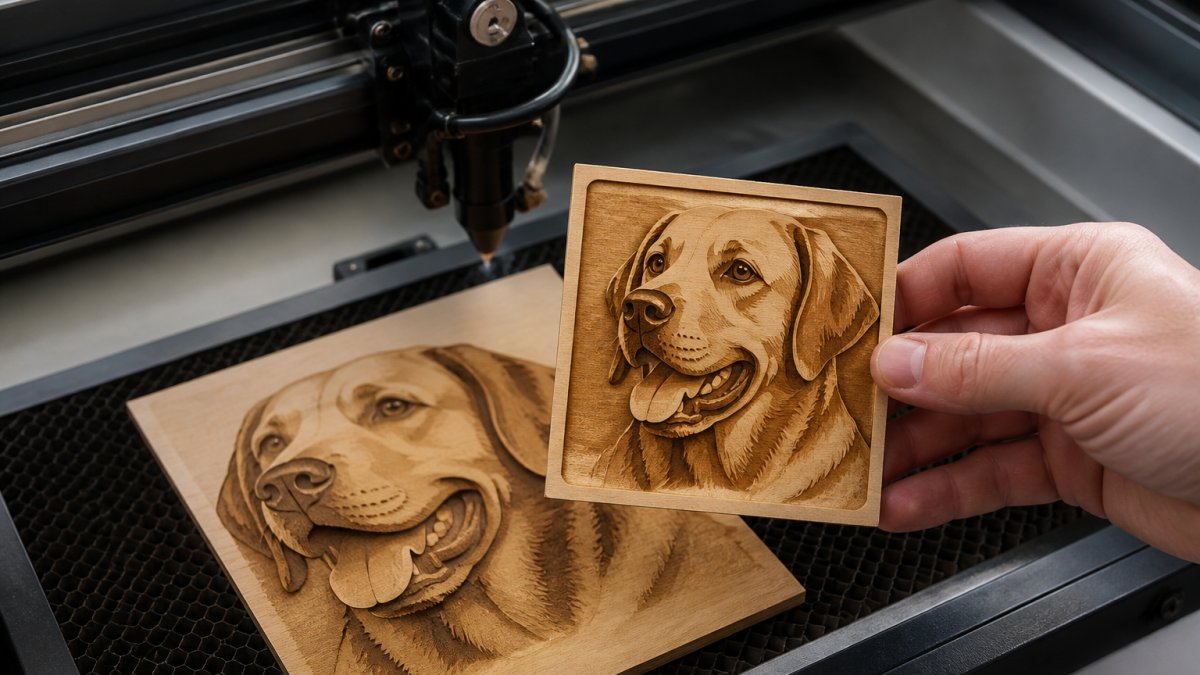
- Converting Photo to Laser Engraving: The Foundation
- Separating Artwork Into Individual Layers
- Understanding Laser Cutting File Formats for Export
- Setting Up LightBurn Layered Design for Production
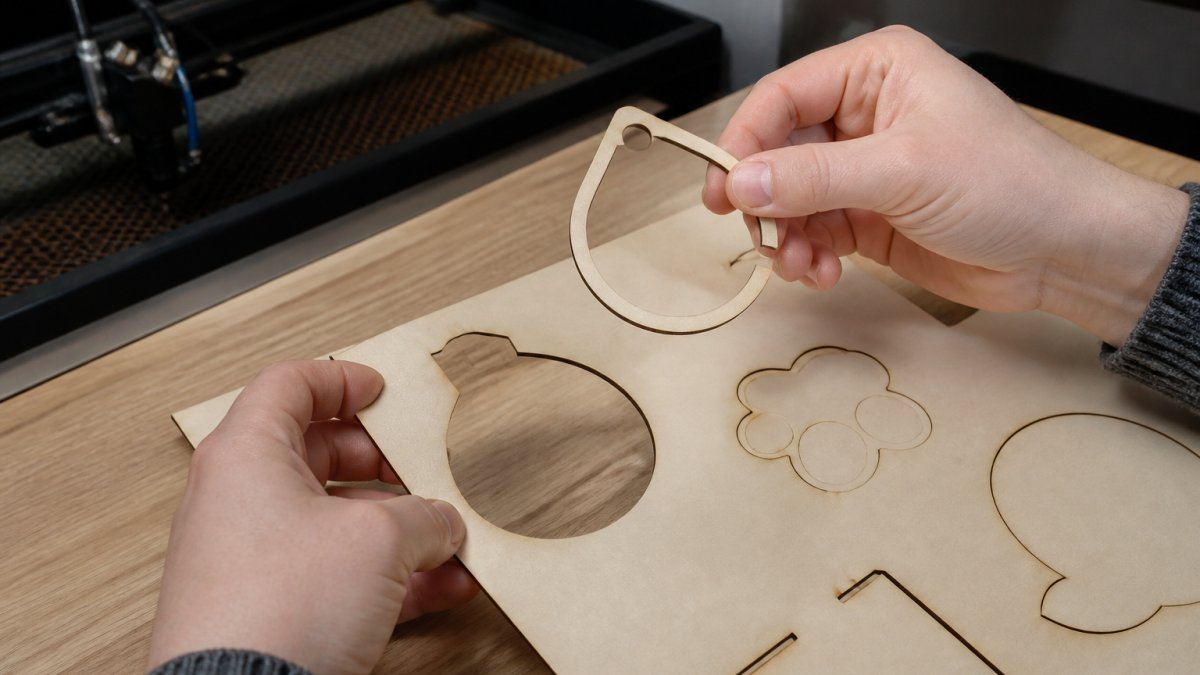
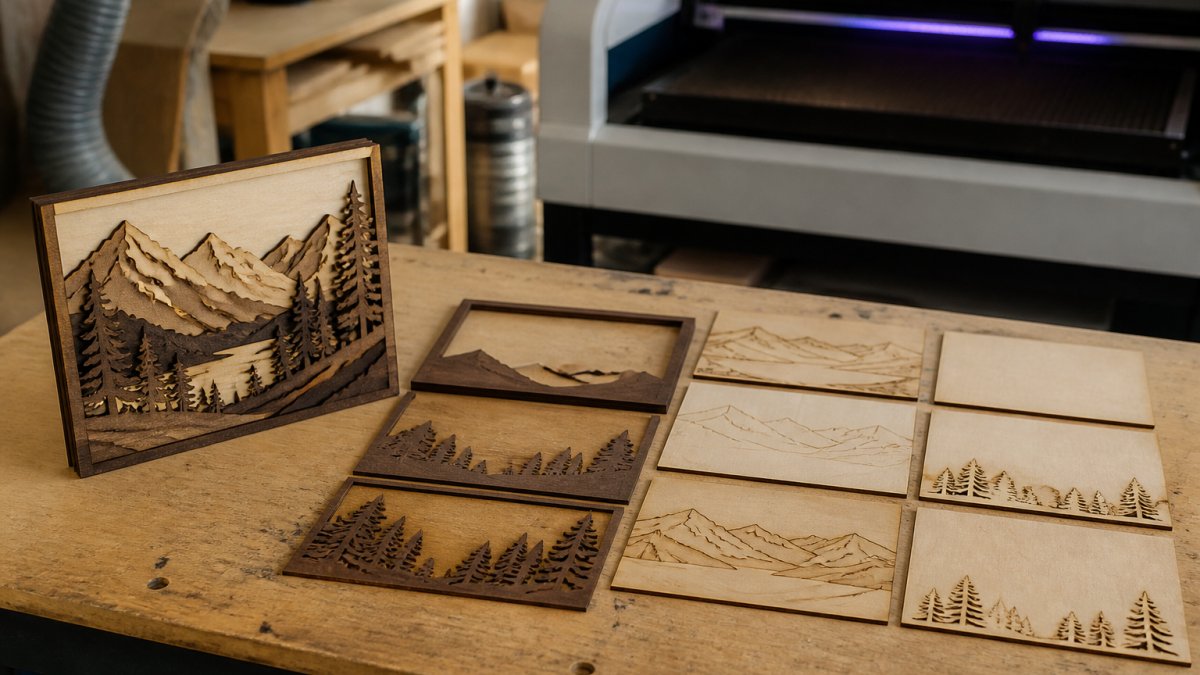
- Designing Laser Cut Multi-Piece Artwork for Assembly
- Common Mistakes to Avoid
- Frequently Asked Questions
Last Updated: October 10, 2026
Why Speed Matters When Creating Multi-Layer Laser Files
Creating multi-layer laser files fast is essential for makers and fabricators. Every hour saved compounds across dozens of orders.
Manual layer separation takes hours per file, opening Adobe Illustrator, importing your image, manually tracing paths, separating colors, and exporting. A single complex design can consume an entire afternoon, killing margins for shops managing hundreds of photos or custom orders.
What You'll Need Before Starting
Software and Tools
You need design software (Adobe Illustrator or Rhino), a laser machine, and a file conversion tool. The bridge between photo and laser-ready file determines whether you spend 30 minutes or 3 hours per project.
Most modern cutters handle SVG and DXF formats. The limiting factor isn't the machine, it's how fast you can prepare files that the machine will accept without errors.
File Formats and Exports
SVG files are vector-based, scale perfectly, and preserve layer information. DXF files are the industry standard and work with nearly every laser cutter. The best workflow uses both: SVG for design, DXF for production backup.
Converting Photo to Laser Engraving: The Foundation
Image Selection and Preparation
Start with high-contrast images. Portraits with distinct shadows and highlights, logos, and cartoons convert best because they have defined shapes.
Use 300 DPI for clean detail without excessive file size. Crop tightly to remove unnecessary background, a tightly framed photo processes faster than one with 50% blank space.
Resolution and Contrast Optimization
High contrast creates clean layer separation. Before converting, increase contrast by 10-20%, reduce shadows slightly, and brighten midtones. Spend 2 minutes optimizing contrast to save 30 minutes of manual cleanup later.
Separating Artwork Into Individual Layers
Automated Layer Separation
Automated tools analyze your image and split it into distinct layers based on tonal values. Laser Layer Maker handles this automatically.
Manual Refinement and Cleanup
Automated separation gets you 80% of the way there. Manual refinement handles the remaining 20%: delete unnecessary layers, merge layers too close in depth, and adjust opacity. You're editing, not building.
Understanding Laser Cutting File Formats for Export
SVG, DXF, and Other Vector Options
SVG files preserve vector paths, layer information, colors, and metadata with resolution-independent scaling. DXF is the industry standard and works with nearly every laser cutter but doesn't preserve color as cleanly. Maintain both: SVG for design iteration, DXF as production backup. Proprietary formats offer machine-specific optimization but lack portability.
Color-Coded Layers and Cut Settings
Each layer in your multi-layer laser file must have a distinct color. When you import into LightBurn, the software reads these colors and maps them to laser settings automatically. If your export strips color information, you lose this automation and revert to manual configuration.
| Layer Color | Typical Use | Laser Setting |
|---|---|---|
| Red | First engraving pass | 30-50% power |
| Blue | Second engraving pass | 60-75% power |
| Green | Cut lines | 100% power |
| Black | Detail work | 80-90% power |
File Preflight: Preventing Export Failures
Before exporting, run a preflight check to prevent duplicate paths, open contours, incorrect scale, and incompatible color spaces. Delete duplicate paths (Select > Object > Stray Points in Illustrator). Close all contours (Stroke > Close Path). Verify document units match your intended output. Use CMYK or grayscale for engraving work. Limit files to 10-15 layers maximum.
Export Checklist for Production
Before you send a file to your laser, verify:
- All layers have distinct, consistent colors (no unnamed or white layers)
- No duplicate paths or overlapping geometry
- All contours are closed (no stray endpoints)
- Document scale matches your intended output dimensions
- File is saved in your target format (SVG or DXF) with layers preserved
- Layer names are clear and match your laser software's naming convention (if applicable)
- Margins are adequate for your laser's cutting area and registration marks are positioned outside the final design
This 2-minute preflight prevents 90% of export-related failures and re-cuts.
Setting Up LightBurn Layered Design for Production
Importing Your Multi-Layer File
Open LightBurn and import your SVG or DXF file. The software reads layer information and displays each layer as a separate element in the layers panel. This is where you verify that your multi-layer laser file imported correctly.
Check that colors are intact. Verify that each layer is visible and distinct. If layers are missing or merged, go back to your source file and re-export.
This verification step takes 30 seconds but prevents failed cuts. A file that looks right in LightBurn will cut right on your laser machine.
Assigning Laser Settings Per Layer
Once imported, assign laser settings to each layer. Click the red layer and set it to 40% power, 100 mm/s speed. Click the blue layer and set it to 65% power, 80 mm/s speed.
These settings depend on your material. Wood engraves at different power levels than acrylic. Hardwoods need more power than softwoods. Test cuts on scrap material first to dial in the right settings for your specific material thickness and type.
The advantage of color-coded layers: you're assigning settings to visual groups, not hunting through a list of unnamed layers. Workflow stays intuitive.
Designing Laser Cut Multi-Piece Artwork for Assembly
Planning Material Thickness and Kerf Compensation
Kerf is the width of material your laser removes during a cut. A typical CO2 laser has a kerf of 0.10-0.15 mm (0.004-0.006 inches). A fiber laser is tighter, around 0.05-0.10 mm.
If you design a joint that's exactly 5 mm wide and your kerf is 0.15 mm, the actual gap will be 5.15 mm wider than intended. Pieces won't fit.
Test your kerf on scrap material first. Cut a simple 5 mm slot and measure the actual width with calipers. Most materials vary slightly: hardwoods cut tighter than softwoods, acrylic cuts differently than plywood.
Material thickness also affects fit. A 1/4-inch (6.35 mm) piece of wood and a 3 mm piece of acrylic won't stack flush. If you're designing a multi-layer piece with mixed materials, account for the thickness difference in your assembly design.
Registration Marks and Alignment Strategy
Registration marks are small reference points on each layer that help you align pieces during assembly. They're typically small circles (5-10 mm diameter) or crosshairs placed at opposite corners of your design, outside the final visible area.
When you cut multiple layers on the same machine, slight variations in material positioning can shift layers by 1-2 mm between cuts. This is normal and unavoidable. Registration marks let you see the shift and adjust during assembly.
Design registration marks into every multi-piece artwork. Place them at least 10 mm outside your final design boundary so they don't show in the finished piece.
During assembly, align the registration marks first by eye or with a light table. Once marks are aligned, the rest of the piece should fit correctly.
Tolerance Stack-Up and Fit Planning
Tolerance stack-up is the cumulative effect of small errors across multiple layers. If each layer has a 0.2 mm error, and you stack five layers, your total error is 1 mm.
For press-fit joints (where pieces snap together without glue), design with 0.1-0.2 mm clearance per layer. Test on scrap first. If pieces are too tight, they'll crack during assembly. If too loose, they'll fall apart.
For glued assemblies, tolerance is less critical because glue fills small gaps. But for mechanical fits (sliding joints, interlocking pieces), tolerance matters.
If you're stacking more than three layers, consider using alignment pins or dowels. Drill small holes (2-3 mm diameter) through all layers at non-visible locations. Insert wooden or plastic dowels to lock layers in perfect alignment.
Assembly Workflow and Quality Control
For production runs, document your assembly sequence. Which layer goes first? Which direction? Where do you apply glue? A simple one-page assembly guide prevents mistakes and speeds up production.
Before you cut your full production batch, cut a single test piece and assemble it completely. Verify that all pieces fit, registration marks align, and the finished piece meets your specifications.
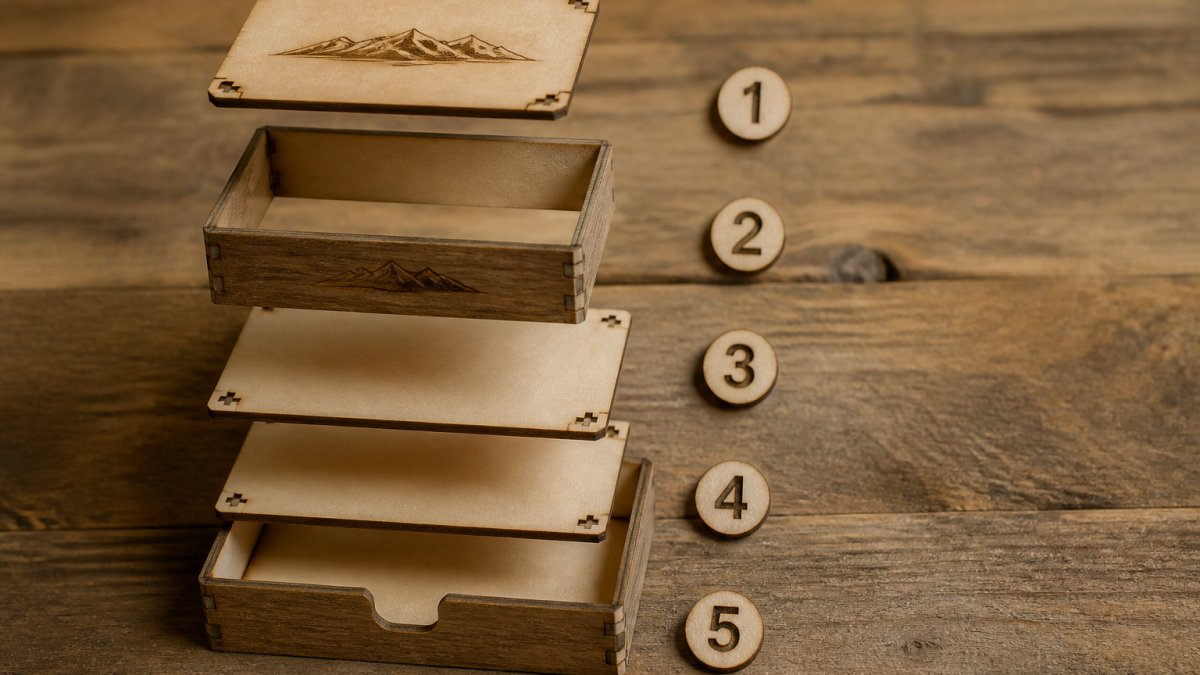
For high-volume production (50+ pieces), consider jigs or fixtures that hold layers in alignment during assembly. A simple wooden frame with alignment pins can reduce assembly time by 50% and eliminate misalignment errors entirely.
Common Mistakes to Avoid
The biggest mistake is skipping image optimization. A poorly prepared photo creates layers that need hours of manual cleanup. Spend 2 minutes optimizing contrast and you save 30 minutes of refinement.
Another common error is exporting without color coding. If your multi-layer laser file doesn't preserve layer colors, you lose the speed advantage entirely.
Ignoring kerf is a costly mistake. Pieces that should fit together don't. You waste material and time on test cuts trying to dial in the right dimensions.
Many makers also underestimate registration mark importance. When you're assembling a 3-layer piece with 50 custom orders per month, registration marks save you hours of troubleshooting.
The last common mistake is not testing your workflow on scrap material first. Every material behaves differently. Wood, acrylic, leather, and fabric all require different laser settings.
Frequently Asked Questions
What file format do I need for laser engraving with LightBurn?
LightBurn accepts SVG, DXF, PDF, and AI files. SVG is the most common choice for multi-layer laser files because it preserves vector paths and color-coded layer information. When exporting from design software, ensure your file uses vector paths rather than raster images. This allows LightBurn to apply different laser settings (power, speed, frequency) to each colored layer independently, which is essential for creating depth in engraving projects.
How do I convert a photo to laser engraving automatically?
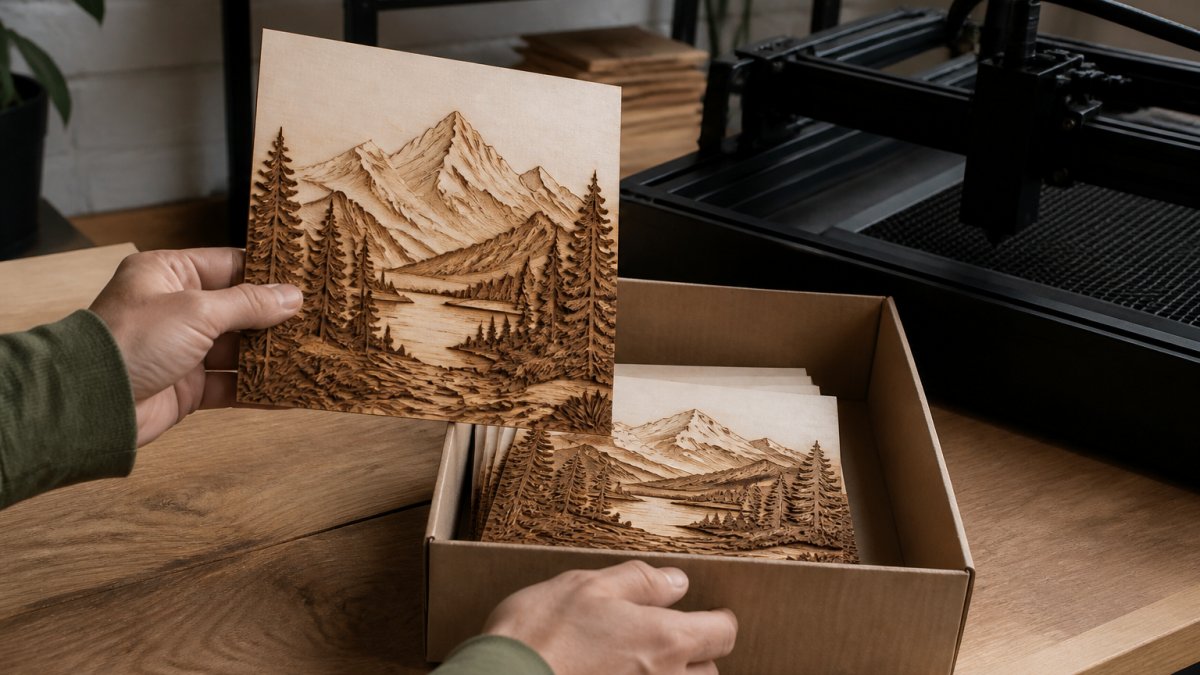
Automated conversion tools analyze your image and separate it into layers based on tonal values or depth information. Upload your photo, specify the number of engraving depth layers you want (typically 3-5 for best results), and the tool generates a multi-layer file ready for export. The output splits light and dark areas into distinct layers, so shallow areas engrave lightly and deep areas engrave with more passes. Always preview the result and adjust layer count if needed before exporting to your laser software.
Can this workflow handle detailed photographs with lots of gradients?
Yes, but with preparation. High-contrast photos with clear subjects work best. For detailed gradients and shadows, increase the number of engraving depth layers (5-7 instead of 3) to capture tonal transitions smoothly. Adjust image contrast and brightness before conversion to emphasize important details. Test a small section first to verify the output quality matches your expectations. Complex photographs may require manual refinement of layer boundaries in your design software.
How do I ensure multi-piece artwork fits together correctly after laser cutting?
Account for kerf (the width of material removed by the laser) in your design spacing. Measure your laser's kerf for your specific material, then subtract that amount from slot widths or add it to tab sizes. Include registration marks on each piece (small corner marks that align when stacked) to verify proper assembly before gluing. Test cut a prototype in scrap material first, assemble it dry, and measure gaps. Adjust spacing in your file if needed before running the full production batch.
Creating multi-layer laser files fast requires the right tools and workflow. Laser Layer Maker automates the image-to-layer conversion, turning hours of manual work into minutes. You upload a photo, the tool separates it into precise engraving-depth layers, and you export ready-to-cut files for LightBurn or xTool Studio. With a streamlined process, you'll complete more custom orders, reduce errors, and focus on the creative work that matters.