 how-to
How to Split Images for Depth Engraving (2026 Guide)
Table of Contents
- How to Split Images for Depth Engraving: Step 1, Prepare the Source Photo
- How to Make a Depth Map for Laser Engraving
- Choosing a Grayscale Image for Laser Engraving
- Step 2: Split the Depth Map into Engraving Layers
- Setting Up LightBurn 3D Sliced Engravings
- Building a Repeatable Layered Laser Engraving Workflow
- Common Mistakes That Ruin Depth Engraving
- Conclusion
- Frequently Asked Questions
Last Updated: October 8, 2026
How to Split Images for Depth Engraving: Step 1, Prepare the Source Photo
Learning how to split images for depth engraving starts long before you open your laser software. It starts with the photo itself. The source image sets your ceiling. No amount of layer tweaking fixes a bad starting file.
So what does a good source photo look like?
- Sharp focus on your main subject, no motion blur
- Even lighting with real shadows, not blown-out highlights
- Clear separation between subject and background
- Decent resolution, ideally 1,000 pixels or more on the short side
The last point matters more than people expect. Depth maps are built from brightness values, so every pixel carries information. Too few pixels means too few depth steps.
Resolution, Contrast, and Cropping Rules
Crop tight before you do anything else. Extra background wastes engraving area and adds depth noise the laser will happily carve into your wood.
Then push contrast. A depth map reads light as "high" and dark as "low," so a washed-out photo produces a shallow, lifeless result. Tools like Adobe's guide to adjusting contrast and levels explain the basics well, and the same logic applies here.
A simple rule: if you squint at the photo and can't tell what's in front and what's behind, neither can your depth map.
How to Make a Depth Map for Laser Engraving
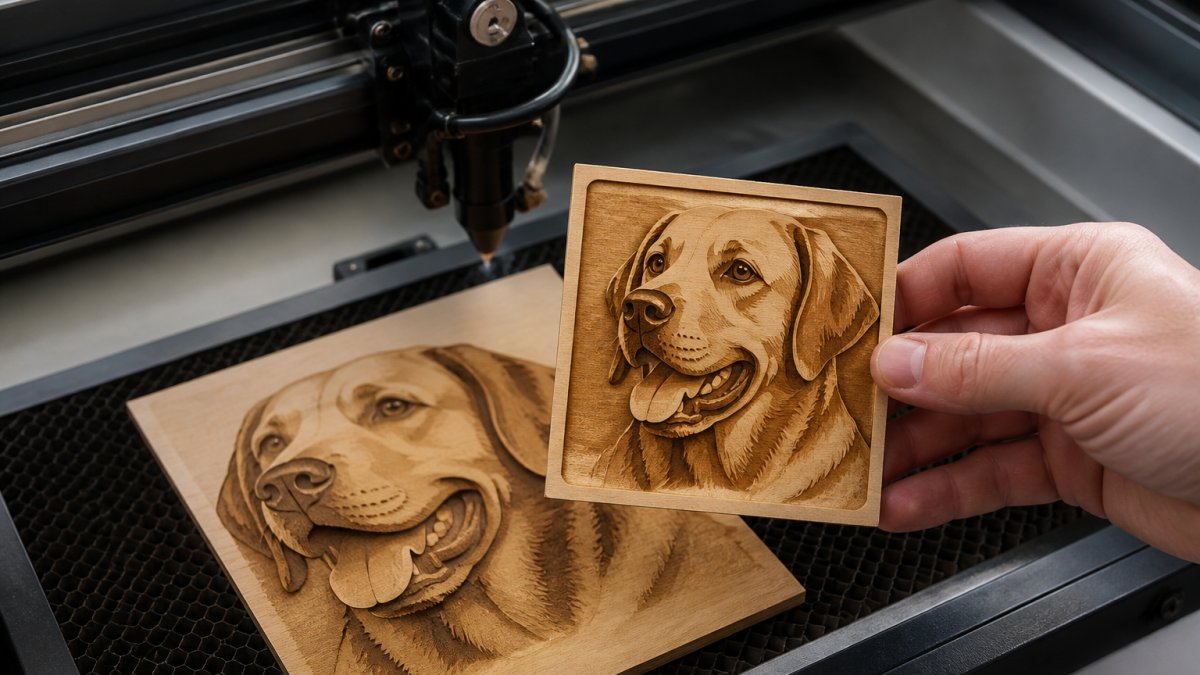
A depth map is a grayscale version of your image where brightness controls engraving depth. White areas engrave deepest or sit highest depending on your setup; black areas stay shallow. It's the bridge between a flat photo and a 3D carved result.
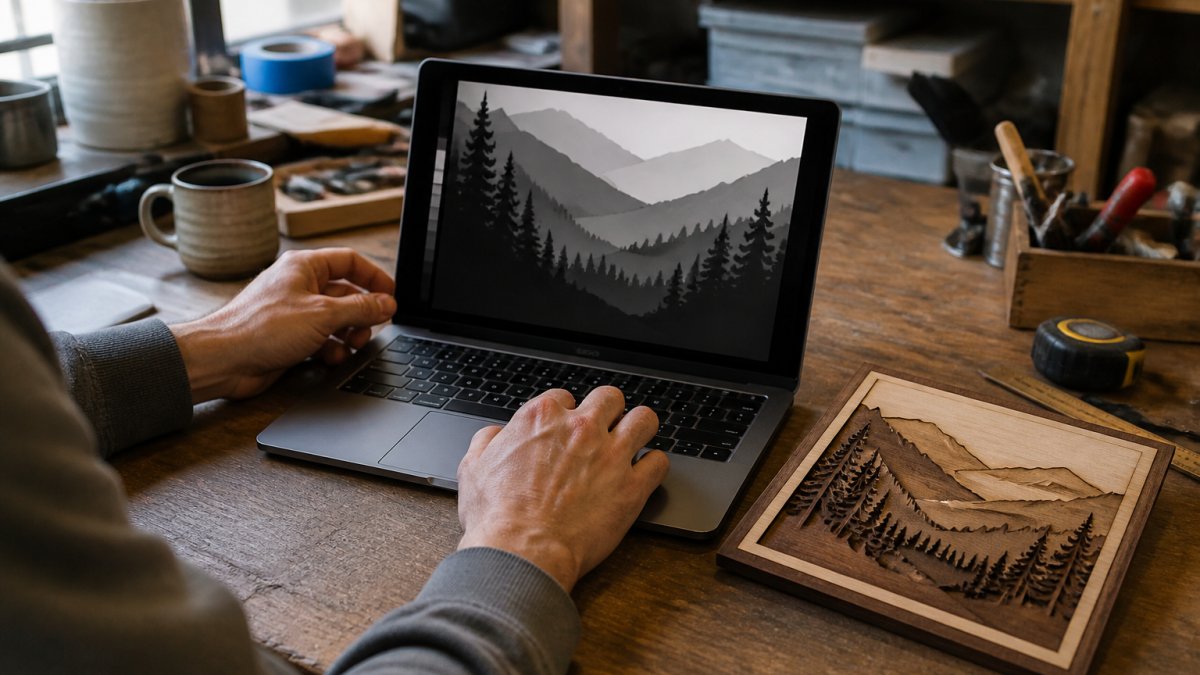
Most creators build one in three ways:
- Manual conversion. Desaturate the photo, then adjust levels by hand. Slow but full control.
- Dedicated software. Purpose-built tools generate a depth map automatically from any image.
- AI-assisted splitting. This is where Laser Layer Maker fits. It reads the image and produces depth layers ready for export.
The manual route works for simple logos. For detailed photos with gradients and shadows, it becomes a slog.
Blur Radius and Edge Falloff
A small blur softens hard edges so depth transitions look natural instead of stair-stepped. Too much blur and your subject melts into the background. Start with a light blur, check the preview, and add more only if edges look jagged.
Edge falloff controls how quickly depth drops off at the borders. Gentle falloff suits portraits. Sharper falloff works for logos and flat graphics.
Choosing a Grayscale Image for Laser Engraving
Picking the right grayscale image for laser engraving comes down to tonal range. You want an image with lots of midtones, not one that's mostly pure black and pure white.
High-contrast images with smooth gradients produce the best depth maps. Think soft studio lighting, not harsh flash.
What to avoid:
- Images with heavy JPEG artifacts
- Photos where the subject blends into the background
- Anything with large flat white areas, which read as maximum depth
- Low-light shots full of noise
If your photo has a busy background, cut the subject out first. A clean silhouette gives the depth map one clear job.
Step 2: Split the Depth Map into Engraving Layers
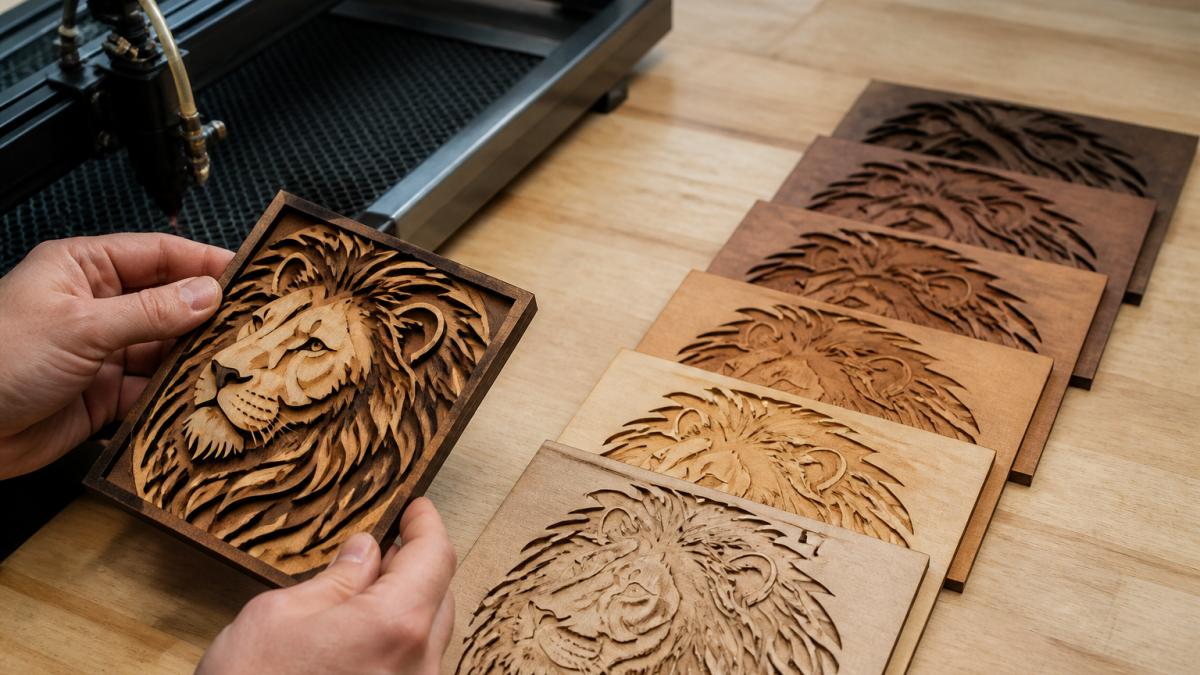
Once your depth map is ready, you split it into layers. Each layer represents a band of depth. The laser engraves each band at a different power or pass count, and the stacked result reads as 3D.
This is the step that separates a flat engraving from one people pick up and tilt toward the light.
How Many Layers You Actually Need
Three to five layers handle most projects. Simple logos often need just two or three. Detailed portraits benefit from five or more.
More layers means smoother depth, but also longer run times and more room for alignment errors. Start with three, look at the result, and add layers only where the transition looks chunky.
| Project Type | Recommended Layers | Why |
|---|---|---|
| Simple logo or icon | 2-3 | Few depth changes, fast runs |
| Cartoon or line art | 3-4 | Clean shapes with light shading |
| Portrait photo | 4-6 | Needs smooth tonal gradients |
| Landscape with sky | 5-7 | Wide depth range front to back |
Setting Up LightBurn 3D Sliced Engravings
LightBurn 3D sliced engravings work by assigning each depth layer its own cut setting. You import the layers, then map each one to a power level or number of passes.
The workflow looks like this:
- Import your layered file into LightBurn
- Check that each layer sits on its own cut layer
- Set power and speed per layer, deeper bands get more power
- Run a small test piece before committing to your final material
- Adjust and re-run
Get the layer order right. If a shallow layer runs before a deep one, you'll carve over detail you meant to keep.
Export formats matter here too. Laser Layer Maker exports directly to LightBurn SVG, DXF, and xTool Studio, so you skip the manual re-layering that eats time on every project.
Building a Repeatable Layered Laser Engraving Workflow
A layered laser engraving workflow is only useful if you can run it again next week without relearning it. That means writing down your settings and keeping your source files organized.
Here's a recommended process:
- Save the original photo, untouched
- Save the depth map as a separate file
- Save the layered export with a clear name
- Log the material, power, speed, and pass count
- Photograph the finished piece for reference
That log becomes your shortcut. When a customer orders the same style again, you're not guessing.
For creators running volume, this is the difference between a hobby and a shop. Etsy's seller handbook on scaling production makes a similar point about systems beating improvisation.
Common Mistakes That Ruin Depth Engraving
The biggest mistake is treating depth engraving like a standard engraving job. It isn't. Depth work needs different settings, different files, and more patience.
Common mistakes include:
- Using a low-resolution photo. Garbage in, garbage out.
- Too many layers on a simple design. Overkill adds run time and error.
- No test piece. You'll learn the hard way.
- Ignoring material differences. Birch plywood and walnut behave nothing alike.
- Forgetting to invert the depth map. Some setups need black as deep, some as shallow. Check before you burn.
Each of these costs material and time. Fix them once and your output gets consistent.
Conclusion
Depth engraving rewards preparation. Get the source photo right, build a clean depth map, and split it into the right number of layers. Do that, and the laser does the rest.
If layer prep is the part slowing you down, Laser Layer Maker handles it. Our tool turns any photo, cartoon, or logo into laser-ready layered files, splitting images into precise engraving-depth layers automatically. Export straight to LightBurn SVG, DXF, or xTool Studio and skip the manual rebuild. Get started with Laser Layer Maker and turn your next photo into a finished, layered piece.
Frequently Asked Questions
How many layers should a depth engraving have?
The number of layers depends on the project's complexity. More layers can create smoother depth transitions, but also increase file size and machine time. Run a small test tile before committing a full sheet.
How do grayscale values control engraving depth?
In a depth map, each pixel's brightness tells the software how deep to cut. White means the surface stays untouched, black means the deepest pass, and midtones sit in between. When you split that map into layers, every band of gray becomes one engraving pass at a fixed power setting. That is why a smooth grayscale image for laser engraving produces gradual relief instead of flat, stamped-looking results.
What software can create depth maps for laser engraving?
You can build one manually in Photoshop or GIMP using blur, curves, and threshold adjustments. LightBurn handles the slicing step once the map exists. Dedicated tools such as Laser Layer Maker automate the whole chain, turning a photo, cartoon, or logo into engraving-depth layers and exporting directly to LightBurn SVG, DXF, or xTool Studio, which cuts the manual threshold work on high-volume orders.
Do I need to calibrate depth engraving before running a full sheet?
Yes. Wood density varies between species and even between boards, so the same power and speed settings produce different depths on basswood, birch plywood, and walnut. Cut a small test tile with your layer stack, then adjust power or speed until the relief matches your design.