
 how-to
Save Time on Laser File Preparation: A Workflow Guide
Table of Contents
- Why Laser File Preparation Slows You Down
- How to Prepare Photos for Laser Engraving Efficiently
- Using Vectorize Image Software to Automate Conversion
- Best Practices for Laser Cutting Files
- Building a Pre-Flight Checklist for Error Prevention
- Automating Repetitive Tasks with Scripts and Plugins
- Frequently Asked Questions
Last Updated: September 27, 2026
Why Laser File Preparation Slows You Down
Most creators waste hours preparing files for laser production, converting images, adjusting layers, fixing formatting errors. The bottleneck isn't the laser itself. It's everything that happens before the job runs.
For high-volume operations, Etsy shops with hundreds of tumbler designs or fabrication shops handling custom signage, file preparation is the biggest production drag. A designer spending 30 minutes per file on layer management and vector conversion wastes 10-15 hours per week on repetitive tasks that should be automated.
The typical workflow: receive a photo or logo, manually vectorize it, split into depth layers, adjust line weights, check color mapping, export in the correct format, then catch mistakes during pre-flight. If something's wrong, you start over.
The real time savings come from eliminating manual conversion steps and building workflows that handle batch processing automatically, that's where efficiency gains compound.
How to Prepare Photos for Laser Engraving Efficiently
Efficient laser file preparation starts with understanding what your machine needs. Different machines, LightBurn, xTool Studio, DXF-based systems, require different file structures and layer organization. Deliver files in the exact format your equipment expects to move faster from design to production.
The process breaks into three core steps: convert your source image to vector format, organize layers for engraving depth, and validate the file before sending it to the laser.
Converting Raster to Vector Graphics
Raster images (photos, screenshots, bitmap files) can't be engraved like vector graphics. Raster files use pixels in a grid; vector graphics use mathematical paths that scale infinitely without quality loss and engrave with precision.
Manual conversion means tracing every edge by hand in Adobe Illustrator or Inkscape, 15-30 minutes for a simple logo, hours for detailed photographs, often with rough results.
High-contrast images convert more cleanly than photos with gradients. Simple logos convert faster than detailed artwork. Heavy shadows or complex gradients require manual cleanup.
Focus on shapes and outlines you need to engrave. Remove unnecessary background detail and simplify complex areas. Fewer nodes mean faster laser head travel and cleaner results.
Scaling and Dimension Accuracy
Laser cutting requires 1:1 scale accuracy. Set your document dimensions to match your material size, if engraving a 2-inch tumbler, your canvas should reflect that constraint. Place artwork at the exact scale it will engrave.
Common mistake: designers work at screen resolution and forget to check actual dimensions. A design that looks right on a 1920-pixel monitor might be 12 inches wide when exported. Check scale before finalizing.
For raster elements in engraving, use at least 300 DPI for clean results. Lower DPI creates visible pixelation on curved edges.
Using Vectorize Image Software to Automate Conversion
Automated vectorization software analyzes photos or logos, detects edges and shapes, and generates vector paths instantly. The best tools let you adjust color depth, path simplification, and detail level before finalizing.
Quality depends on source image and software. Clean, high-contrast images produce excellent results; blurry photos or heavy gradients require manual cleanup.
Choosing the Right Tool for Your Workflow
The best choice depends on your workflow. For high-volume processing, integration with laser software matters more than perfect output on every file. For high-end custom pieces, quality matters more than speed.
Batch Processing for High-Volume Orders
Batch processing saves the most time. Upload 50 files, set parameters once, and let the software process all automatically. For high-volume sellers, this cuts conversion time from hours to minutes.
Best Practices for Laser Cutting Files
Professional laser file preparation follows consistent standards. The difference between a file that prints beautifully and one that causes machine errors often comes down to these practices.
Layer Management and Color Coding
Use color coding for different functions: red for cutting, blue for engraving, green for scoring. Name layers clearly, "Cut Outline," "Engrave Detail," "Score Fold Line", not "Layer 1," "Layer 2," "Layer 3."
Path Optimization and Node Reduction
Fewer nodes mean faster laser head travel and smoother curves. Most vector software includes node reduction tools: "Simplify Path" in Illustrator and Inkscape, automatic optimization in LightBurn.
Building a Pre-Flight Checklist for Error Prevention
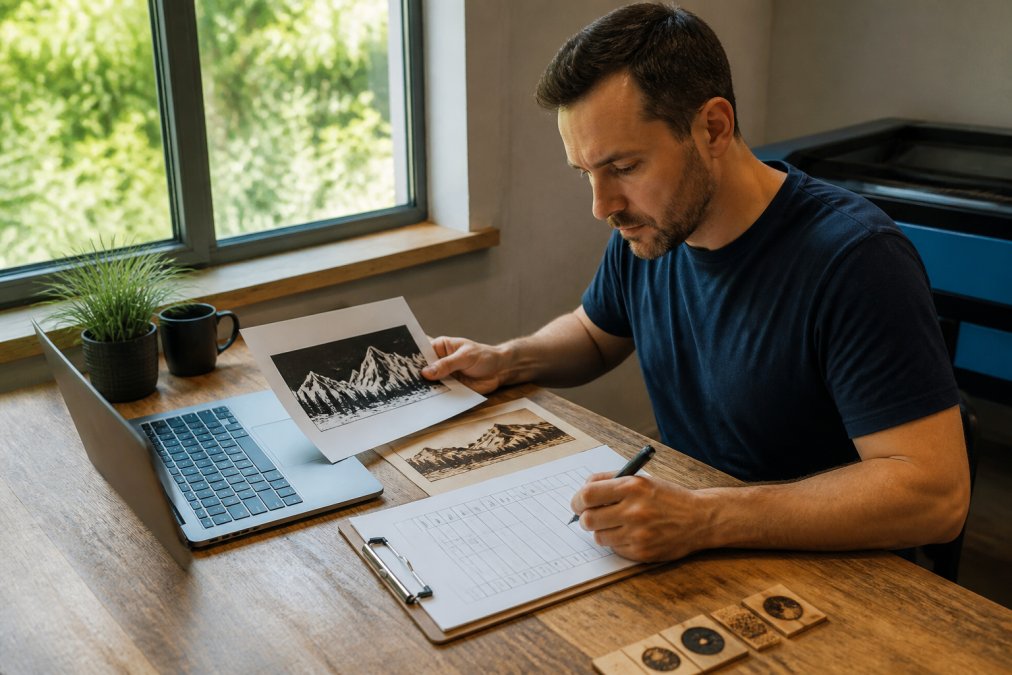
A professional pre-flight checklist takes 2-3 minutes per file and prevents 90% of production errors.
- File format matches your machine (SVG for LightBurn, DXF for most laser cutters, xTool format for xTool machines)
- All dimensions are set to 1:1 scale
- Color coding is correct (cutting paths are the right color, engraving paths are the right color)
- No stray nodes or open paths that will cause the laser to pause
- Text is converted to outlines (not editable text)
- Layers are organized and named clearly
- No objects outside the material boundary
- Power and speed settings are appropriate for the material
Common File Formatting Errors to Catch
Text not converted to outlines causes frequent errors, the software substitutes fonts or fails to engrave. Convert all text to paths before export. Stray nodes and open paths create unexpected pauses; run a "cleanup" function to remove them.
Troubleshooting 'Misread' Errors Before Production
"Misread" errors happen when your laser software interprets your file differently than you intended. A path meant for cutting gets treated as engraving. A layer meant to be ignored gets processed.
Automating Repetitive Tasks with Scripts and Plugins
Once you've built a reliable workflow, automation plugins and scripts eliminate the manual steps you repeat on every single file. For high-volume production, these automations compound into massive time savings.
Where Automation Saves the Most Time
Identify which tasks you perform identically on every file:
- Resizing artwork to specific dimensions (e.g., all tumbler designs must be 3.5 inches wide)
- Applying consistent power and speed settings to specific layers
- Converting all text to outlines before export
- Removing stray nodes and simplifying paths to a standard threshold
- Arranging multiple designs on a material sheet with consistent spacing
- Exporting to multiple formats simultaneously (SVG for LightBurn, DXF for other machines)
- Applying consistent color coding to layer types
Scripting in LightBurn
Common LightBurn script use cases:
-
Batch resize: A script that opens each file in a folder, resizes all artwork to 4 inches wide, and exports to a new folder. This eliminates manual resizing across dozens of files.
-
Layer-based power/speed assignment: A script that reads layer names and automatically assigns power and speed settings. If your layer is named "Engrave_Deep," the script sets power to 80% and speed to 40%. If it's "Engrave_Light," it sets power to 40% and speed to 80%.
-
Nesting automation: A script that imports multiple files from a folder, arranges them on your material with consistent spacing, and creates a single production file.
-
Pre-flight validation: A script that checks for common errors (stray nodes, open paths, objects outside material boundary) and flags problems before sending to the laser.
Scripting in Adobe Illustrator and Inkscape
Common Illustrator automation:
-
Batch export to laser formats: A script that opens all files in a folder, converts text to outlines, simplifies paths, and exports to SVG and DXF simultaneously.
-
Consistent layer structure application: A script that reads a template file, applies its layer structure to all files in a batch, and renames layers consistently.
-
Artboard-based nesting: A script that arranges multiple artboards on a single canvas with consistent spacing for production.
Plugin Ecosystems and Third-Party Automation
Beyond built-in scripting, specialized plugins extend automation capabilities:
-
LightBurn plugins: Community-developed plugins add features like automatic nesting optimization, material-specific settings libraries, and production tracking.
-
Illustrator plugins: Tools like "Astute Graphics" and "VectorScribe" automate path optimization, node reduction, and design cleanup. These aren't laser-specific but save time on file preparation.
-
Inkscape extensions: The Inkscape extension repository includes laser-specific tools for path optimization and DXF export optimization.
Building Your First Automation Script
-
Document the exact steps you perform manually. Write them down in order.
-
Check if your software has a built-in macro recorder. Many design tools let you record actions and replay them. This is the easiest entry point to automation.
-
If recording isn't available, research existing scripts in community forums or GitHub. Odds are someone has already solved your specific problem.
-
Test on a small batch (5-10 files) before running on your full production queue.
-
Refine and document your script so other team members can use it.
Measuring Automation ROI
- Setup time: 2-8 hours to write or configure a script (or 30 minutes if using a pre-built script).
- Per-file time saved: 2-5 minutes depending on the task.
- Break-even point: If a script saves 3 minutes per file and you process 50 files per week, you save 150 minutes (2.5 hours) weekly. The script pays for itself in 1-3 weeks of production.
Frequently Asked Questions
Do I need to vectorize images before laser engraving?
Not always. Simple logos and line art benefit from vectorization, but detailed photographs can be engraved as rasters with proper DPI settings. The choice depends on your material and desired detail level. Vectorization works best for designs with solid colors, clean lines, and limited gradients. For photorealistic results on wood or acrylic, raster engraving at 300+ DPI often produces better depth variation and shading.
What file formats are best for laser cutting and engraving?
SVG, DXF, and PDF are the most reliable formats for laser machines. SVG works well for vector graphics and scales without quality loss. DXF is industry-standard for precision cutting and imports cleanly into LightBurn and xTool Studio. PDF preserves layer information and color coding. Avoid JPEG and PNG for cutting, they're raster formats and require conversion first. Always export at 1:1 scale to match your design dimensions exactly.
How can I convert photos to laser-ready files faster?
Automated vectorization software cuts conversion time from hours to minutes by analyzing image content and generating vector paths automatically. Batch processing workflows let you process dozens of photos in one pass instead of manually converting each file. Pre-made templates and layer presets for common products (tumblers, plaques, coasters) eliminate repetitive setup steps. Scripting and plugin automation in LightBurn or xTool Studio can automate color mapping, scale adjustments, and export tasks across multiple files.
What are the common bottlenecks in laser file preparation?
Manual layer splitting from raster images, manual path optimization and node reduction, inconsistent color mapping across projects, repetitive scaling and dimension adjustments for high-volume orders, and file compatibility issues between design software and machine software. Pre-flight errors, like incorrect DPI, wrong line weights, or misaligned cutting geometry, often force rework. Batch processing automation, standardized templates, and automated vectorization eliminate most of these delays.