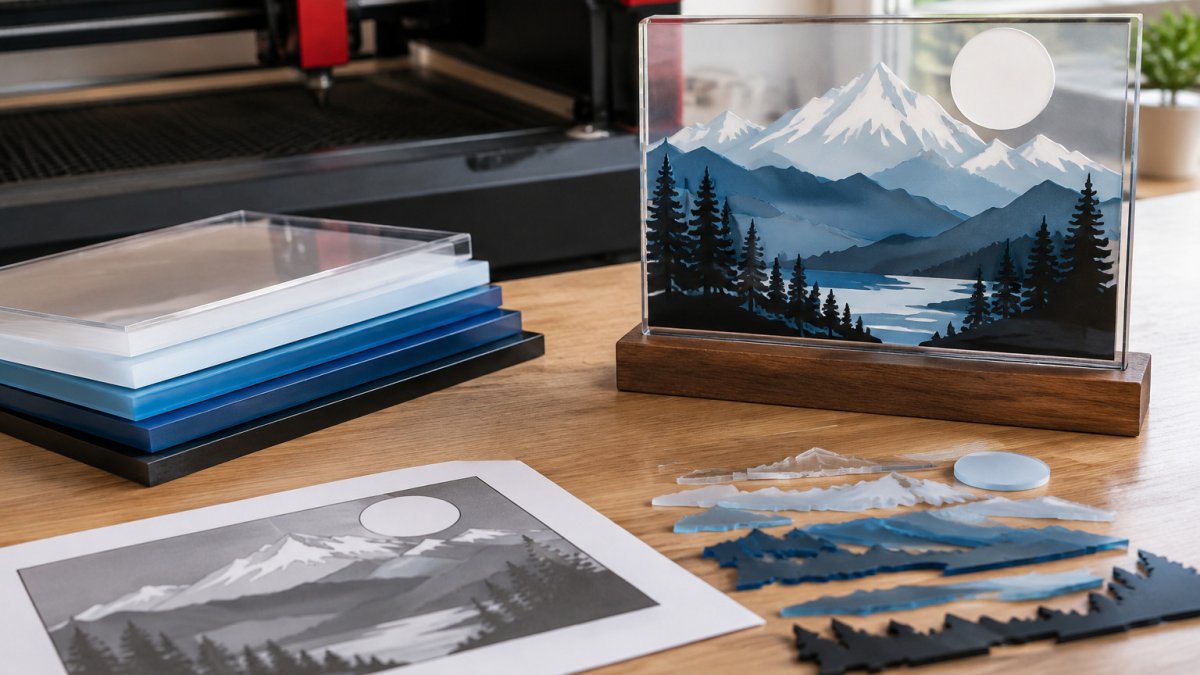
 how-to
What Are the Best File Settings for Multi-Layer Acrylic Engraving?
Last Updated: November 5, 2026
Quick Summary
The best file settings for multi-layer acrylic engraving start with clean layer separation, a consistent color map where each color maps to exactly one operation, and a documented test grid you can repeat. Build the file as vector SVG cut lines plus raster engraving at 300 to 600 DPI, then calibrate power, speed, and passes on scrap of the same acrylic before production.
- Cast acrylic engraves to a clean, frosty white and is the safer choice for multi-layer work.
- Keep engrave art as raster at 300 to 600 DPI and cut lines as true vectors.
- Assign each color one job: black deepest engrave, red mid-depth, blue shallow, green cut.
- Place registration marks top-left and bottom-right, or use an L-shaped fence jig.
- Cap layers on tri-layer acrylic are often 0.1-0.3 mm, so test each depth separately.
Table of Contents
- Why Multi-Layer Acrylic Engraving Fails Without the Right File Settings
- What You'll Need Before You Set a Single Parameter
- Step 1: Build the File With the Best File Format for Laser Engraving
- Step 2: Set Up Layers and Color Mapping for Multi-Layer Acrylic Engraving
- Step 3: Dial In LightBurn Acrylic Engraving Settings
- Step 4: Run an Acrylic Engraving Test Grid and Document the Results
- Step 5: Master Tri-Layer Acrylic Engraving Depth and Cap Layers
- Common Mistakes to Avoid and How to Troubleshoot by Visible Defect
- Frequently Asked Questions
Why Multi-Layer Acrylic Engraving Fails Without the Right File Settings
Most failed multi-layer acrylic engraving jobs trace back to the file, not the machine. The laser fires exactly where the file tells it to, at the depth the parameters allow.
A common pattern in failed jobs is strong artwork paired with weak structure.
This guide won't hand you a magic settings number. Wattage, tube condition, lens, and acrylic construction all shift the result.
What You'll Need Before You Set a Single Parameter
Gather four things before you open your laser software: the acrylic, a test piece you can sacrifice, your machine's specs, and a way to record results.
- The actual acrylic sheet you plan to use, not a scrap of a different type
- A second small piece for a test grid
- Your laser's wattage and lens focal length
Acrylic Type, Thickness, and Laser Compatibility
Cast and extruded acrylic behave differently under the beam. Cast acrylic engraves to a clean, frosty white and is the safer choice for multi-layer work.
Thickness governs passes. A 3 mm sheet cuts in one pass on most CO2 lasers; 6 mm and up often need two or three.
CO2 lasers handle acrylic best. Diode lasers struggle with clear acrylic because the beam passes through it, and they often need a marking agent.
Step 1: Build the File With the Best File Format for Laser Engraving
The best file format for laser engraving is vector SVG for cut lines and raster imagery for engraving fills, exported at a resolution your machine can use.
A reliable way to build the file:
- Design in your vector editor at final size, in millimeters.
- Keep engrave art as raster at 300 to 600 DPI.
- Keep cut lines as true vectors, not traced bitmaps.
- Export as SVG for LightBurn, or DXF if your workflow requires it.
- Import into your laser software and check that layers survived the export.
If file prep is eating your production time, a faster laser file preparation workflow can shave hours off each batch. And if you're weighing conversion tools, this review of laser file conversion software covers what to look for.
Watch out: exporting raster art at low resolution and scaling it up later produces a soft, muddy engrave no power setting can fix.
Step 2: Set Up Layers and Color Mapping for Multi-Layer Acrylic Engraving
Color mapping is where multi-layer acrylic engraving succeeds or fails. Each color in your file should map to exactly one operation: one engrave depth, one cut, or one score.
Set up your layers like this:
- Black: deepest engrave, highest power or slowest speed
- Red: mid-depth engrave
- Blue: shallow engrave or surface mark
In LightBurn, open the Cuts/Layers panel and assign each color its own layer with its own mode.
Keeping these files tidy across repeat runs matters. A system for organizing laser cut files for batch production pays for itself the first time you reorder a design.
Registration and Alignment Across Layers
Registration marks keep every layer locked to the same origin. Place two marks outside the artwork area, top-left and bottom-right. Cut them into a sacrificial layer or score them lightly so you can re-align the sheet between passes.
For multi-sheet projects, use a physical jig: a simple L-shaped fence screwed to the bed. Drop each sheet into the same corner and the layers line up without re-homing, eliminating most alignment drift.
Step 3: Dial In LightBurn Acrylic Engraving Settings
LightBurn acrylic engraving settings are a starting point, not a guarantee. Begin with a conservative preset, then adjust one variable at a time: power first, then speed, then line interval. The goal is a small, documented matrix for your machine, lens, and acrylic.
The variables that matter:
- Power: controls engraving depth and darkness
- Speed: controls how long the beam dwells
- Passes: adds depth without raising power
Power, Speed, Passes, and Focus by Wattage
Wattage changes everything. A 40 W CO2 laser needs slower speeds than an 80 W or 130 W machine for the same depth.
| Wattage | Engrave Starting Point (power / speed) | Cut Starting Point (power / speed) | Typical Passes (3 mm cast) |
|---|---|---|---|
| 40 W | 15-20% / 200-300 mm/s | 60-70% / 8-12 mm/s | 1 |
| 60 W | 20-30% / 300-400 mm/s | 65-75% / 12-18 mm/s | 1 |
| 80 W | 25-35% / 400-500 mm/s | 70-80% / 18-25 mm/s | 1 |
| 130 W | 30-40% / 500-700 mm/s | 75-85% / 25-35 mm/s | 1 |
These ranges assume a 2-inch (50 mm) lens focused at the surface, air assist on, and a line interval of 0.10-0.15 mm for engraving.
Focus at the surface for engraving; drop it slightly (about 1-2 mm into the material) for cutting thicker sheet.
A Repeatable Calibration Workflow
A settings matrix is only useful if you can reproduce it. Run a controlled calibration before every new acrylic type or thickness:
- Cut a 50 mm × 50 mm test square from the actual sheet you plan to use.
- Engrave a 5 × 5 grid of 5 mm squares, with power increasing by row and speed increasing by column.
- Label each square with its settings before removing the sheet.
- Record the best result in a log with date, acrylic type, thickness, lens, and wattage.
- Repeat the winning setting on a second scrap to confirm it is repeatable.
Store the log next to the laser so the next operator can repeat your results. A preset without its conditions is just a guess.
Step 4: Run an Acrylic Engraving Test Grid and Document the Results
An acrylic engraving test grid is a small panel engraved with a matrix of power and speed combinations, labeled so you can compare results side by side. It is the only reliable way to find your machine's real numbers.
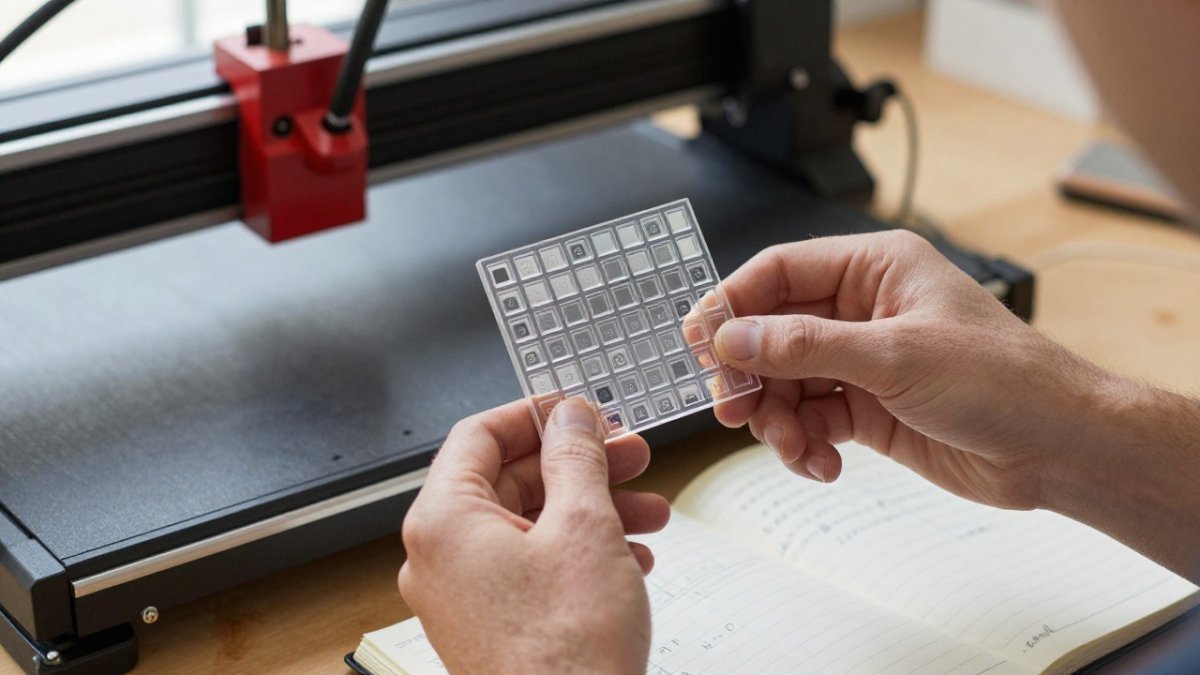
Build the grid in five steps:
- Create a 5x5 grid of small squares in your editor.
- Assign each row a power level and each column a speed.
- Engrave the grid on a scrap of the same acrylic.
- Label each square with its settings before you remove the sheet.
- Record the best result in your log with date, acrylic type, and lens.
Document everything. A settings preset is only useful if you know the exact conditions that produced it. Store your log next to your laser so the next operator can repeat your results.
Step 5: Master Tri-Layer Acrylic Engraving Depth and Cap Layers
Tri-layer acrylic engraving uses three bonded color layers. You engrave through the top cap layer to reveal the middle, then through the middle to reveal the base. Depth control is everything: too shallow and the cap won't clear; too deep and you blow through the base. The gap most guides miss is a repeatable depth-calibration workflow that ties file setup to visible results.
Measure the Cap Before You Engrave
Cap layers on tri-layer acrylic are typically thin, often 0.1-0.3 mm depending on brand and construction. You need to know whether your material is thin-cap or thick-cap, because the same power setting will clear one and barely scratch the other. If the spec sheet is unavailable, engrave a small patch at increasing power until the cap clears, then record that power as your baseline for that sheet.
Set Each Depth With a Dedicated Test
Do not run the same power for all three layers. Build a three-step depth test on a scrap of the same tri-layer sheet:
- Cap-clearing test: engrave a 10 mm square at your baseline power, then at +10% and +20%. The correct setting clears the cap cleanly with no haze and no visible middle-layer scorch.
- Middle-layer test: on a cleared patch, engrave a second square at increasing power until the middle layer clears to the base. Record that setting separately; it is usually higher than the cap setting.
- Base-safety test: engrave a patch at the middle-layer setting plus one pass to confirm you are not cutting into the base. If the base shows any mark, reduce power or passes.
Record all three settings in your log with the acrylic brand, color combination, and lens. A cap-clearing setting from one brand will not transfer cleanly to another.
Map Depths to File Colors
Your file should carry the depth information, not the operator's memory. Assign one color per depth in LightBurn and label the layers in the Cuts/Layers panel with the target layer name (for example, "Cap Clear," "Middle Clear," "Base Score").
For complex artwork with gradients across layers, splitting the image correctly is the hard part. This guide to splitting images for depth engraving walks through the process in detail.
Watch out: running the same power for all three layers will either leave the cap intact or burn through the base. Each layer needs its own tested setting, and the middle layer almost always needs more energy than the cap.
Common Mistakes to Avoid and How to Troubleshoot by Visible Defect
Troubleshooting by defect is faster than guessing. Match what you see to the likely cause, then fix one variable.
| Visible Defect | Likely Cause | Fix |
|---|---|---|
| Burnt edges | Power too high or speed too slow | Lower power, raise speed |
| Gaps in engrave | Line interval too wide | Reduce line interval |
| Haze on clear acrylic | Residue or too much power | Add air assist, lower power |
| Cap layer not clearing | Depth too shallow | Increase passes or power |
| Alignment drift | No registration marks | Add marks and a jig |
| Scorched cut edge | Focus off or dirty lens | Re-focus, clean lens |
For a focused fix on the two most common defects, this guide to fixing burnt edges and gaps on laser-cut layers goes deeper.
Two habits help with these issues. First, mask the acrylic before engraving to reduce residue. Second, run air assist and proper ventilation; acrylic fumes are not something to ignore.
Documentation of test results is a practical habit for reducing wasted acrylic. Test, record, repeat.
If building clean, color-mapped, depth-separated files is the slow part of your workflow, Laser Layer Maker turns any photo, cartoon, or logo into laser-ready layered files.
Frequently Asked Questions
What is the best file format for laser engraving multi-layer acrylic?
SVG is the safest choice because it keeps vectors sharp and preserves layer names when imported into LightBurn or xTool Studio. DXF works well for CAD-style cuts but can lose color mapping, so verify layers after import. Export raster engraving layers at 300 to 600 DPI as PNG rather than JPG, since JPG compression adds artifacts that show up as uneven frosted marks on acrylic. Keep one master file and export per-machine copies so your source stays clean.
How do you set up layers for multi-layer acrylic engraving in LightBurn?
Assign each engraving depth or cap layer its own color in your design software, then confirm those colors map to separate layers in LightBurn's Cuts panel. Set each layer to the correct mode: Image or Fill for raster engraving, Line for vector cutting. Order layers from shallowest to deepest so you can inspect the frosted mark before cutting deeper. Name layers by depth and power so a repeat job needs no guesswork.
Can a diode laser engrave clear acrylic for multi-layer projects?
A standard diode laser usually passes through clear acrylic without leaving a mark because the wavelength is not absorbed. Two workarounds exist: apply a masking film or dry-erase marker to the surface so the beam has something to burn, or use acrylic that is already colored or has a cap layer. CO2 lasers handle clear acrylic directly. Test a small offcut first, because masking residue can affect the frosted mark's consistency.
How do you keep layers aligned across multiple passes on acrylic?
Cut a registration jig from scrap material that matches your acrylic's outer dimensions, and leave the workpiece clamped in the same spot for every pass. Never move the bed or re-home between layers. In the file, add alignment marks outside the finished area so you can confirm position before a deep pass. For tri-layer acrylic engraving, engrave the shallowest cap first and check registration against the marks before removing more material.