
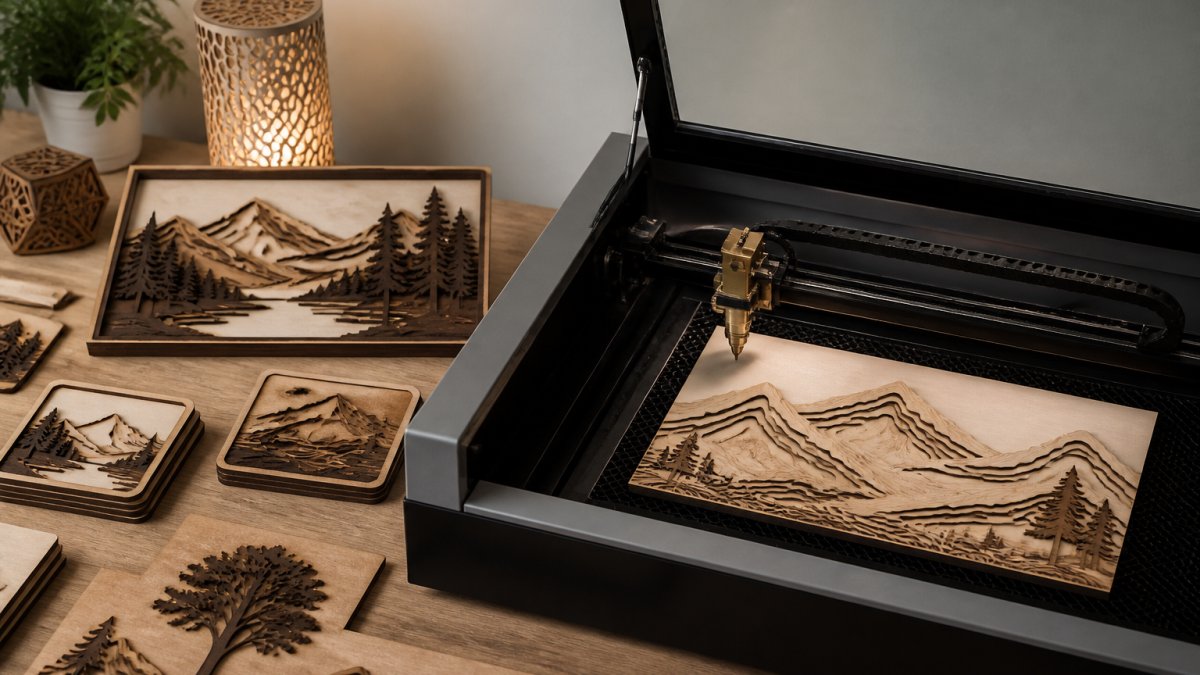
 listicle
Best Vectorizer AI Alternative for Lasers: 2026 Guide
Table of Contents
- Why Generic AI Vectorizers Fail Laser Cutting Workflows
- Quick Comparison: Best Vectorizer AI Alternatives for Lasers
- Laser Layer Maker: Laser-Ready Layered File Creation
- Adobe Illustrator and Inkscape: Manual Control
- How to Prepare Photos for Laser Engraving
- Convert Image to SVG for Laser: Workflow Integration
- Node Count and Path Optimization for Laser Cutting
- Conclusion
- Frequently Asked Questions
Last Updated: October 4, 2026
Why Generic AI Vectorizers Fail Laser Cutting Workflows
Most AI vectorizers are built for graphic designers, not laser operators, which is why so many files fall apart in LightBurn or xTool Studio. The best vectorizer AI alternative for lasers isn't the one with the flashiest trace preview, it's the one that outputs clean paths your machine can cut and engrave.
A generic vectorizer optimizes for how a file looks on screen. A laser needs closed loops, minimal nodes, and predictable cut order. Trace a photograph with a design-first tool and you get thousands of overlapping paths and open ends; your laser stalls, double-cuts, or burns edges.
At Laser Layer Maker, we built our tool around that gap. Instead of treating every image the same, we split it into engraving-depth layers so the output is laser-ready from the start.
The alternatives below each solve part of this problem. Most guides rank tools by trace accuracy alone and ignore what happens after export.
Quick Comparison: Best Vectorizer AI Alternatives for Lasers
The best vectorizer AI alternative for lasers depends on your workflow: production shops need batch processing and clean DXF export, while hobbyists can get by with free tools and manual cleanup.
| Tool | Pricing Model | Best For | Key Strength |
|---|---|---|---|
| Laser Layer Maker | Subscription | Multi-layer engraving from photos | Auto engraving-depth layers, LightBurn/DXF/xTool export |
| Adobe Illustrator | $22.99/month | Precision path control | Advanced Image Trace panel |
| Inkscape | Free (open-source) | Budget-conscious hobbyists | Full vector editing, no cost |
| Recraft.ai | Free tier + paid | Web-based AI tracing | Clean AI vectorization in-browser |
| Vector Magic | $7.95/month | Consistent automated traces | Batch processing, minimal cleanup |
| VTracer | Free (open-source) | Quick logo conversion | Fast, private, no account needed |
For laser work, the deciding factors are node count, path closure, and export format compatibility. A tool that wins on trace accuracy but exports messy SVG costs more cleanup time than it saves.
Laser Layer Maker: Laser-Ready Layered File Creation
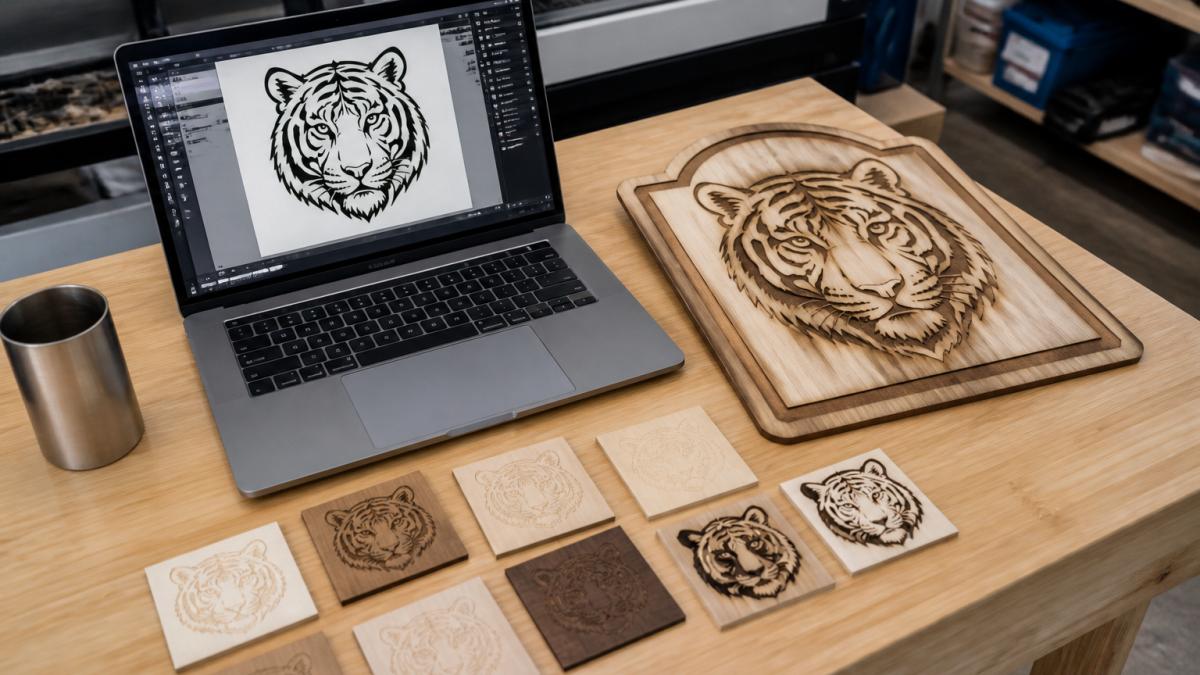
Laser Layer Maker is built specifically for laser-ready layered file creation rather than general vector design. Instead of a single flat trace, it splits a photo into engraving-depth layers.
Multi-layer engraving projects that produce depth and shading on wood or acrylic normally require manually separating tonal regions in design software. Laser Layer Maker automates the split.
The exports are built for the machines you already run:
- LightBurn SVG for direct import into your cut workflow
- DXF for CAD-adjacent and shop software
- xTool Studio files for xTool machine owners
For Etsy sellers engraving tumbler wraps and pet portraits at volume, that means less time fixing paths and more time fulfilling orders. For shop owners running five to ten custom jobs a month, it removes the bottleneck between "customer sent a photo" and "file is ready to burn."
The honest limitation: this is a laser-focused tool, not a full design suite. To draw original vector art from scratch, you'll still want Inkscape or Illustrator alongside it.
Adobe Illustrator and Inkscape: Manual Control
Adobe Illustrator and Inkscape remain the two most capable manual options for converting a raster image to vector for laser work, giving you direct control over every node and path.
Illustrator's Image Trace panel tunes path fitting, corner angle, and noise reduction. The trade-off is the learning curve: beginners routinely produce files with hundreds of stray nodes and don't notice until the laser stutters.
Inkscape does much of the same work for free. Its Trace Bitmap tool handles line art and high-contrast logos well, and the node editor is powerful. The interface is less polished, but for hobbyists watching costs, it's hard to beat free.
The catch with both: neither is optimized for laser path generation. You'll spend real time closing open paths and simplifying nodes before export. That manual step is where most of the time goes.
How to Prepare Photos for Laser Engraving
Preparing photos for laser engraving starts before any vectorizer touches the file. Your source image decides the quality of the final engraving, and no tracing engine can recover detail that was never there.
Follow this sequence:
- Start with a high-resolution original. Low-resolution photos produce pixelated edges that trace into jagged paths. Aim for the largest file you have.
- Increase contrast deliberately. Laser engraving reads tonal differences. Boost contrast so shadows and highlights separate cleanly.
- Convert to grayscale. Color information is wasted on a single-color burn and confuses the tracing engine.
- Remove the background. Isolate your subject so the vectorizer doesn't trace clutter around it.
- Crop tight. Fewer irrelevant pixels means fewer stray paths to clean up later.
A common mistake is uploading a color photo straight into a vectorizer and expecting clean output. The tool has to guess which regions matter. Give it a clean, high-contrast grayscale image and trace quality improves immediately.
Convert Image to SVG for Laser: Workflow Integration
Converting an image to SVG for a laser is only half the job, the file also has to import cleanly into your laser software.
Here is the full pipeline, from raster upload to first cut, with failure points to watch at each stage.
Step 1: Export from the vectorizer with the right format for your machine.
- LightBurn users: SVG is the native import. DXF works too but LightBurn treats DXF layers differently, so verify layer names survive the round trip.
- xTool Studio users: SVG and XCS are the safe formats. Some vectorizers export SVG with embedded raster previews that xTool Studio will try to engrave as an image layer, check the layer list after import.
- CAD-adjacent shop software (Fusion 360, VCarve, Aspire): DXF is the reliable choice. SVG import in CAD tools often loses units, so confirm your drawing scale after import.
Step 2: Check path closure before anything else.
Open paths are the most common reason a cut line fails. In LightBurn, they show in preview as a line that stops short of closing the shape.
Step 3: Audit node count against your controller.
Controllers have practical limits on how many nodes they process smoothly. Exceed them and the laser slows down, stutters at direction changes, or refuses to load the job.
Step 4: Verify layer structure matches your power and speed plan.
Separate layers let you assign different power and speed settings per element. If your vectorizer flattens everything onto one layer, you'll split it manually in LightBurn or xTool Studio.
Step 5: Run a preview pass before cutting material.
Every major laser controller has a preview or simulation mode. Run it and look for overlapping lines (double-burns), stray nodes outside the design bounds, and cut order that would let a part shift mid-job.
For batch processing, the difference compounds: converting dozens of images for a production run, a tool that shaves cleanup time per file saves hours across a week.
Node Count and Path Optimization for Laser Cutting
Node count and path optimization are the technical heart of laser-ready files, and the two things competitors' listicles ignore. Every extra node is a point your laser must process.
Here's what's actually happening under the hood, and the four moves that fix it.
Why node count matters mechanically.
Your controller reads a toolpath as moves between nodes. At each node the machine decelerates, changes direction, and accelerates again.
Move 1: Simplify curves.
Replace clusters of tiny nodes with smooth curves where the shape allows.
Move 2: Close open loops.
A cut line must form a complete loop or the machine won't separate the part.
Move 3: Merge overlapping paths.
Duplicate paths cause double-burns and uneven edges, most often when a vectorizer traces a shape's outline and fill as separate paths.
Move 4: Order cut paths sensibly.
Inner details should cut before outer contours so parts don't shift mid-job.
What "good" looks like in practice.
There's no universal node target, but laser-ready files commonly run a few hundred to a few thousand nodes for a typical engraved design, and under a few hundred for a simple cut shape.
Manual node reduction in Illustrator or Inkscape works, but it's tedious and error-prone.
If you're running a small fabrication shop, this step decides whether you can take on more orders without hiring help. Cleaner files mean faster jobs and fewer failed cuts.
Conclusion
The hardest part of laser file preparation isn't finding a vectorizer. It's finding one that understands what a laser actually needs: closed paths, minimal nodes, and exports that import without repair. Generic AI tools optimize for screen appearance and leave the cleanup to you.
Laser Layer Maker closes that gap. It turns any photo, cartoon, or logo into laser-ready layered files, splits images into precise engraving-depth layers, and exports directly to LightBurn SVG, DXF, and xTool Studio. If you're tired of fixing nodes instead of fulfilling orders, get started with Laser Layer Maker and cut your prep time per project.
Frequently Asked Questions
What is the best free alternative to Vectorizer.AI for laser cutting?
Inkscape is a strong free option for laser cutting file preparation. Its Trace Bitmap tool converts raster images to paths, and it supports native SVG export. VTracer is another free, open-source tool focused on generating clean SVG files. Both require more manual node cleanup than paid AI tools, but they work well for simple logos and high-contrast images. For complex photos, you may need to spend extra time editing paths to ensure the file is laser-ready.
Do AI vectorizers work well for laser engraving files?
AI vectorizers can work well for laser engraving, but results vary by tool and image complexity. Tools like Vector Magic and Recraft.ai produce clean traces with minimal node cleanup, which is critical for efficient laser cutting. However, AI vectorizers often struggle with gradients and fine details in photographs. For best results, preprocess images to increase contrast and simplify colors before vectorizing. Always test the exported SVG or DXF in your laser software to check for open paths or excessive nodes.
How do I convert raster images to SVG for LightBurn?
To convert a raster image to SVG for LightBurn, start by preprocessing the image in a photo editor: increase contrast, remove backgrounds, and reduce colors. Then use a vectorization tool like Laser Layer Maker, Vector Magic, or Inkscape to trace the image into paths. Export the result as an SVG file. In LightBurn, import the SVG and check for closed loops and node count. Simplify paths if needed using LightBurn's optimization tools before cutting or engraving.
What file formats are best for laser cutting machines?
SVG and DXF are the most widely supported formats for laser cutting machines. SVG works well for vector graphics with curves and is compatible with LightBurn and xTool Studio. DXF is often preferred for CAD-based workflows and ensures compatibility with older laser software. Both formats preserve vector paths, but DXF may not support color layers. Always check your laser software's import settings and run a test cut to verify path integrity.
Is there an AI tool that creates layered files for laser projects?
Yes, Laser Layer Maker is designed specifically for this. It transforms photos, cartoons, or logos into laser-ready layered files by automatically splitting images into engraving-depth layers. This is useful for multi-layer engraving projects, such as creating depth in portraits or logos. The tool exports to LightBurn SVG, DXF, and xTool Studio formats, so you can import layered files directly into your laser software without manual layer separation.