 ultimate-guide
Making Layered Wood Art for Beginners: 2026 Guide
Table of Contents
- Making Layered Wood Art for Beginners: A Complete Workflow
- Layered Wood Art Design Files: Preparing Artwork for Separate Layers
- Choosing Wood for Laser Cutting Art: Plywood, Birch, and Scrap
- Cutting Your Layers: Laser, CNC, or Hand Tools
- Painting, Staining, and Coloring Each Layer
- How to Assemble Layered Wood Art Without Misalignment
- Layered Wood Landscape Art: Finishing and Display
- Troubleshooting Common Beginner Problems
- Frequently Asked Questions
Last Updated: October 17, 2026
Making Layered Wood Art for Beginners: A Complete Workflow
Making layered wood art for beginners starts with one honest truth: the cutting is the easy part. The preparation is what separates a clean, professional-looking piece from a pile of misaligned scrap. This guide from Laser Layer Maker walks through the entire workflow, from design file to finished wall display, in the order you will actually do it.
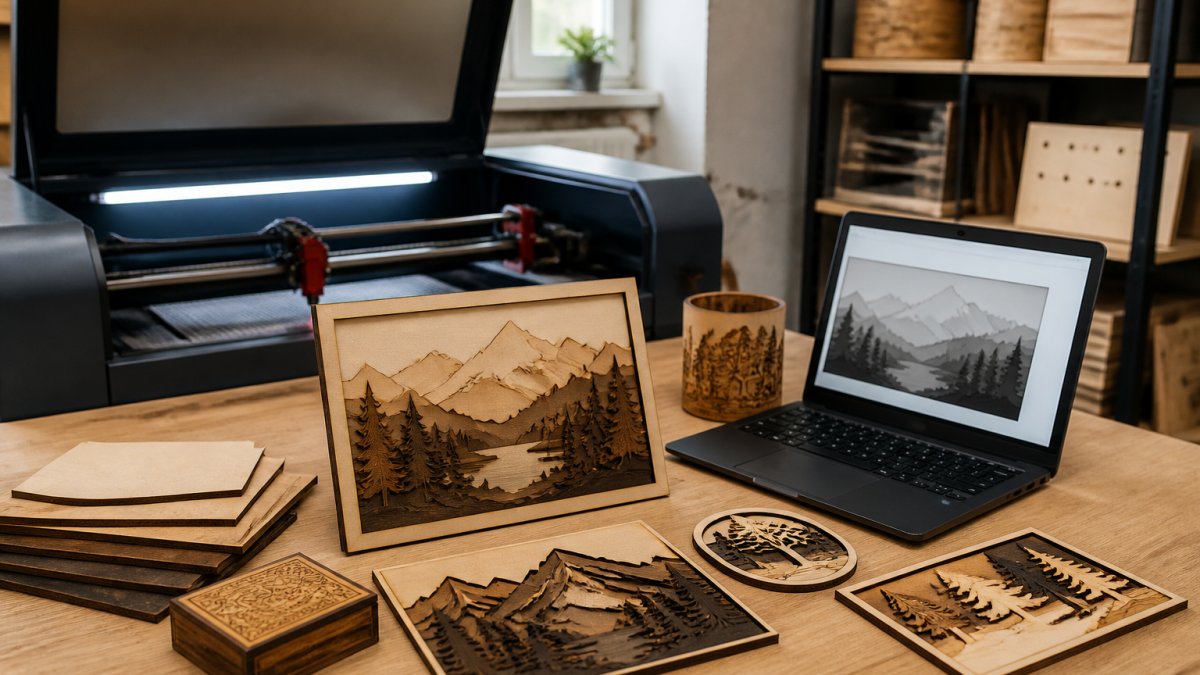
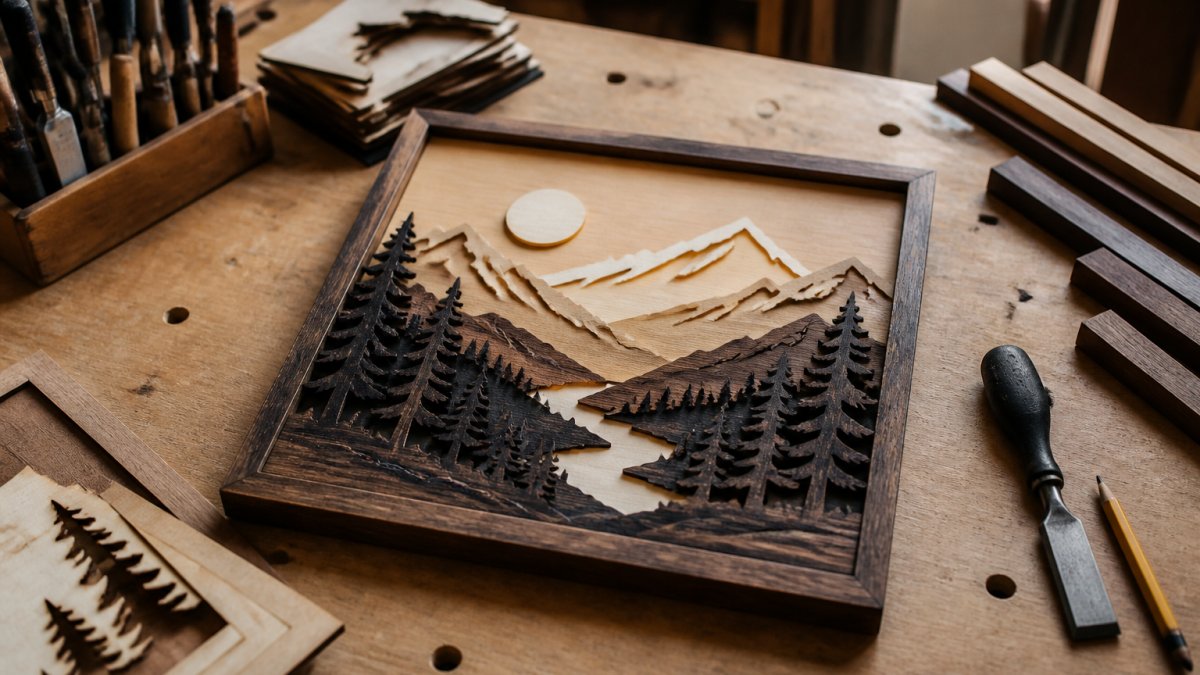
Layered wood art is a woodworking technique in which two or more cut wood pieces are stacked and glued to create visual depth, with each layer representing a distinct part of the scene. A five-layer landscape might use a solid back panel, a distant mountain range, a tree line, a foreground meadow, and a small animal silhouette. The effect comes from the physical gap between layers, not from paint alone.
Most beginners jump straight to the laser cutter and skip the design stage. That is backwards. Below, we cover how to prepare artwork for separate layers, how to choose plywood and birch plywood, how to cut with a laser, CNC, or hand tools, how to paint and assemble without misalignment, and how to fix the problems that show up on a first project.
Layered Wood Art Design Files: Preparing Artwork for Separate Layers
Layered wood art design files are the vector or raster files that define each individual layer of your project, exported in a format your cutting software can read. Preparing them well is the single biggest time saver in the whole process.
How to Split a Photo or Logo into Layers
The goal is to separate an image into distinct depth bands. A landscape photo usually splits into background sky, mid-ground terrain, and foreground detail. A logo splits by shape complexity instead of depth.
Three approaches work for beginners:
- Trace by hand in vector software, drawing one outline per layer. Slow but precise.
- Use threshold filters to convert a photo into black-and-white bands, then trace each band. Fast, but you will clean up edges afterward.
- Use a dedicated layer-splitting tool. Laser Layer Maker takes any photo, cartoon, or logo and automatically splits it into engraving-depth layers, then exports to LightBurn SVG, DXF, or xTool Studio. That removes the manual tracing step entirely.
File Formats for LightBurn, DXF, and xTool Studio
Match the export format to your software before you cut anything.
- SVG is the standard for LightBurn and most laser software. It preserves vector paths and separate layer colors.
- DXF is the format CNC routers and many CAD tools expect. It handles geometry well but ignores color coding.
- xTool Studio accepts SVG and its own project formats, and reads layer colors to assign cut versus engrave operations.
Keep every layer on its own color or named group. If all your paths are the same color, your software cannot tell a cut line from an engrave line, and you will waste material finding out.
Choosing Wood for Laser Cutting Art: Plywood, Birch, and Scrap
Wood for laser cutting art comes down to three practical choices: plywood, birch plywood, and scrap wood you already own. Each has a clear best use.
Plywood is the workhorse. Interior-grade plywood cuts cleanly, holds paint well, and costs less than hardwood. The catch is void pockets in cheap grades, which show up as gaps in a cut edge.
Birch plywood is the standard for layered work. It has tight, consistent plies, minimal voids, and a pale surface that takes stain evenly. If you are selling your pieces, use birch.
Scrap wood is fine for practice cuts and sample pieces. It is free, but thickness varies, which means your layer gaps will not be consistent.
Thickness, Layer Count, and Visual Depth
Layer thickness controls how much shadow each level casts. More shadow reads as more depth.
| Layer Count | Typical Thickness | Visual Effect | Best For |
|---|---|---|---|
| 2-3 layers | 3 mm | Flat, graphic look | Logos, simple icons |
| 4-6 layers | 3 mm to 6 mm | Clear depth separation | Landscapes, portraits |
| 7+ layers | 3 mm, with spacers | Deep, sculptural relief | Gallery pieces, custom orders |
A common mistake is going straight to seven layers on a first project. Start at four. You will learn alignment, gluing, and finishing on a piece that does not punish every small error.
Cutting Your Layers: Laser, CNC, or Hand Tools
Cutting method determines your setup cost, your learning curve, and how detailed your artwork can be. There is no single right answer, only the right answer for your volume and budget.
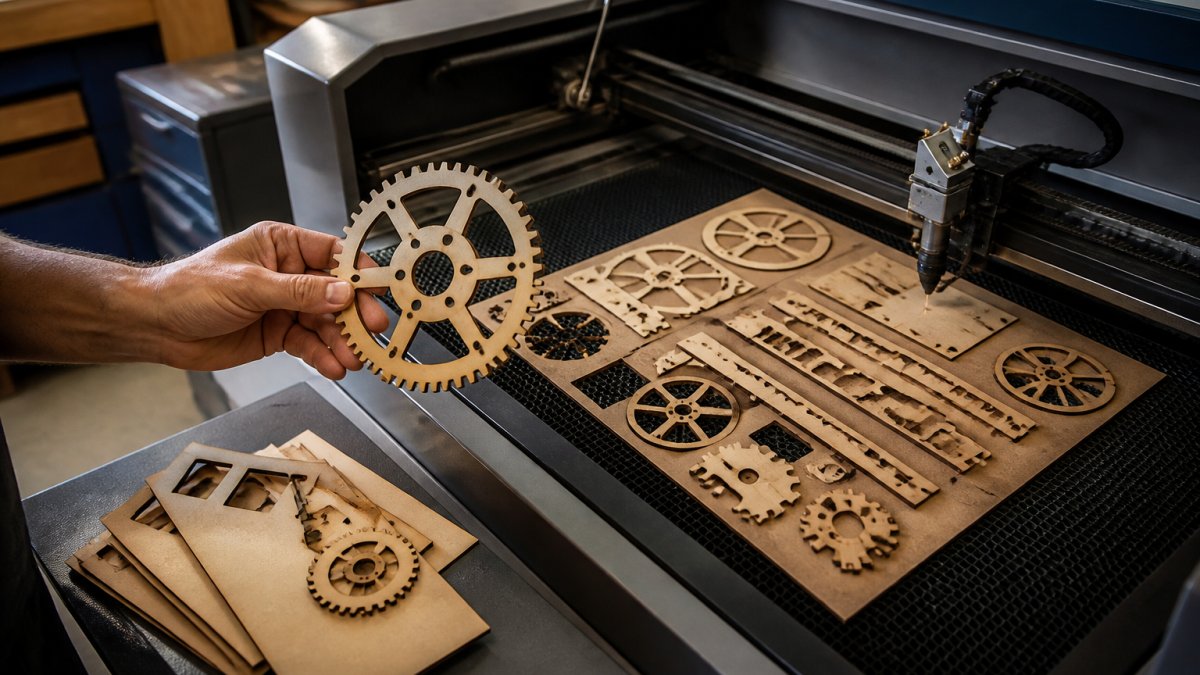
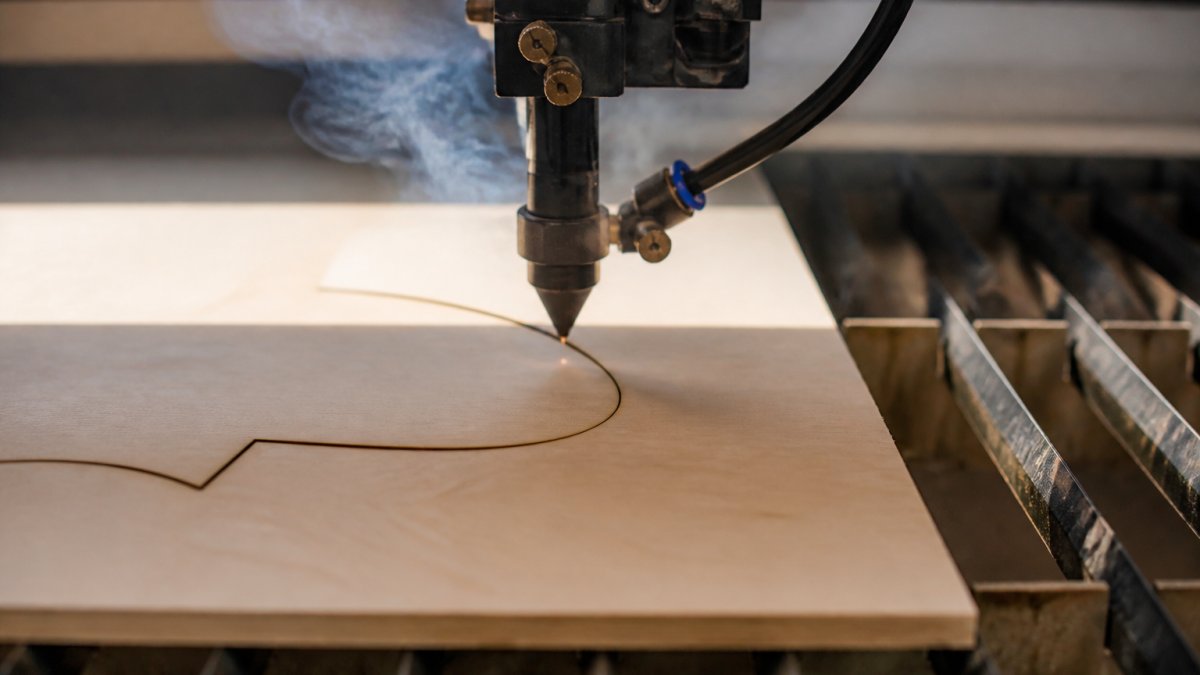
Laser cutting is the default for layered work. A laser cutter handles fine interior detail, cuts 3 mm birch plywood quickly, and repeats the same cut identically across a batch. It is the only method that scales cleanly to production.
CNC routing suits thicker stock and larger pieces. A CNC handles 12 mm plywood that a hobby laser cannot touch, but it struggles with fine interior corners and small cut pieces.
Hand tools are a legitimate no-laser option. A scroll saw with a fine blade, a coping saw for tight curves, and a sharp craft knife for cleanup will get you through a small piece. It is slow, and your layer edges will need sanding, but the finished artwork is the same.
Painting, Staining, and Coloring Each Layer
Paint and stain are what turn stacked cut pieces into a scene. The order matters more than the product.
Paint before you glue. Once layers are assembled, you cannot reach the interior faces, and overspray lands on surfaces you already finished.
A workable sequence for a landscape:
- Sand each cut piece to remove burn marks and fuzz.
- Seal the wood if you plan to stain, so the stain takes evenly.
- Paint the back layer first, working forward.
- Keep the frontmost layer lightest and the back layers darker to reinforce the depth illusion.
- Let every layer cure fully before assembly. Tacky paint plus clamping pressure equals a ruined finish.
For manual coloring, acrylics thinned slightly and applied in two light coats beat one heavy coat every time. For a natural look, a single stain on the front layer with bare birch behind it reads as clean and modern.
How to Assemble Layered Wood Art Without Misalignment
Assembly is where most beginner projects go wrong. The fix is mechanical, not artistic: use alignment pins and clamp evenly.
Gluing, Alignment Pins, and Clamping
Cut two small registration holes in every layer at the design stage, in the same position on each piece. During assembly, drop a dowel pin or a short length of rod through those holes and stack the layers onto it. Every layer lands in exactly the right place, every time.
Then:
- Apply a thin, even bead of wood glue. Too much glue squeezes out and dries into visible ridges.
- Press the layer down and slide it slightly to spread the glue.
- Clamp the stack with even pressure across the whole surface, not just the center.
- Wipe squeeze-out immediately with a damp cloth.
- Let the piece cure fully before handling. Most wood glues reach handling strength well before they reach full bond strength.
Layered Wood Landscape Art: Finishing and Display
Layered wood landscape art needs two things after assembly: a durable finish and proper display hardware.
For finish, a matte or satin clear coat protects the wood and paint without adding glare. Gloss finishes look cheap on layered work because they reflect light off every edge and flatten the depth you just built.
For display, match the hardware to the weight and the surface:
- Wall display: a French cleat or two keyhole hangers rated above the piece's weight. One hanger in the center will let a wide piece sag.
- Mantle display: a small easel back or a hidden L-bracket. Felt pads on the base protect the surface.
- Desktop decor: a simple slotted base cut from the same plywood keeps the piece upright and matches the material.
Keep finished pieces out of direct sunlight. Birch and most stains fade over time, and a piece that sits in a bright window for a year will not match the one beside it.
Troubleshooting Common Beginner Problems
Most first-project problems fall into a handful of predictable categories. Here is how to diagnose and fix each one.
| Problem | Likely Cause | Fix |
|---|---|---|
| Layers do not line up | No registration pins, or pins cut in different positions | Cut registration holes at the design stage, in identical positions on every layer |
| Visible glue ridges | Too much glue, or squeeze-out not wiped | Use a thin bead and wipe immediately with a damp cloth |
| Edges look burned and dark | Laser power too high or speed too slow | Reduce power, increase speed, and test on scrap first |
| Warped finished piece | Uneven clamping or moisture in the wood | Clamp evenly across the full surface and let the wood acclimate before cutting |
| Paint bleeds under edges | No sealer before painting | Seal the wood first, then paint |
| Cut pieces break on fine detail | Detail too thin for the material | Increase the minimum feature width or step up to a thicker stock |
The pattern behind most of these is the same: problems that look like cutting failures are usually design or assembly failures. Fix the file and the process, and the cut takes care of itself.
If you are selling your work, keep a sample piece from every design you run. It gives buyers something to hold, and it gives you a reference to compare against when a batch comes out wrong.
Layered wood art rewards preparation more than equipment. The beginners who struggle are almost always the ones who skipped layer design and registration pins, not the ones with the cheapest machine. Laser Layer Maker handles the part that trips most people up: it turns any photo, cartoon, or logo into laser-ready layered files, splits images into precise engraving-depth layers, and exports directly to LightBurn SVG, DXF, or xTool Studio. That means less time tracing paths and more time cutting, coloring, and assembling. Get started with Laser Layer Maker and turn your first photo into a finished, display-ready piece.
Frequently Asked Questions
What is layered wood art?
Layered wood art is a technique where you cut a design into separate pieces of wood, then stack and glue them to create depth. Each layer sits slightly behind or in front of the next, so the finished piece reads like a shallow sculpture. Most beginners start with three to five layers cut from 3mm or 6mm birch plywood. The stacked layers create shadows and visual depth that a flat engraving cannot match.
What wood is best for layered wood art?
Birch plywood is the standard choice for beginners because it cuts cleanly, holds paint well, and comes in consistent thicknesses. Use 3mm for fine detail layers and 6mm for backing boards. Basswood and poplar also work for painted projects. Avoid MDF if you plan to stain, since it absorbs unevenly. Scrap wood from other projects is fine for practice pieces, but check for warping before you cut.
How many layers should a beginner wood art project have?
Start with three layers. A three-layer project teaches you the full workflow (design, cut, color, glue) without overwhelming you with alignment problems. Once you can assemble three layers cleanly, move to five. Projects with eight or more layers require precise registration pins or a jig, and the margin for error shrinks with every layer you add.
Can you make layered wood art without a laser cutter?
Yes. A scroll saw, jigsaw, or CNC router will cut the same shapes. A scroll saw handles tight curves better than a jigsaw and costs less than a laser. Print your design files at full size, spray-adhere the paper template to the plywood, and cut along the lines. Sand the edges, then assemble the same way you would with laser-cut pieces. The trade-off is time, not quality.
How do you keep layers aligned when assembling wood art?
Drill two small alignment holes through every layer before you separate them, then thread a dowel or pin through the stack as you glue. This keeps each layer in registration. Apply glue sparingly, press the layers together, and clamp for at least 30 minutes. Check alignment from the front before the glue sets, because repositioning after it cures means starting over.
What finish should you use on layered wood art?
A water-based polyurethane or lacquer works for most indoor pieces. Spray finishes reach the recessed areas between layers better than brush-on products. If you painted the layers, use a clear matte sealer to protect the surface without adding shine. For pieces displayed outdoors, use an exterior-grade spar urethane and expect to recoat annually.