 listicle
Best Laser File Preparation Tools 2026: Top 7 Picks
Table of Contents
- Best Laser File Preparation Tools 2026: Quick Comparison
- How We Evaluated These Laser Engraving Software Picks
- Laser Layer Maker: Best for Photo to Laser Engraving Software
- LightBurn File Preparation: Design and Machine Control in One
- xTool Creative Space: Best for xTool Machine Owners
- Inkscape and GIMP: Best Free Laser File Preparation Tools
- Laser Engraving File Formats: SVG, DXF, PDF, and More
- Which Laser File Preparation Tool Should You Pick?
- Frequently Asked Questions
Last Updated: October 16, 2026
Best Laser File Preparation Tools 2026: Quick Comparison
Most laser projects fail before the machine ever fires. The problem is rarely the hardware. It is the file.
Here is the short version. If you engrave photos or layered artwork, start with a dedicated layering tool. If you need design and machine control in one place, LightBurn carries that load. If you are learning, free tools get you further than you think.
Quick Picks:
- Best for photo to laser engraving: Laser Layer Maker
- Best all-in-one for design and control: LightBurn
- Best for xTool owners: xTool Creative Space
| Tool | Type | Starting Price | Best For | Machine Control |
|---|---|---|---|---|
| Laser Layer Maker | Photo layering | Not published | Photo and logo engraving | Exports to LightBurn, DXF, xTool |
| LightBurn | Design + control | $99 Core / $199 Pro | All-in-one workflows | Yes |
| xTool Creative Space | OEM software | Not stated | xTool machine owners | Yes |
| LaserGRBL | Machine control | Free | GRBL-based machines | Yes |
| Inkscape | Vector editor | Free | Cutting artwork | No |
| GIMP | Raster editor | Free | Photo editing | No |
| Adobe Illustrator | Vector editor | Paid | Advanced design | No |
How We Evaluated These Laser Engraving Software Picks
We ranked these tools on four criteria that actually change your day: how much manual cleanup the file needs, whether the export lands cleanly in your machine software, how steep the learning curve is, and what it costs to keep using it.
A tool that produces beautiful artwork you still have to hand-trace is not saving you anything. The reverse matters too. A tool that exports fast but flattens your detail into a muddy engraving wastes material.
Laser Layer Maker: Best for Photo to Laser Engraving Software
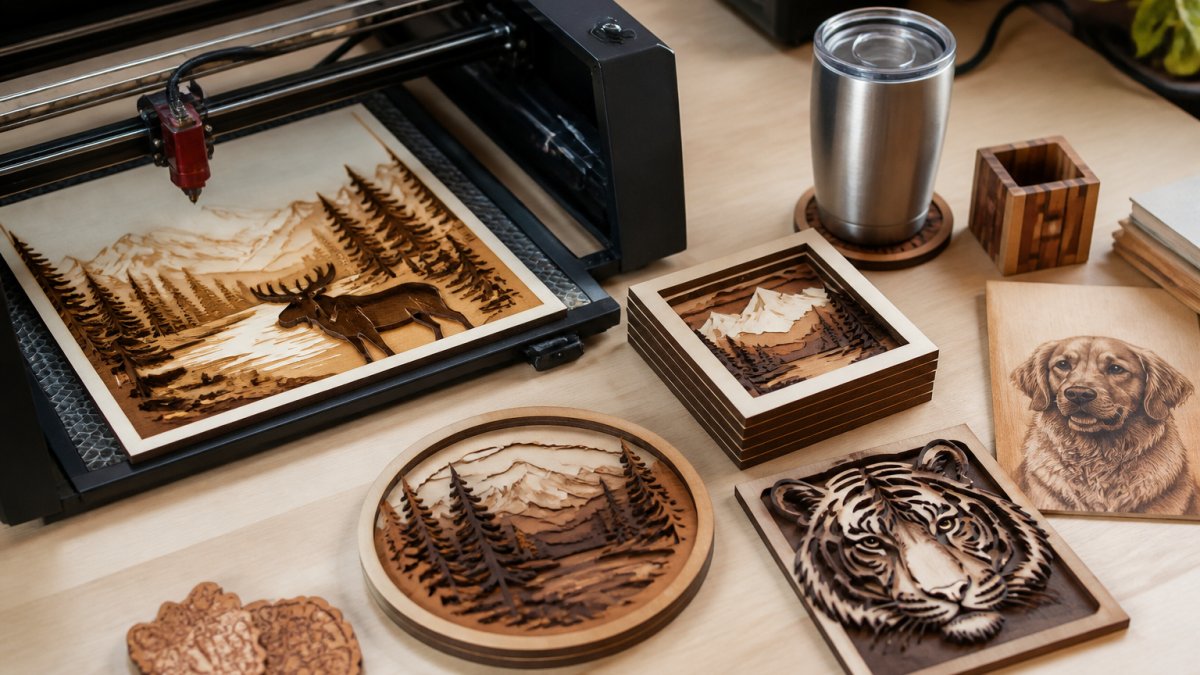
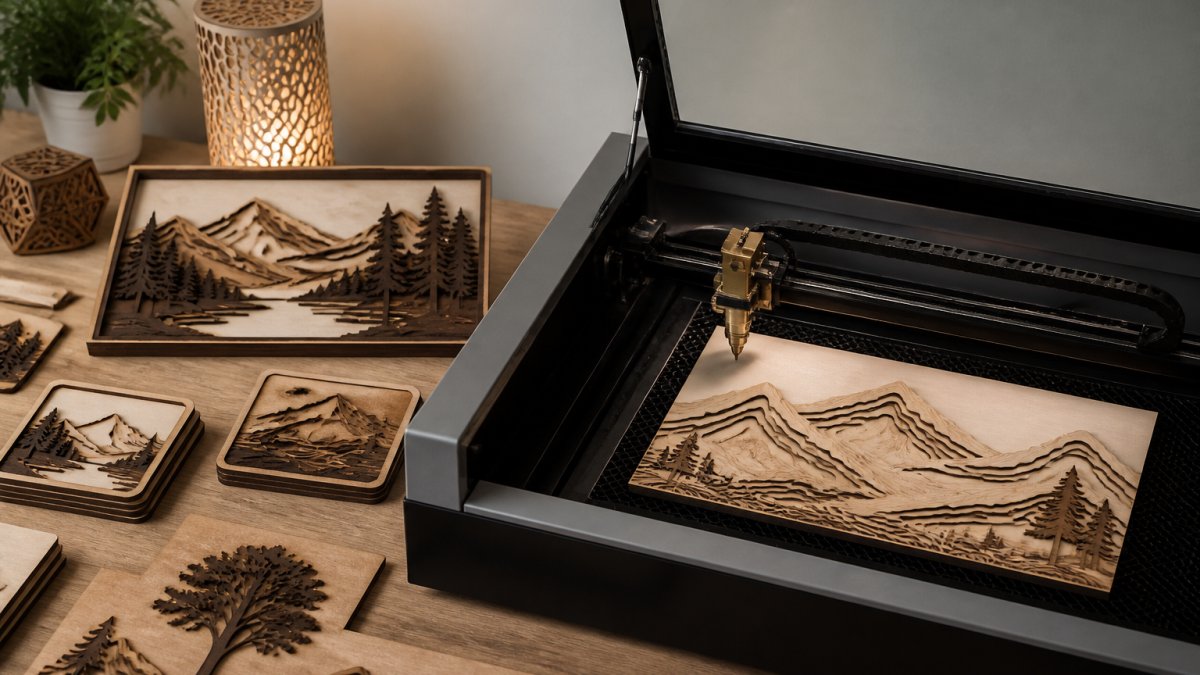
Laser Layer Maker takes a photo, cartoon, or logo and splits it into precise engraving-depth layers automatically. That is the whole point of the tool, and it is why it tops this list for anyone engraving images rather than simple line art.
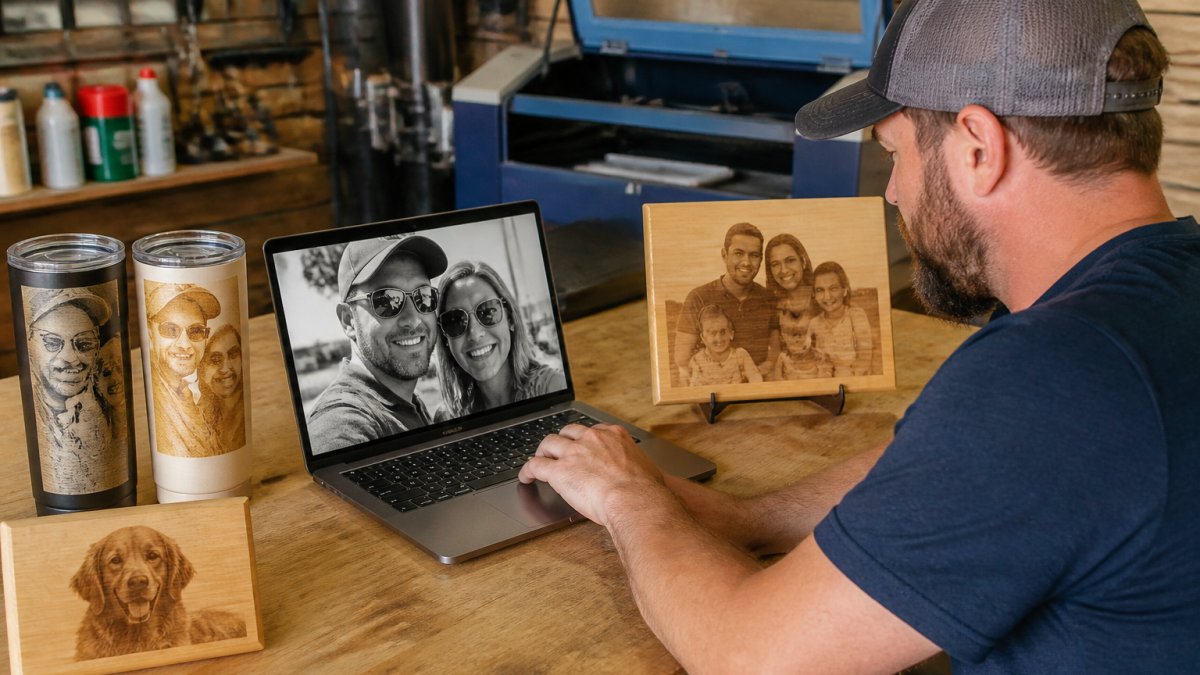
Traditional photo engraving means adjusting contrast, posterizing, and manually separating tones into layers you can assign different power settings to. Laser Layer Maker skips that.
Pros:
- Turns any image into laser-ready layered files
- Automatic depth-layer splitting for multi-layer engraving
- Exports directly to LightBurn SVG, DXF, and xTool Studio
Cons:
- Pricing is not published; you need to request current rates
- Built for image preparation, not general vector design
Pricing for Laser Layer Maker depends on your plan and volume, so check the website for current rates before you commit.
LightBurn File Preparation: Design and Machine Control in One
LightBurn combines layout, editing, and laser machine control in a single application.
Where LightBurn earns its reputation is in the workflow: you import artwork, arrange it, set power and speed, and send the job, all without switching windows.
Pros:
- Combines layout, editing, and machine control
- Recommended across multiple current comparisons as an all-in-one choice
Cons:
- Paid license, and renewal terms are not clearly stated in the sources we reviewed
For layered photo work, LightBurn is the destination, not the origin. We recommend preparing layered files in a dedicated tool and importing the finished SVG or DXF.
xTool Creative Space: Best for xTool Machine Owners
xTool Creative Space (often abbreviated XCS) is the OEM software that ships with xTool machines. For owners of an xTool diode or CO2 unit, it is the path of least resistance because it talks to the machine natively, handles the job preview, and manages the laser parameters without a separate control application.
What matters for file preparation is how XCS fits into a workflow. It accepts vector and raster imports, lets you arrange and layer artwork, and sends jobs directly to the machine.
Pros:
- Native compatibility with xTool machines, so no driver or profile hunting
- Handles layout, job preview, and machine control in one place
- Accepts common vector and raster formats for import
Cons:
- Tied to the xTool ecosystem; not useful for other machine brands
- Confirm current terms on the vendor site
- Limited advanced vector editing compared with dedicated design software
For xTool owners who want to skip compatibility headaches, start here. If you need layered photo output or complex path editing, prepare the file elsewhere and import it.
Inkscape and GIMP: Best Free Laser File Preparation Tools
Free does not mean limited here. Inkscape handles vector editing for cutting artwork, and GIMP handles raster editing for engraving, and both cost nothing.
Inkscape is free and open-source, and its vector tools are built for exactly the kind of path editing laser cutting requires. GIMP is a free raster editor that appears in multiple current laser software roundups for preparing image-based artwork.
Pros:
- Both free and open-source
- Inkscape covers vector paths; GIMP covers raster images
- Included in multiple 2026 laser software roundups
Cons:
- Neither offers direct machine control
For simple logos and line art, this pair is genuinely enough. For detailed photographs with gradients and shadows, you will feel the ceiling fast.
Laser Engraving File Formats: SVG, DXF, PDF, and More
File format is where most preparation problems start. Vector graphics like SVG and DXF store paths as math, so they scale cleanly and tell the laser exactly where to cut or trace. Raster images like PNG and JPG store pixels, so they work for engraving but blur if you resize them. The format you choose also determines whether your machine software can read layers, set power and speed per element, and preserve fine detail.
Here is how the common formats break down:
- SVG: Best for vector cutting and engraving. Widely supported and preserves paths and layers. Use it for outlines, cut lines, and score lines.
- DXF: Standard for CAD-style cutting paths and layered exports. Common in older laser software and CNC workflows.
- PDF: Good for mixed vector and raster jobs. Useful when you need to preserve both text and images in one file.
Resolution, scaling, and units
Image resolution matters more than most people expect. Engraving detail is limited by the pixel data you feed it. A low-resolution photo will produce a soft, muddy engraving no matter how good your laser is.
Scaling is the other silent failure. Vector files scale without loss, but the physical dimensions still have to match your material. Confirm your design software and your machine software are using the same units (inches or millimeters) before you send a job.
Kerf compensation and line weight
Every laser removes a small amount of material along the cut path, known as kerf. For tight-fitting parts, such as inlay or box joints, you compensate by offsetting the cut path outward or inward by roughly half the kerf width.
Line weight also matters. A hairline stroke is treated as a cut or score path in most laser software, while a thicker stroke may be interpreted as an engrave fill.
Preparing artwork for different materials
Material changes the preparation, not just the machine settings.
- Wood: Grain direction affects contrast. For photographs, dithering (converting grayscale to a dot pattern) often produces better results than simple grayscale engraving. Use masking tape or transfer tape to reduce scorch on light woods.
- Acrylic: Cast acrylic engraves to a frosty white and cuts cleanly; extruded acrylic can gum up. Use vector cut lines and consider a slightly wider kerf offset for press-fit parts.
- Leather: Engraving darkens the surface. Lower power and higher speed preserve detail, and a light vector score works better than a deep cut for decorative lines.
Layer settings and export checklist
Before you export, organize your file into layers by operation: one layer for cuts, one for scores, one for engraving fills. This lets your machine software assign different power and speed to each layer without manual selection.
A practical export checklist:
- Convert all text to paths or outlines so missing fonts do not break the file.
- Remove stray nodes, open paths, and duplicate lines.
- Confirm units and physical dimensions.
- Set cut lines to hairline strokes.
- Save as SVG for vector jobs or PNG for raster engraving.
- Import into your machine software and run a preview before cutting.
Which Laser File Preparation Tool Should You Pick?
Pick based on the job, not the brand. If you engrave photographs, logos, or multi-layer artwork, a dedicated layering tool removes the most manual work. If you need one program for design and control, LightBurn is the strongest all-in-one. If you own an xTool machine, its native software is the simplest starting point. If budget is the constraint, Inkscape and GIMP cover most preparation tasks for free.
| Your Situation | Best Pick | Why |
|---|---|---|
| Engraving photos and logos | Laser Layer Maker | Automatic depth-layer splitting |
| One program for everything | LightBurn | Design plus machine control |
| xTool machine owner | xTool Creative Space | Native compatibility |
| GRBL-based machine | LaserGRBL | Free, built for GRBL control |
| Tight budget, vector work | Inkscape | Free, open-source vector editing |
| Tight budget, photo work | GIMP | Free raster editing |
Frequently Asked Questions
What is the best software for preparing files for laser engraving?
It depends on what you are engraving. LightBurn handles both layout and machine control for many laser cutters. Inkscape and GIMP cover free vector and raster editing. For turning photos into layered engraving files, Laser Layer Maker exports directly to LightBurn SVG, DXF, and xTool Studio. Most creators use two tools: one for design and one for machine control.
Can I turn a photo into a layered laser engraving file?
Yes. Photo to laser engraving software like Laser Layer Maker splits an image into engraving-depth layers automatically, so gradients and shadows become separate passes instead of one flat burn. You upload the photo, the tool generates the layers, and you export a file your laser software can run. This works for detailed photographs, not just simple cartoons and logos.
Which laser file preparation tools work with LightBurn?
LightBurn imports SVG, DXF, PDF, PNG, and other common formats, so files prepared in Inkscape, Adobe Illustrator, CorelDRAW, or Laser Layer Maker can be brought in for layout and machine control. LightBurn itself also handles design work. Check export settings match your machine's expected format before running a job.
What file formats are best for laser cutting and engraving?
Vector formats like SVG and DXF are best for cuts and sharp engraving because paths scale without losing precision. Raster formats like PNG and high-resolution images suit photo engraving, where the laser varies power across pixels. PDF works for mixed jobs. Line weight, layers, and image resolution all affect how clean the final engraving detail looks on wood, acrylic, or leather.
Do I need separate software to prepare files for a laser engraver?
Not always. LightBurn and xTool Creative Space combine design and machine control, so a single application can cover a basic workflow. Separate preparation tools help when you need vector editing, raster cleanup, or automatic layer splitting from photos. Many small business owners keep one design tool and one control tool, then export between them using SVG or DXF.
The hardest part of laser work is not the machine. It is getting a clean, layered, machine-ready file out of an ordinary photo or logo. Laser Layer Maker was built for that exact step: it turns any image into laser-ready layered files, splits them into precise engraving-depth layers, and exports directly to LightBurn SVG, DXF, and xTool Studio. If you are tired of hand-tracing layers, get started with Laser Layer Maker and spend your time engraving instead of preparing.