
 how-to
Converting Photos to Laser Ready Vectors: 2026 How-To
Table of Contents
- Bitmap vs. Vector: Why Laser Cutters Need Vector Paths
- How to Prepare Photos for Laser Engraving Before You Trace
- Best Software for Laser Engraving Photos
- Step-by-Step: Converting Photos to Laser Ready Vectors
- Dithering vs. Vectorization: Picking the Right Method
- Laser Engraving Layered Files for Depth and Detail
- Post-Processing and Material-Specific Optimization
- Troubleshooting Common Laser Ready Vector Problems
- Frequently Asked Questions
Last Updated: September 25, 2026
Bitmap vs. Vector: Why Laser Cutters Need Vector Paths
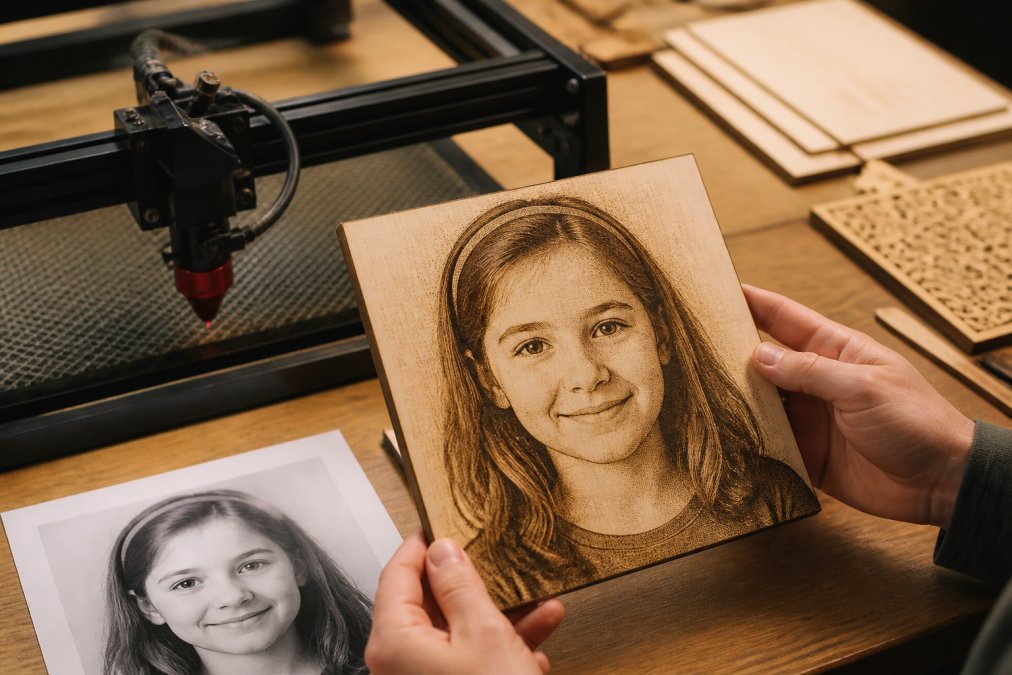
Converting photos to laser ready vectors starts with one hard truth: laser cutters do not see pictures, they see paths. A photo is a grid of colored dots; a laser needs mathematical lines it can follow. That difference decides whether your project runs clean or fails.
How to Prepare Photos for Laser Engraving Before You Trace
Good laser ready vectors come from good source images. Skip this step and no amount of tracing will save the file.
Crop, Straighten, and Remove Backgrounds
Crop tight to your subject, extra background becomes noise the tracer follows. Straighten any tilt so vertical lines stay vertical in the final path.
- Crop to the subject only
- Straighten tilted scans and photos
- Delete busy backgrounds before tracing
- Work on a copy, never the original
Adjust Contrast, Threshold, and Grayscale
Threshold decides which pixels become black and which become white. Too high and shadows swallow detail; too low and light areas vanish.
Best Software for Laser Engraving Photos
The best software for laser engraving photos depends on how much control you want over the final paths. Some tools auto-trace in seconds; others make you build every node by hand. Knowing which camp a tool falls into saves hours.
Auto-Trace and Vectorization Tools
These tools take a raster image and output paths in one pass. Inkscape's Trace Bitmap (Path > Trace Bitmap) is the standard free option, with brightness cutoff, edge detection, and color quantization modes. Adobe Illustrator's Image Trace ships with presets like Black and White Logo and High Fidelity Photo, plus a threshold slider and a 'Paths' vs. 'Corners' noise filter.
Design Suites for Manual Node Control
When the trace result matters, you edit nodes. Illustrator and Inkscape both offer the pen tool, path simplification (Ctrl+L in Inkscape, Object > Path > Simplify in Illustrator), and boolean operations. Affinity Designer is a lower-cost alternative with solid path tools.
Laser Control Software
LightBurn and RDWorks dominate laser control. LightBurn imports SVG, DXF, AI, PDF, and PNG, and sets layer-specific power, speed, and mode (Line, Fill, Offset Fill). RDWorks is common on Ruida-controller machines and prefers DXF. xTool Studio handles xTool hardware and accepts SVG and DXF.
Layered-File Tools for Depth Work
For multi-depth engraving, a layered-file tool splits an image into depth levels and exports each as a separate layer. Laser Layer Maker takes a photo, generates engraving-depth layers, and exports to LightBurn SVG, DXF, or xTool Studio format.
| Tool | Type | Best For | Output |
|---|---|---|---|
| Inkscape | Free design suite | Manual node editing, auto-trace | SVG, DXF, PDF |
| Adobe Illustrator | Paid design suite | Professional path work | SVG, AI, EPS, PDF |
| Affinity Designer | Paid design suite | Budget-friendly path work | SVG, EPS, PDF |
| LightBurn | Laser control | Running the machine, layer settings | Machine files |
| RDWorks | Laser control | Ruida-controller machines | Machine files |
| xTool Studio | Laser control | xTool hardware | Machine files |
| Laser Layer Maker | Layered-file tool | Multi-depth engraving | LightBurn SVG, DXF |
How to Choose
Match the tool to the job, not to a brand:
- One-off logo or lineart → Inkscape Trace Bitmap, then clean up
- Detailed portrait with shading → keep it raster and dither in LightBurn
- Multi-depth plaque → layered-file tool, then import to LightBurn
- Production shop → Illustrator or Affinity for cleanup, LightBurn for output
Step-by-Step: Converting Photos to Laser Ready Vectors
Here is the core process for turning a prepared photo into clean laser ready vectors your machine can run.
Tracing the Image Into Paths
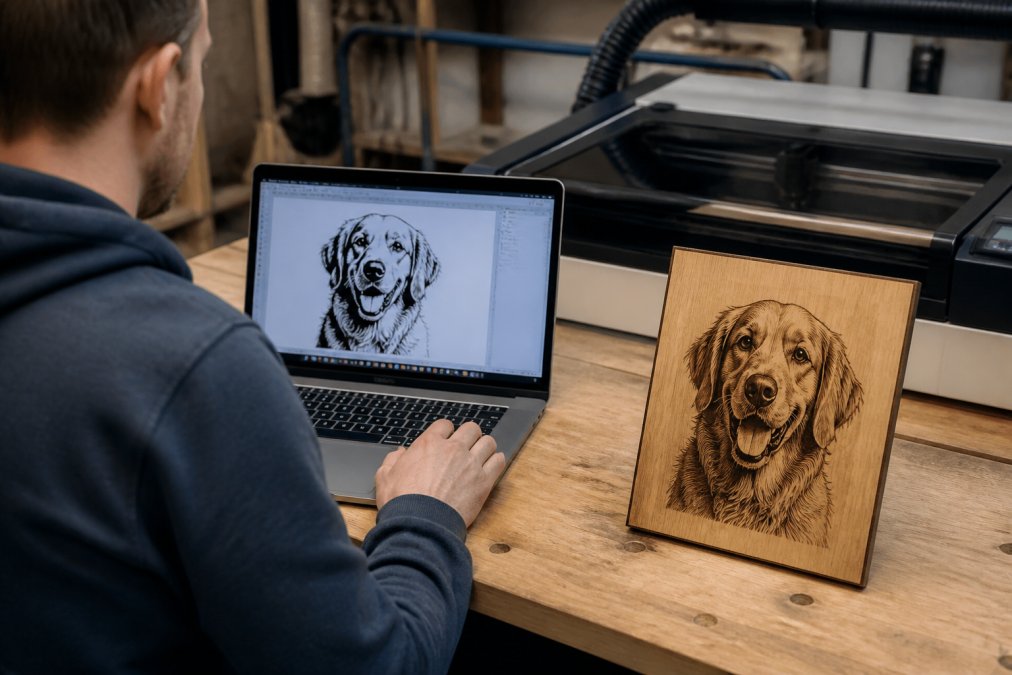
Auto-trace converts pixels into vector paths in seconds. Set your threshold, choose a color or grayscale mode, and run the trace. The tool places anchor points along every edge it detects.
- Run the auto-trace at your chosen threshold
- Inspect edges for stray or doubled paths
- Reduce anchor points on smooth curves
- Group related paths before export
Choosing SVG, DXF, AI, or EPS for Your Machine
SVG is the safest choice for most laser software, including LightBurn and xTool Studio. It handles curves well and stays editable.
Dithering vs. Vectorization: Picking the Right Method
Dithering and vectorization solve different problems; mixing them up wastes material. Choose based on what the image contains.
Here is the split in plain terms:
- Lineart, logos, stencils → vectorize
- Photos with gradients and shading → dither
- Mixed images → vectorize the outline, dither the fill
Laser Engraving Layered Files for Depth and Detail
Laser engraving layered files split a flat design into depth levels. Each layer maps to a different engraving depth, giving the final piece real dimension instead of a flat burn.
Post-Processing and Material-Specific Optimization
A traced file is not finished until you clean it and match it to your material, the step most guides skip, and where professional results separate from rough ones.
Vector Cleanup: The Step Nobody Shows You
Auto-traced vectors carry noise. Open the file in Inkscape or Illustrator and run this checklist:
- Delete stray nodes. Zoom to 400% and look for single anchor points floating off the main path. The tracer creates them from JPEG artifacts and dust in the source photo.
- Close open paths. An open path makes the laser jump or leave a gap. In Inkscape, select the path and use Path > Close Path (or the 'Close selected paths' button). In Illustrator, use Object > Path > Join.
- Merge duplicate lines. Thick edges in the source often trace as two parallel paths. Select both and use Path > Union (Inkscape) or Pathfinder > Unite (Illustrator).
- Simplify nodes. Inkscape's Path > Simplify (Ctrl+L) reduces node count while preserving shape. Illustrator's Object > Path > Simplify does the same. Fewer nodes mean smoother curves and faster cuts.
- Check scale and units. Confirm the document units match your machine setup. A file drawn in millimeters imported into an inch-based job will cut at the wrong size.
Material-Specific Settings
Settings vary by machine wattage, lens, and material batch. These are starting points for a 40-80W diode or CO2 laser, always test on scrap first.
Wood (birch ply, basswood, walnut)
- Vector cutting: 100% power, 10-20 mm/s for 3mm ply; slower for hardwoods
- Vector scoring: 20-30% power, 100-150 mm/s
- Engraving fill: 30-50% power, 100-200 mm/s, 0.1mm line interval
- Watch for: grain direction affecting cut speed, sap pockets causing flare-ups, and inconsistent thickness in cheap ply
Acrylic (cast vs. extruded)
- Cast acrylic cuts cleaner and engraves to a frosty white. Extruded acrylic melts more and engraves clear.
- Vector cutting: 100% power, 8-15 mm/s for 3mm cast
- Engraving fill: 20-40% power, 200-300 mm/s
- Watch for: extruded acrylic warping, flame polish on edges, and fumes, ventilate
Leather (veg-tan vs. chrome-tan)
- Veg-tan engraves to a dark brown and cuts cleanly. Chrome-tan produces toxic fumes and should be avoided.
- Vector cutting: 40-60% power, 20-30 mm/s for 2mm veg-tan
- Engraving fill: 15-30% power, 200-300 mm/s
- Watch for: batch-to-batch scorch variation, edge darkening, and smell, test on scrap every new hide
Coated metals (anodized aluminum, painted steel)
- The laser removes the coating, not the metal. Tight vector paths matter most here.
- Vector scoring: 20-40% power, 200-300 mm/s
- Engraving fill: 15-30% power, 300-500 mm/s, 0.05mm line interval
- Watch for: coating thickness variation, heat distortion on thin sheet, and inconsistent mark depth across large areas
The Test-Cut Method
Before every new material, run a small test grid: cut a 20mm square with five power and five speed settings, label each square, and keep the piece as reference. Five minutes saves ruined projects.
Troubleshooting Common Laser Ready Vector Problems
Most laser ready vector failures trace back to a handful of causes. Here is how to fix them fast.
Frequently Asked Questions
How can I convert an image to be ready for laser engraving?
Start with a high-resolution PNG or BMP, clean up the background, and boost contrast so the subject stands out. Then trace the image into paths using vector software or a dedicated conversion tool, and export as SVG or DXF. Check the result in LightBurn or xTool Studio before cutting. For photos with gradients, you may need dithering instead of pure vectorization to keep shadow detail.
Can I turn a photo into a vector image for laser cutting?
Yes, but the result depends on the photo. High-contrast images with clear edges trace well into clean paths. Photos with soft gradients, fine hair, or heavy noise produce messy vectors that need node editing afterward. If you want depth and shading, consider layered files or dithering rather than a single flat vector trace.
What is the best software for laser engraving photos?
LightBurn and xTool Studio handle the engraving side well, and both accept SVG and DXF exports. For the tracing step, vector editors like Inkscape or Illustrator work, though they require manual cleanup. Dedicated conversion tools that output laser-ready layered files can simplify the process for detailed photos.
How do I prepare a photo for multi-layer laser engraving?
Separate the image into distinct tonal or depth zones, then assign each zone its own layer with a matching power and speed setting. Clean paths on every layer before exporting. Keep layer count reasonable, usually three to five, so the engraving stays sharp and the file remains easy to edit in LightBurn or xTool Studio.
Getting a photo to engrave cleanly comes down to prep, the right method, and clean paths. Laser Layer Maker removes the slowest part of that work by turning any image into laser-ready layered files automatically. It splits your photo into precise engraving-depth layers and exports to LightBurn SVG, DXF, and xTool Studio, so you spend less time fixing nodes and more time running the machine. Get started with Laser Layer Maker and turn your photos into production-ready files.