 how-to
How to Save Time on Laser Projects: 7 Proven Steps
Table of Contents
- Run a 10-Minute Time Audit Before You Change Anything
- How to Reduce Laser Engraving Time Without Losing Detail
- Laser Cutting Speed and Power Settings That Actually Work
- Optimize Laser Paths to Cut Machine Time
- Batch Laser Engraving for Repeat Jobs
- Prepare Artwork and Files Before They Hit the Machine
- Common Mistakes That Slow Every Job Down
- Frequently Asked Questions
Last Updated: October 12, 2026
Run a 10-Minute Time Audit Before You Change Anything
If you want to know how to save time on laser projects, start by measuring where the time actually goes. Most makers guess wrong. They blame the laser when the real delay sits in file prep, layout, or cleanup. This guide walks through seven proven steps, from a quick time audit to batching repeat jobs, so you can cut machine time without losing quality.
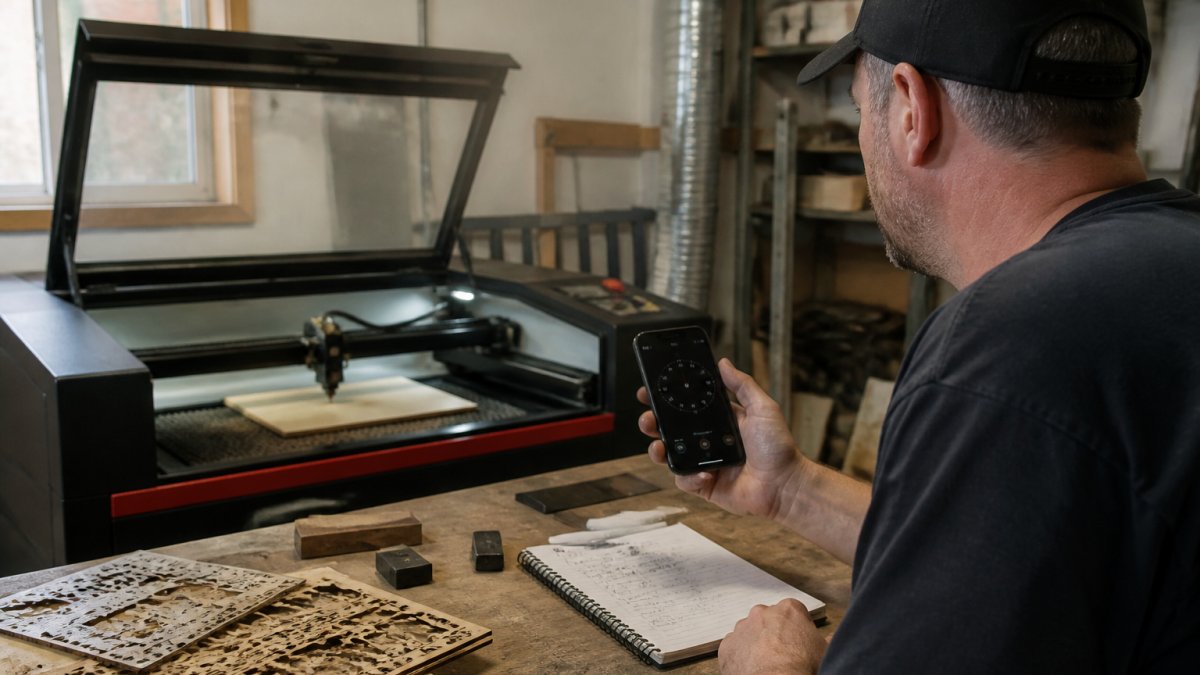
A time audit is a simple record of how long each stage of a job takes. It takes about ten minutes to set up and pays for itself on the very next project. Grab a notebook or a stopwatch app and track four things:
- File prep and artwork cleanup
- Machine setup and focusing
- Actual laser run time
- Cleanup, masking removal, and finishing
Track Where Every Minute Goes
Write down a start and stop time for each stage. Do this for two or three jobs before you change a single setting.
You will likely find that the laser itself is not the bottleneck. Setup and cleanup often eat more minutes than the cut.
Find Your Biggest Time Sink
Look for the stage with the largest total. That is your target.
- If prep wins, your artwork needs work.
- If setup wins, build reusable templates.
- If cleanup wins, try masking paper.
How to Reduce Laser Engraving Time Without Losing Detail
The fastest way to reduce laser engraving time is to stop engraving detail nobody will see.
Focus your changes on hidden surfaces first. The bottom of a coaster or the back of a sign does not need the same resolution as the front.
Drop Resolution on the Parts Nobody Sees
Lower the DPI on hidden faces. A high DPI setting makes the laser fire more lines per inch, which adds minutes to every job.
- Front face: keep your normal DPI for crisp detail
- Back or base: drop to a lower DPI
- Test on scrap first to confirm the look
Cut Unnecessary Passes and Reciprocations
Every extra pass adds machine time. Check your settings before you hit start.
- Use one pass where the material allows it
- Avoid overlapping passes that re-burn the same line
- Trim reciprocations on wide fills
Laser Cutting Speed and Power Settings That Actually Work
Laser cutting speed and power settings decide how long a job runs. Speed controls how fast the head moves. Power controls how hard the beam burns.
The trick is matching settings to the material and its thickness. A setting that works on 3 mm acrylic will scorch 6 mm birch.
Match Settings to Material Thickness
Thicker material needs slower speed or more power, but not both at once. Push one, then test.
| Material | Thickness | Speed | Power | Passes |
|---|---|---|---|---|
| Acrylic | 3 mm | Fast | Medium | 1 |
| Birch ply | 3 mm | Medium | Medium | 1 |
| Birch ply | 6 mm | Slow | High | 2 |
| Card | 1 mm | Fast | Low | 1 |
Run a small test cut on scrap before every new material batch. Suppliers change, and so do their sheets.
Save Every Working Profile
Once a setting works, save it. Do not retype numbers every job.
- Name profiles by material and thickness
- Note the machine and lens used
- Back up your profile library
This one habit removes minutes of guessing from every project.
Optimize Laser Paths to Cut Machine Time
Path efficiency is the quiet time saver. The laser spends real seconds traveling between shapes. Shorten that travel and the job finishes sooner.
Open your design file and look at the order the machine runs each element. Most software lets you reorder operations.
Group Similar Operations and Reduce Travel
Group all cuts together and all engraves together. Mixing them forces the head to jump back and forth.
- Cut inner shapes before outer ones
- Group by color or layer
- Set the start point near the last shape
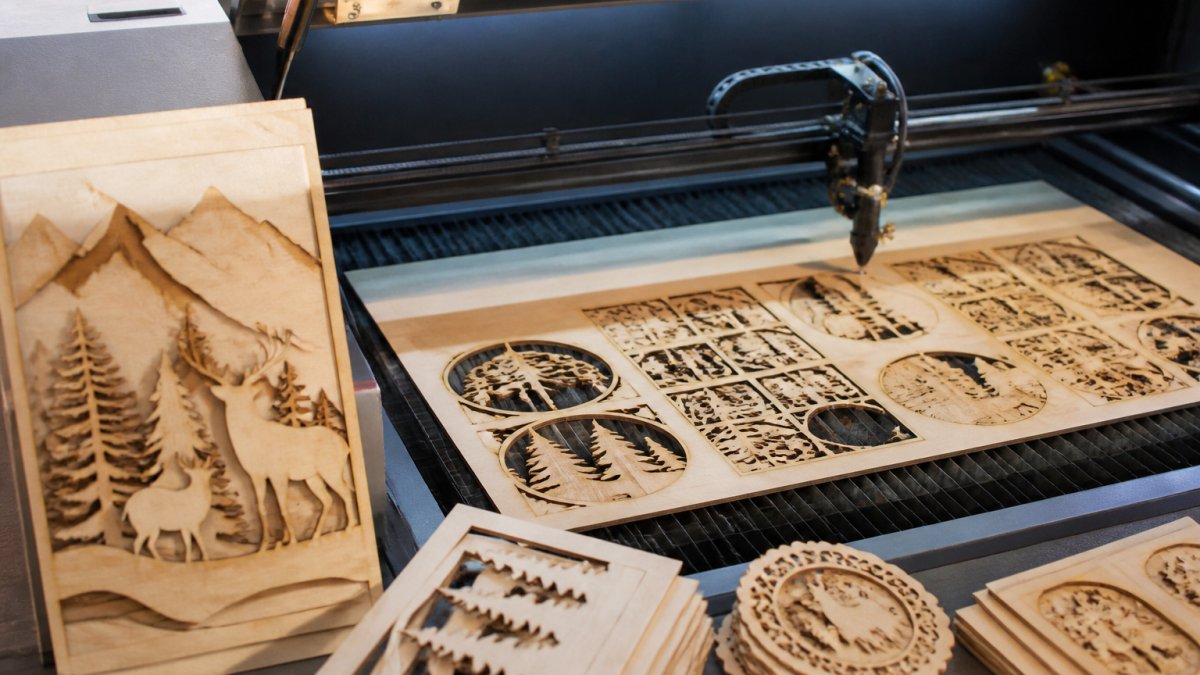
Nest Parts to Fill the Bed
Nesting means fitting more parts into one sheet. More parts per run means fewer runs.
- Rotate parts to fill gaps
- Keep a small gap between pieces
- Use leftover space for small add-on items
Batch Laser Engraving for Repeat Jobs
Batch laser engraving turns five small runs into one big one. Setup time is roughly the same whether you cut one part or twenty, so fill the bed.
A complete batching workflow has four stages. Most shops only do the first one.
Stage 1: Group Jobs by Material and Thickness
Sort your queue by material, thickness, and finish. Run everything in one group before you switch. Changing from 3 mm birch to 3 mm acrylic means resetting focus, air assist, and often the lens, that changeover is pure overhead.
- Group by substrate first, thickness second
- Keep a running queue so you always have a full sheet's worth of work
- Run the thickest material first if you plan to change lenses during the day
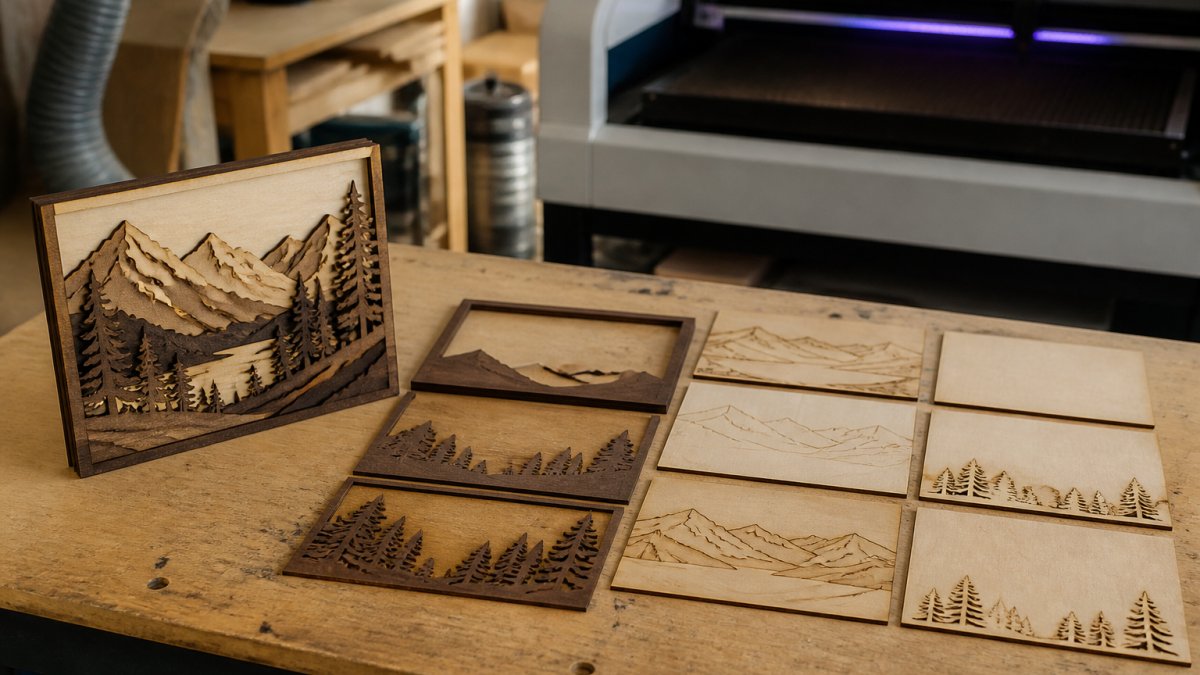
Stage 2: Nest the Whole Group, Not One Part
Nesting means fitting more parts into one sheet. More parts per run means fewer runs. When you batch, nest the entire group at once instead of nesting each order separately.
- Rotate parts to fill gaps and use the leftover space for small add-on items
- Keep a consistent gap between pieces, 2 to 3 mm is a common working range for most hobby and light-production machines
- Cut inner shapes before outer ones so parts do not shift mid-job
- Place parts with the grain or finish direction consistent across the sheet
A tight nest can fit several extra parts into the same sheet, which spreads your setup time across more finished pieces.
Stage 3: Minimize Material Changes and Handling
Handling is the hidden cost. Every time you lift a sheet, reposition it, and re-zero the origin, you add minutes that never show up in the laser's run timer.
- Use a fixed jig or corner stop so every sheet lands in the same place
- Cut a reusable template sheet once and keep it as a reference for alignment
- Stack finished parts by order as they come off the bed so sorting is not a separate step
- Keep masking, tweezers, and a scraper within arm's reach to avoid walking between stages
Stage 4: Build Reusable Templates
A custom template saves you from rebuilding the same layout. Save a layout with fixed spacing, then swap in new artwork each run. Keep one template per product type.
- Name templates by product, material, and thickness
- Store the template with its matching saved settings profile
- Back up the template library alongside your settings
Batching pays off most when the whole group shares one setup. If you have to change material, focus, or lens mid-batch, you have split the batch and lost the gain.
Prepare Artwork and Files Before They Hit the Machine
Clean files run faster. A messy file with stray nodes and open paths forces the machine to slow down or stop. Fix the file on your computer, not at the laser.
- Close all open paths before cutting
- Remove duplicate and stray lines
- Convert text to paths
- Check that line weights match your operation
A few minutes of file cleanup beats an hour of re-cutting a failed job.
Common Mistakes That Slow Every Job Down
Most slow jobs trace back to a handful of repeat errors. The list below pairs each mistake with the mechanism behind it, so you can tell whether it is actually costing you time.
Skipping the Time Audit
Without a baseline, you fix the wrong stage. A job that feels slow because of cleanup will not improve when you tweak speed settings. Time two or three jobs first.
Rebuilding Layouts Instead of Reusing Templates
Rebuilding a layout costs the same minutes every run. A saved template costs them once. This is one of the easiest fixes and one of the most commonly skipped.
Running High DPI on Hidden Surfaces
High DPI means more lines per inch, which means more back-and-forth travel. On a face nobody sees, that detail is invisible and the time is real. Drop the DPI on backs, bases, and internal surfaces.
Adding Extra Passes "Just to Be Safe"
A second pass can double run time and leave burn marks on thin materials like card or birch. If a single pass is not cutting through, the fix is usually speed, power, focus, or lens condition, not another pass.
Letting the Lens and Mirrors Get Dirty
A dirty lens or mirror scatters and absorbs beam energy. The machine still runs at the same speed, but it cuts less effectively, so you compensate with slower speed or extra passes. Wipe the lens and check mirrors between jobs. This is one of the most common hidden reasons a job suddenly runs slow or uneven.
Ignoring Focus, Air Assist, and Exhaust
- Focus: a focus offset of even a millimeter changes cut depth and forces a second pass
- Air assist: weak or blocked airflow lets smoke and debris re-deposit on the work, causing rework
- Exhaust: poor ventilation slows you down because you have to pause and wait for the work area to clear
Check all three at the start of a session, not after a job fails.
Running the Wrong Material or Thickness for the Job
A setting that works on 3 mm acrylic will scorch 6 mm birch. Suppliers change, and so do their sheets, so run a small test cut on scrap before every new material batch. Pairing efficiency advice with safe material selection matters here: some materials, PVC, polycarbonate, and certain vinyls, release harmful fumes when lasered and should not be cut at all, no matter how fast the job would run.
Do not chase speed by disabling air assist, skipping ventilation, or running unknown materials. Rework from a failed or unsafe job costs more time than the settings ever saved.
Frequently Asked Questions
How can I reduce engraving time without losing detail?
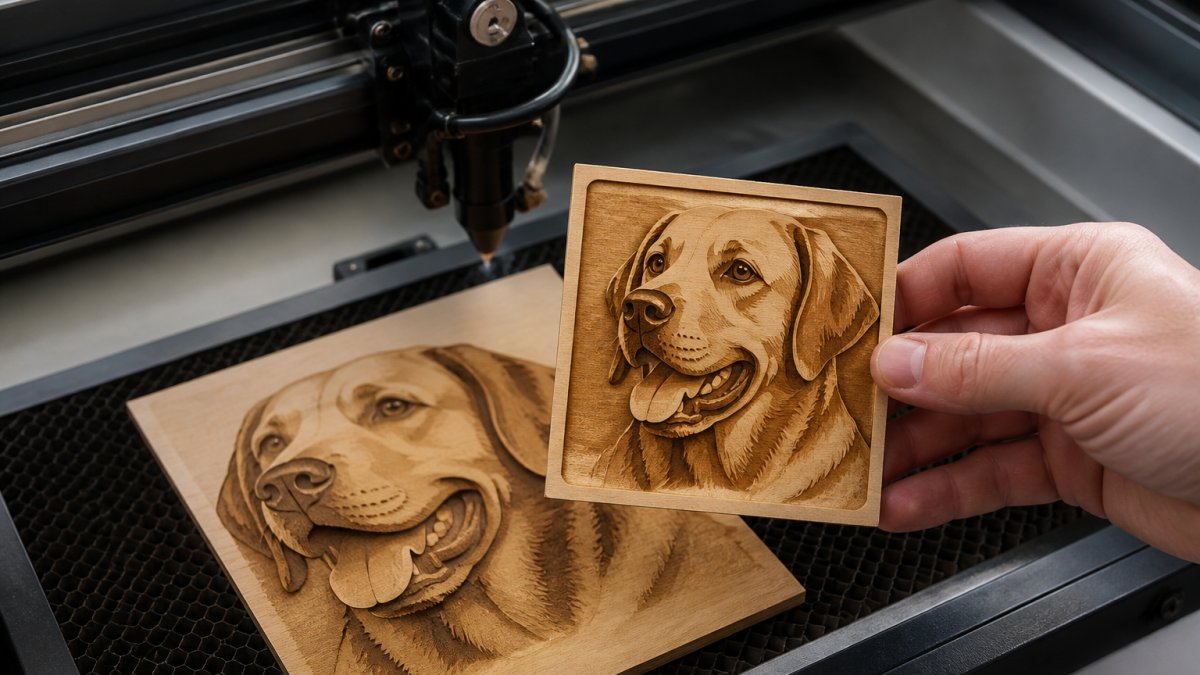
Lower DPI or point spacing only on areas that won't show fine detail, like the back of a sign or a solid fill. Keep high resolution on faces, text, and edges. You can also reduce the number of passes on raster engraving by raising power slightly and increasing speed, then test on scrap material first. Most time savings come from cutting resolution where it doesn't matter rather than lowering quality everywhere.
How do I choose the right speed and power for a laser project?
Start with your machine maker's recommended settings for that material and thickness, then run a small test grid on scrap. For cutting, higher power and slower speed cut through thicker material; for engraving, faster speed with moderate power usually gives a cleaner finish. Save the winning combination as a profile in LightBurn or xTool Studio so you never repeat the test. Material type matters as much as thickness: acrylic, birch plywood, and card all behave differently.
How can batch processing save time on laser engraving projects?
Batching groups jobs that share the same material, thickness, and settings into one run. You load the bed once, run all the pieces, then switch materials. This eliminates repeated setup, focus, and test cuts between jobs. For Etsy sellers making the same tumbler or keychain design repeatedly, a saved template plus batching can cut setup time to near zero and keep the laser running instead of sitting idle while you swap files.
How should I prepare artwork to make laser projects faster?
Clean vector files cut faster than traced bitmaps because the laser follows simple paths instead of scanning pixels. Merge overlapping shapes, remove stray nodes, and convert text to paths before export. For photo engraving, using a tool that splits images into depth layers can streamline the process. Masking paper on the material also saves cleanup time afterward by preventing burn marks and dust residue from settling into the surface.
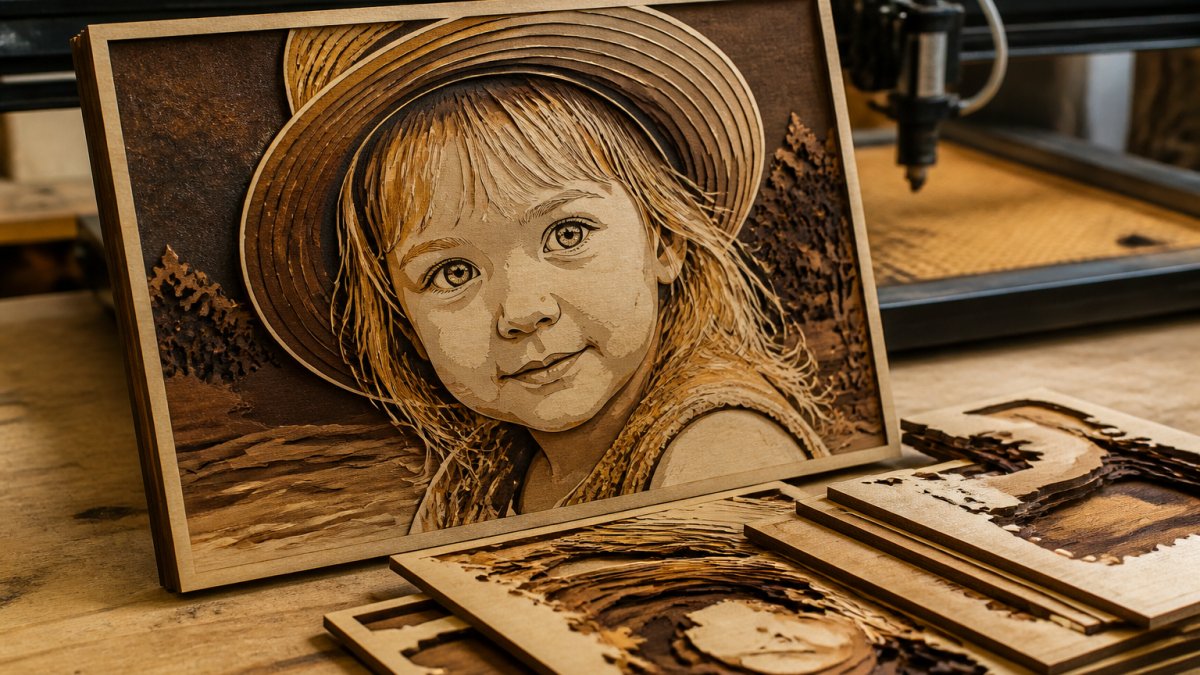
Every slow job hides a fixable step. Laser Layer Maker helps you find it by cutting the file prep that eats your day. Our tool turns any image into laser-ready layered files, splits photos and logos into engraving-depth layers, and exports straight to LightBurn SVG, DXF, or xTool Studio. Get started with Laser Layer Maker and spend your hours on the laser, not on the prep.