 how-to
Engrave Detailed Photos on Wood Layers: A Step-by-Step Guide
Table of Contents
- Preparing Your Photo for Wood Engraving
- Grayscale Photo Laser Engraving: Converting and Optimizing Your Image
- Selecting Wood Species and Surface Preparation
- Photo Engraving Settings for Wood: Laser Power, Speed, and Resolution
- Creating and Managing Image Layers for Depth
- LightBurn Photo Engraving: Workflow and File Export
- Wood Laser Engraving Test Grid: Validating Settings Before Production
- Finishing, Cleaning, and Preventing Burn Marks
- Frequently Asked Questions
Last Updated: October 12, 2026
Preparing Your Photo for Wood Engraving
Preparing your photo is the most critical step: a poorly prepared image engraves poorly no matter how good your settings are. Good preparation saves time, improves quality, and prevents wasted material.
Choosing the Right Image Format and Resolution
Start with a high-quality photo. For detailed engraving, aim for at least 300 DPI at the final size you want to engrave.
Your image format should be one of these:
- JPEG (most common, works well)
- PNG (supports transparency)
- TIFF (highest quality, larger files)
- BMP (simple, works reliably)
Avoid low-resolution or compressed images. If your source photo is small, don't enlarge it; crop it to fit your wood surface at full resolution instead.
Import your photo at exactly the size you'll engrave (e.g., 4x6 inches) to prevent scaling that blurs fine details.
Adjusting Contrast and Brightness for Engraving
Laser engraving reads tonal values, so a flat, low-contrast photo won't engrave with depth or character.
Open your photo in any image editor (Photoshop, GIMP, or Windows Photos) and find the Contrast and Brightness sliders.
Increase contrast first, pushing until shadows and highlights separate clearly. Don't overdo it, you want detail, not pure black and white blobs.
Next, adjust brightness.
A good test: squint at your photo.
Grayscale Photo Laser Engraving: Converting and Optimizing Your Image
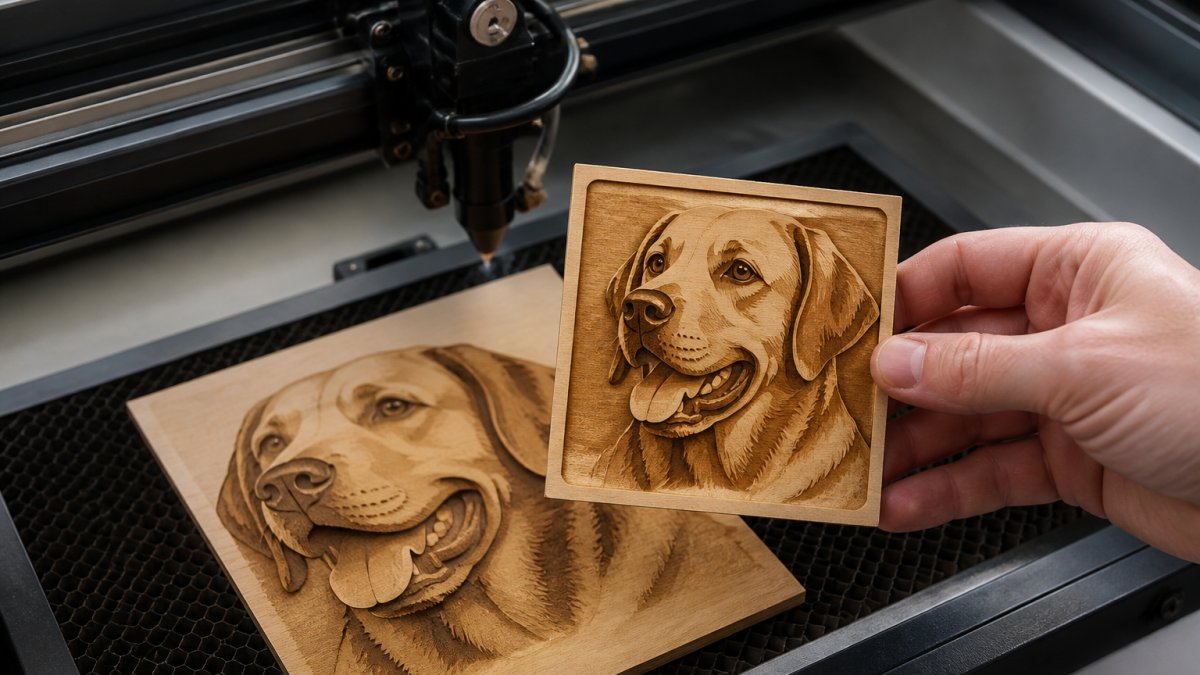
Converting your photo to grayscale is where grayscale photo laser engraving begins, telling your laser cutter how deep to burn at each point.
Grayscale vs. Dithering: Which Mode Works Best
Grayscale mode reads continuous tones, adjusting laser power smoothly from light to dark for photorealistic results with subtle gradations.
Dithering converts your image to dots or lines burned at varying densities to simulate tones.
For detailed photo engraving, grayscale wins: it preserves fine detail and creates smooth transitions.
Improving Tonal Range and Fine Detail
Tonal range is the full spectrum from pure white to pure black. A wide range gives your engraving depth and dimension.
Fine detail gets lost if your image is too small or compressed. If your source file is under 2 MB and the photo is under 4 inches, find a higher-resolution version.
Some detail loss is normal, but you can minimize it by starting with the best source image possible.
Selecting Wood Species and Surface Preparation
Species, grain, and surface finish all affect how your photo comes out.
Best Wood Types for Detailed Photo Engraving
Hardwoods engrave better than softwoods. They have tighter grain and burn more consistently.
Best choices for detailed work:
- Maple (tight grain, light color, excellent detail)
- Walnut (dark, rich contrast, fine detail)
- Cherry (medium grain, warm tones)
- Birch (light, uniform, good for contrast)
- Oak (visible grain, bold character)
Avoid pine, fir, and other softwoods. They char unevenly and obscure fine detail with dark burn marks.
Wood color affects appearance: light woods show dark burn marks clearly, dark woods show detail less obviously. Plan your design around your wood choice.
Preparing and Sanding Your Wood Surface
Start with a clean surface. Dust and dirt scatter laser light and reduce engraving clarity.
Sand your wood smooth with 150-220 grit sandpaper to remove roughness and create a uniform burn.
Sand WITH the grain to prevent tearout and keep the surface even.
Warped or uneven wood won't sit flat in your laser cutter, changing focus and hurting detail.
Photo Engraving Settings for Wood: Laser Power, Speed, and Resolution
Laser settings make or break the engraving. The right ones engrave detailed photos on wood layers with clarity and depth.
Adjusting Laser Power and Engraving Speed
Laser power and speed work together. More power burns deeper. Faster speed burns lighter.
For detailed photo work, start conservative: too much power creates thick burn marks that obscure detail, while too little leaves the image faint and incomplete.
A typical starting point for 40-50W CO2 lasers:
- Power: 60-75% (adjust down if burn marks are heavy)
- Speed: 100-150 mm/s (adjust up for lighter burns)
Diode lasers run differently. Start at 80-90% power with similar speed.
Aim for consistent, even burning across the image; uneven power or speed creates blotchy results.
Setting Resolution and Line Interval for Clarity
Resolution (DPI during engraving) controls how finely your laser burns the image; higher resolution means more detail.
For detailed photo work, use 600 DPI minimum. 1200 DPI captures even finer detail but takes longer.
Most software defaults to 0.001", which works well for most photos.
Finer resolution and smaller line intervals take longer, so plan production time accordingly.
Creating and Managing Image Layers for Depth
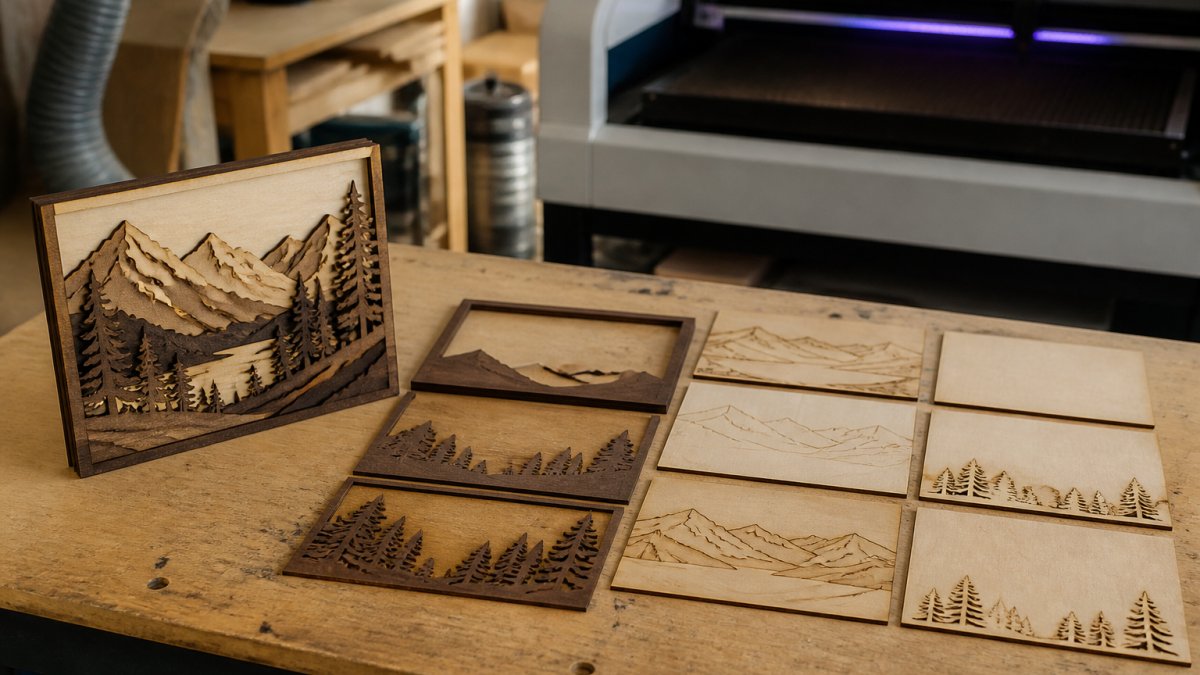
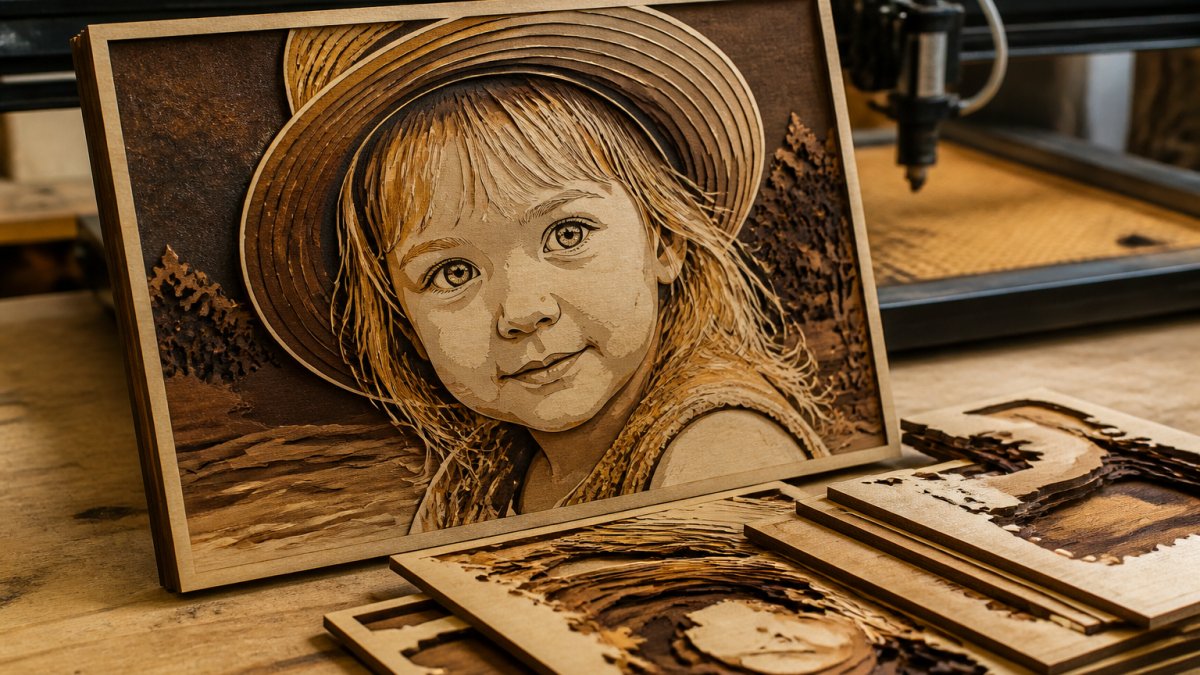
Layered engraving uses multiple passes at different power levels to build a 3D effect on a flat surface.
Understanding Layers and Stacked Graphics
A layered file contains multiple versions of the same image at different depths: the laser burns the first layer shallow, the second deeper, and so on.
Think of it like carving: each pass goes deeper than the last, adding dimension.
Stacked graphics are separate objects in your design file, read and engraved sequentially by your laser software.
Unlike a single-pass photo engraving, layered engraving requires planning and file setup.
Building Your Layered File for Multi-Depth Engraving
Start with your prepared photo. Duplicate it in your design software.
Stack them shallowest on top, deepest on bottom; your laser software engraves top to bottom.
Assign each layer a different power setting, e.g., 50%, 65%, and 80% for layers 1-3.
Test on scrap wood first, adjusting power per layer until you see clear depth progression.
LightBurn Photo Engraving: Workflow and File Export
LightBurn is one of the most popular laser software options. If you're engraving detailed photos on wood layers, understanding LightBurn's workflow saves hours.
Importing and Positioning Your Photo in LightBurn
Open LightBurn and create a new document. Set your document size to match your wood piece.
Import your prepared photo by dragging it into the canvas or using File > Import; LightBurn accepts most common formats.
Position the image on your wood, using alignment tools to center it if needed.
Check that the image size matches your intended engraving size; scaling up risks losing detail.
Configuring Raster Settings and Output
In LightBurn, raster settings control how your laser burns the image.
Set your DPI. 600 DPI is standard.
Choose your line interval. The default (0.001") works for most photos.
Set your laser power and speed as starting points, then refine them with test engravings.
Run the test on scrap wood. Evaluate the result. Adjust power and speed if needed.
Wood Laser Engraving Test Grid: Validating Settings Before Production
Testing is not optional. A test grid takes 10 minutes and prevents wasted material and time.
Building and Running Your Test Matrix
Make a 5x5 grid, each cell a small version of your photo.
Set rows to 50%, 60%, 70%, 80%, and 90% power, keeping speed constant.
Engrave this grid on scrap wood. You'll see how power affects the result.
Next, create another grid varying speed while keeping power constant. This shows how speed affects burn depth.
Compare results, looking for clear detail, good contrast, and minimal burn marks.
Evaluating Results and Adjusting Parameters
After the test engraving cools, examine each cell for:
- Clear detail (facial features, texture, fine lines)
- Even burn (no blotchy or striped areas)
- Minimal charring (dark burn marks around edges)
- Good contrast (distinct light and dark areas)
Mark the best-looking cell. Note its power and speed settings. These are your production settings.
If no cell looks perfect, adjust your source image (contrast, brightness) or try a different photo.
Test again with refined settings to confirm your final parameters before a full production run.
Finishing, Cleaning, and Preventing Burn Marks
After engraving, proper cleaning and sealing protect your work and enhance its appearance.
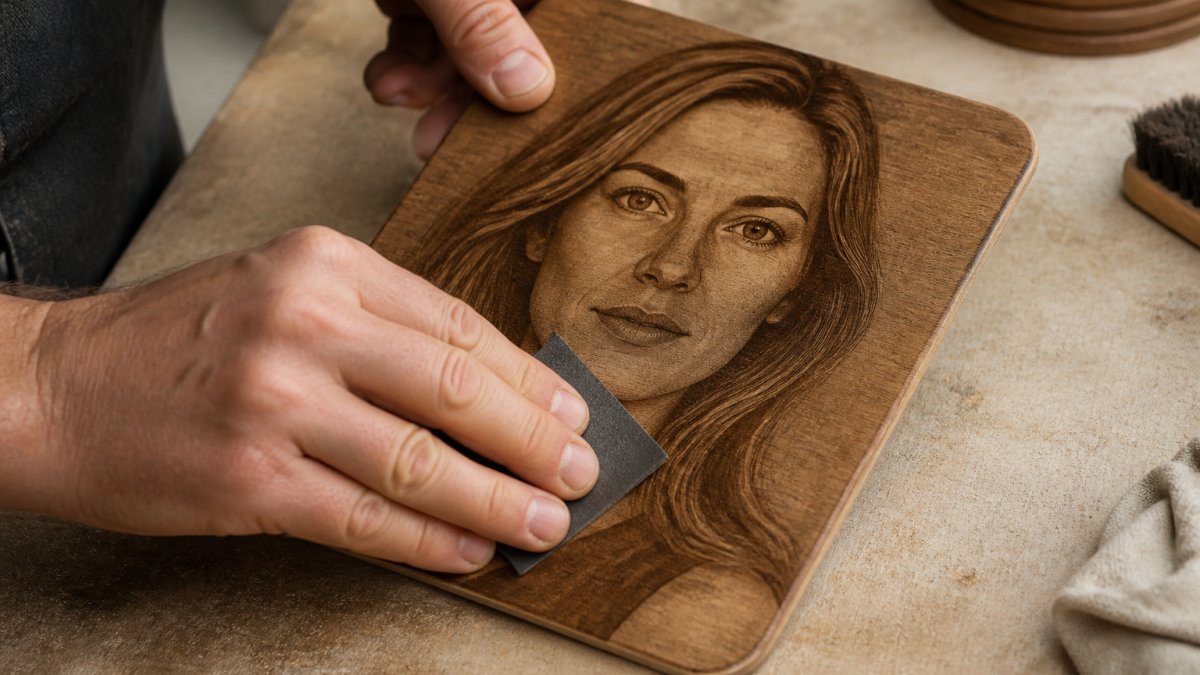
Removing Smoke Residue and Charring
Laser engraving creates smoke and charring that sits on the wood surface and dulls the engraving.
Let the wood cool completely first; a freshly engraved piece is hot and the burn is still setting.
Use a soft brush or compressed air to remove loose charring, brushing gently to avoid damaging engraved detail.
Sealing and Long-Term Care for Engraved Wood
After cleaning, seal your wood. This protects the engraving and prevents moisture damage.
Options include:
- Polyurethane (durable, water-resistant, common)
- Wax (natural look, less durable)
- Oil (brings out wood grain, needs reapplication)
- Lacquer (glossy finish, fast-drying)
Wait at least 24 hours before sealing, since fresh charring can trap moisture under the sealer.
For customer orders, include care instructions: dust with a soft cloth and reseal annually if the piece gets heavy use.
Engraving detailed photos on wood layers takes practice, but the process is learnable. At Laser Layer Maker, we help creators simplify this workflow by converting photos into laser-ready layered files automatically.
| Step | Purpose | Time |
|---|---|---|
| Photo preparation | Adjust contrast, brightness, resolution | 10-15 min |
| Grayscale conversion | Create engraving-ready tones | 5 min |
| Wood selection & prep | Sand and clean surface | 15-20 min |
| Laser settings config | Set power, speed, resolution | 10 min |
| Test engraving | Validate settings on scrap | 15-30 min |
| Production engraving | Final piece | 20-60 min |
| Finishing & cleanup | Remove charring, seal | 20-30 min |
According to the Occupational Safety and Health Administration guidance on laser equipment, proper ventilation is essential when operating laser cutters.
For detailed guidance on image optimization techniques, Adobe's photography and digital imaging resources provide comprehensive tutorials on contrast, brightness, and resolution adjustments that apply directly to laser engraving preparation workflows.
Frequently Asked Questions
How do you prepare a photo for laser engraving on wood?
Start by converting your image to grayscale and adjusting contrast and brightness to maximize the tonal range. Crop the photo to your desired size, then set resolution to at least 300 DPI for fine detail. Remove any background elements that don't contribute to the final design. If your image has low contrast, boost it in your photo editor to ensure the laser can distinguish between light and dark areas. Finally, save as a PNG or TIFF to preserve quality before importing into your engraving software.
What image settings work best for photo engraving settings for wood?
Optimal laser power and engraving speed depend on your specific wood type and laser machine. Resolution and line interval settings also vary based on the desired detail and your equipment. Always run a test grid on scrap wood first to find your optimal settings.
Should you use grayscale or dithering for wood photo engraving?
Grayscale engraving produces smoother tonal transitions and works best for portraits and images with subtle gradients. Dithering creates a pattern of dots that can simulate more colors but may reduce fine detail in complex images. For detailed photographs on wood, grayscale photo laser engraving is generally superior because it preserves tonal depth and creates more professional results. However, dithering can work well for bold graphics or logos where pattern texture is acceptable. Test both modes on your specific wood type to see which delivers better contrast and clarity for your design.
How do you prevent scorch marks when engraving detailed photos on wood?
To prevent scorch marks, ensure your laser cutter has adequate ventilation and air assist enabled to remove smoke and heat from the surface. Choosing lighter woods can also help, as they tend to char less readily. After engraving, lightly sand the surface with fine-grit sandpaper to remove residual char. Allow the piece to cool completely before handling to prevent additional discoloration.