 how-to
What Is the Best Way to Convert Images for LightBurn?
Last Updated: November 12, 2026
Quick Summary
The best way to convert images for LightBurn is to import a clean, high-contrast source, then use the built-in Trace Image tool (Tools > Trace Image or Alt+T) to turn raster art into editable vector paths. Adjust threshold, smoothing, and detail in order, preview at high zoom, and clean up nodes before export.
- Trace Image works best on high-contrast art with well-defined edges.
- Raster engrave photos directly; tracing flattens shading and gradients.
- Use centerline tracing to get a single line for cutting and scoring.
- Convert to grayscale first so the trace tool sees what you see.
- Export as SVG so paths stay editable for LightBurn work.
Table of Contents
- Step 1: Import Your Image and Set Up the Workspace
- Step 2: Use LightBurn Trace Image to Turn Raster Art into Vector Paths
- Step 3: LightBurn Adjust Image Settings for Contrast, Threshold, and Dithering
- Step 4: Create a LightBurn Trace Image Single Line for Outlines and Cut Paths
- Step 5: Convert Photo to LightBurn with the Right Preparation by Source Type
- Step 6: Clean Up Backgrounds, Nodes, and Common Conversion Errors
- Step 7: Export a Clean File and Send It to Laser Layer Maker for Layered Output
- Frequently Asked Questions
Step 1: Import Your Image and Set Up the Workspace
The best way to convert images for LightBurn starts before you touch a setting: import a clean, high-contrast source and set up your workspace so the trace has room to work.
Here is the import routine that saves the most time:
- Open LightBurn and create a new file sized to your material.
- Go to File > Import and bring in your image (PNG, JPG, BMP, or similar).
- Right-click the image to confirm it imported as an image object, not a shape.
A common mistake is importing a screenshot or compressed web image. Those carry soft edges and compression noise, and the trace tool will chase every speck.
For a broader file-prep routine, our guide on laser file preparation workflow walks through it.
Step 2: Use LightBurn Trace Image to Turn Raster Art into Vector Paths
LightBurn Trace Image is a built-in tool that converts a raster image into editable vector paths, and it works best on high-contrast art with well-defined edges.
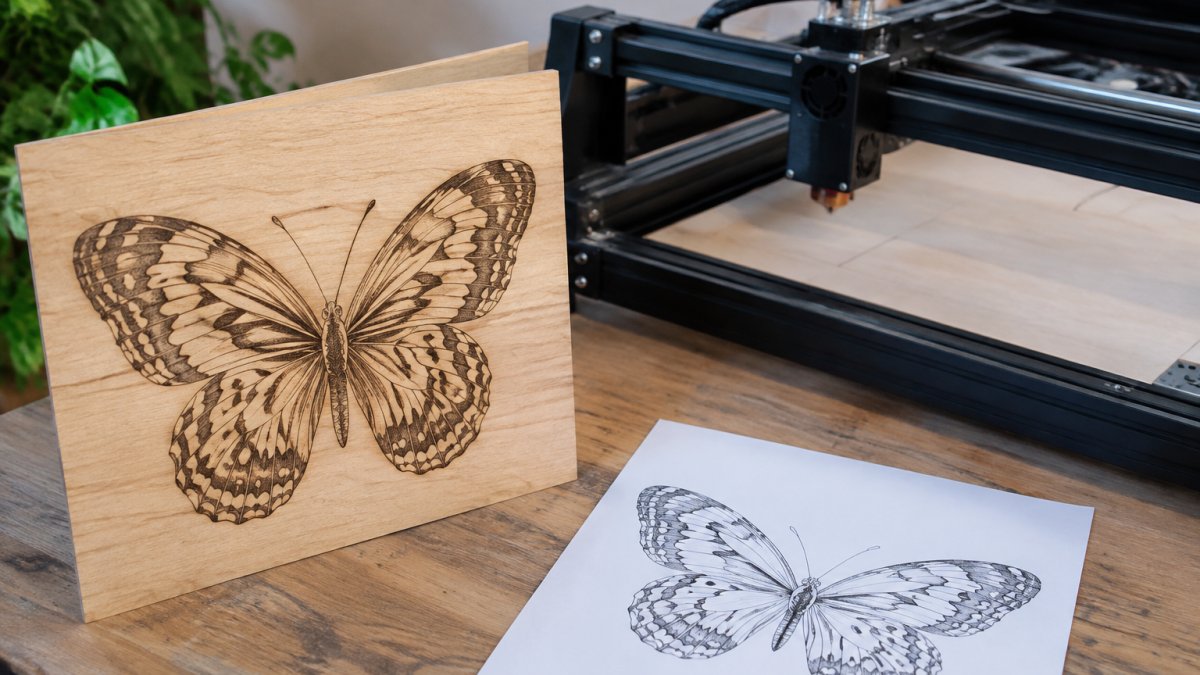
To open it, right-click the imported image and choose Tools > Trace Image. You can also use the Alt+T shortcut.
Before you trace, ask one question: do you need a burn or a cut?
| Your Goal | Best Method | Why |
|---|---|---|
| Photo with shading and gradients | Raster engrave the image directly | Tracing flattens detail |
| Logo or line art for cutting | Vector trace | Produces clean cut paths |
| Single-line outline for scoring | Trace, then centerline | One path, no double lines |
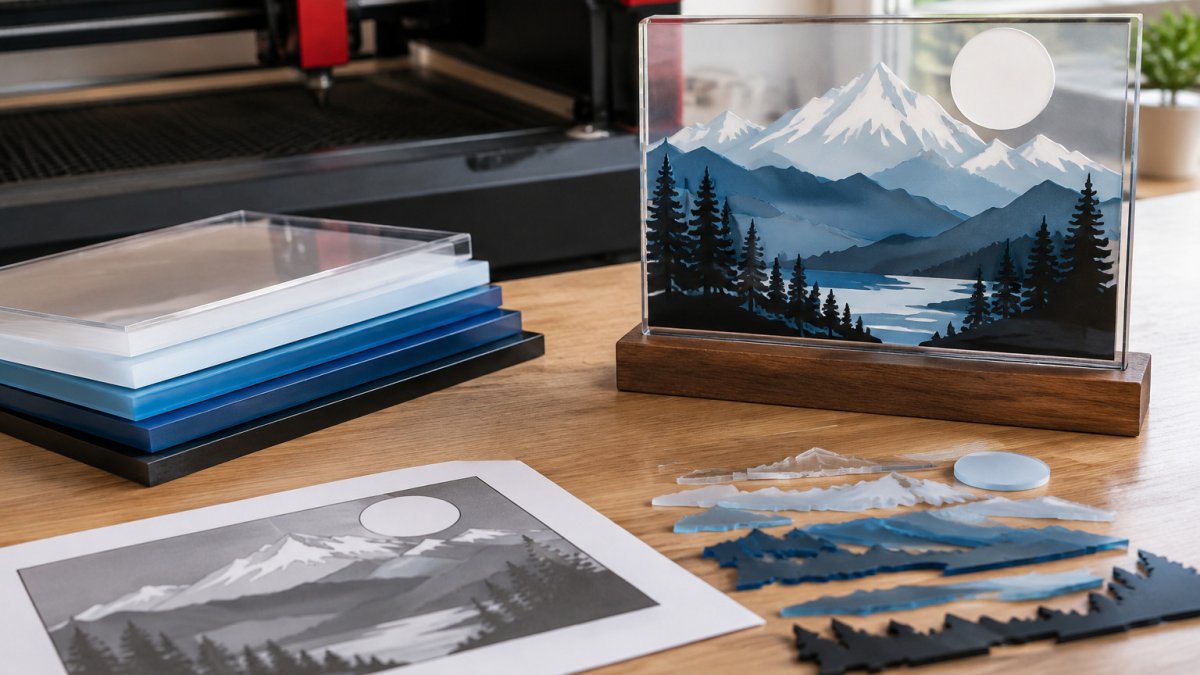
| Multi-depth layered art | Prepare layers, then export | Depth needs separate files |
Tracing a photograph into vectors usually ruins it. Engraving a logo as a raster wastes time you could spend cutting.
What the trace settings actually do
The Trace Image dialog exposes a small set of controls, each changing the result predictably. Adjusting them in this order gives a reproducible trace instead of trial and error:
- Threshold sets the black-and-white cutoff. Pixels darker than the threshold become the shape; lighter pixels are ignored. Raise it to capture faint lines, lower it to drop background noise. For logos and line art, a threshold near the middle of the histogram usually isolates the subject cleanly.
- Smoothing decides how aggressively the trace simplifies curves. Low smoothing follows every wobble; high smoothing cleans a hand-drawn circle but rounds off sharp lettering corners. Start low, then raise it until the path stops looking jittery.
- Detail or minimum feature size controls how small a speck must be before the trace ignores it. If your trace comes back covered in tiny islands, raise this rather than deleting them by hand.
A common pattern is to trace once with defaults, check the preview, then change exactly one control and trace again. Changing three settings at once makes it impossible to tell which one fixed the problem.
Preview before you commit
The Trace Image dialog shows a live preview of the vector result over the source. Zoom in on the thinnest line and confirm the trace produced one clean path, not a broken or doubled one.
When the preview looks right, apply the trace. LightBurn places the new paths on top of the original image.
Watch out: tracing at a zoomed-out view hides small gaps and stray nodes. Always inspect the result at high zoom before cleanup.
Step 3: LightBurn Adjust Image Settings for Contrast, Threshold, and Dithering
LightBurn Adjust Image settings control how much detail survives conversion, and the three that matter most are contrast, threshold, and dithering. Get these wrong and no amount of node cleanup will save the file.
Work through them in this order:
- Contrast first. Raise it until the subject separates clearly from the background. Soft gray edges are the enemy of a clean trace.
- Threshold next. Threshold forces every pixel to pure black or pure white. Use it for line art, logos, and anything headed for a vector trace.
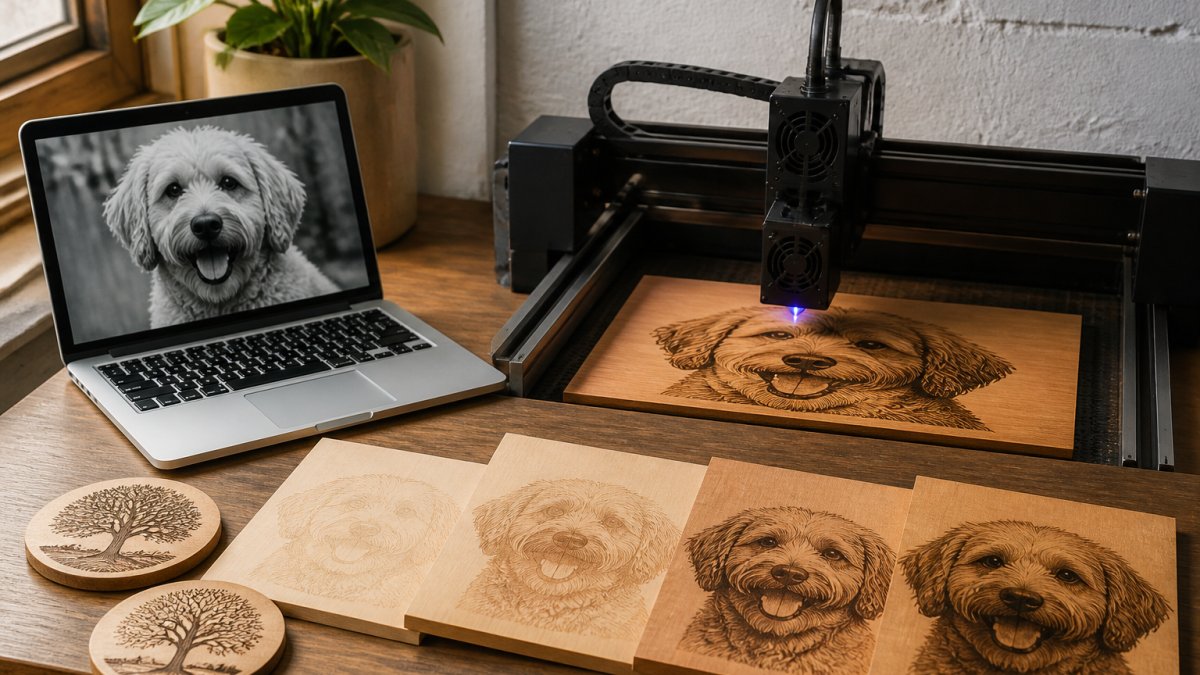
- Dithering for photos. Dithering maps grayscale into a pattern of dots, which is why the Ortur guide to photo engraving settings recommends it for photo images. Use dithering when you plan to raster engrave a picture.
Watch out: pushing contrast too far blows out fine detail like hair, fur, or thin lettering. Pull it back until those areas still read.
You can also prep outside LightBurn. GIMP is a free option for converting a picture to grayscale before import, with finer control over levels than a quick in-app adjustment.
Step 4: Create a LightBurn Trace Image Single Line for Outlines and Cut Paths
A LightBurn trace image single line is what you want when the laser needs to follow one path, not two.
Here is how to get a single line:
- Trace the image normally first to get vector paths.
- Select the traced result and open the offset or centerline option in the Tools menu.
- Choose centerline so LightBurn draws one path down the middle of each stroke.
This matters most for text and thin outlines. A double line on a cut path means the laser cuts the same shape twice, burning edges and wasting time.
For engraving, keep the filled shape instead. Single-line paths are for cutting and scoring, not shading.
Step 5: Convert Photo to LightBurn with the Right Preparation by Source Type
When you convert photo to LightBurn, the right preparation depends on where the image came from. Treating every picture the same is why so many engravings come out muddy. Resolution, contrast, background, and color each fail differently, and knowing the mechanism lets you fix an image that does not match any tidy category.
The four properties that decide the outcome
Before you touch a source-type checklist, check these four properties. They explain almost every bad conversion.
- Resolution sets the ceiling on detail. The trace tool can only follow edges that exist in the pixels. A 200-pixel-wide logo scaled to fill a 12-inch plaque traces into jagged, stepped paths no setting can repair, the fix is a larger source, not more smoothing. Aim for enough pixels that the image is at least as detailed at final size as it looks on screen at 100 percent.
- Contrast decides whether the trace can find an edge. Soft gray transitions give the threshold nothing clean to grab. Raising contrast before import separates the subject, but push too far and fine detail like hair, fur, or thin lettering collapses into solid black or disappears into white.
- Background is the most common source of unwanted filled regions. A busy background traces too and engraves as a solid block around your subject. Remove or mask it before import whenever the subject should stand alone.
Match your prep to the source
With those four properties in mind, here is how each common source type tends to fail and what to do about it:
- Phone photos: crop tight, boost contrast, and convert to grayscale. Phone cameras add noise that dithering turns into speckle, and in-phone sharpening creates halos the trace will follow. For raster engraving rather than tracing, keep it grayscale and let dithering handle the shading.
- Scanned artwork: descreen it first. Scanner dot patterns wreck a trace because the tool sees halftone dots as real edges. A light blur or descreen filter before import removes the pattern without destroying the line work.
- Logos from the web: check resolution before anything else. Small logos trace into jagged paths, and web compression adds colored fringing that survives grayscale conversion. Re-export from the original design file if you can.
Prepare for the machine, not just the file
Conversion choices only pay off if the file suits your laser and material. A vector trace that looks clean on screen can still burn badly if path density is wrong: dense paths concentrate heat and scorch thin material, while sparse paths leave gaps on textured surfaces.
For depth engraving on layered projects, you also need to split the image into separate depth bands before export. Our walkthrough on how to split images for depth engraving covers that process, and the step-by-step guide to engraving detailed photos on wood layers shows how the finished layers come together.
Watch out: preparing an image for a vector trace and preparing it for a raster engrave are different jobs. Decide which output you need before you start adjusting, or you will optimize the file for the wrong process.
Step 6: Clean Up Backgrounds, Nodes, and Common Conversion Errors
Cleanup is where a rough trace becomes a burnable file, and it is the step beginners rush.
Start with the background. Select the trace result, then delete any stray paths outside your subject.
Then thin out the nodes. Traced paths carry far more nodes than you need. Select the path and use Reduce Nodes to simplify it.
The errors we see most often:
- Speckles and noise from a low-contrast source. Fix the contrast and re-trace.
- Broken paths where the trace dropped a thin line. Draw the gap closed by hand.
- Doubled outlines from tracing a shape that should have been a single line.
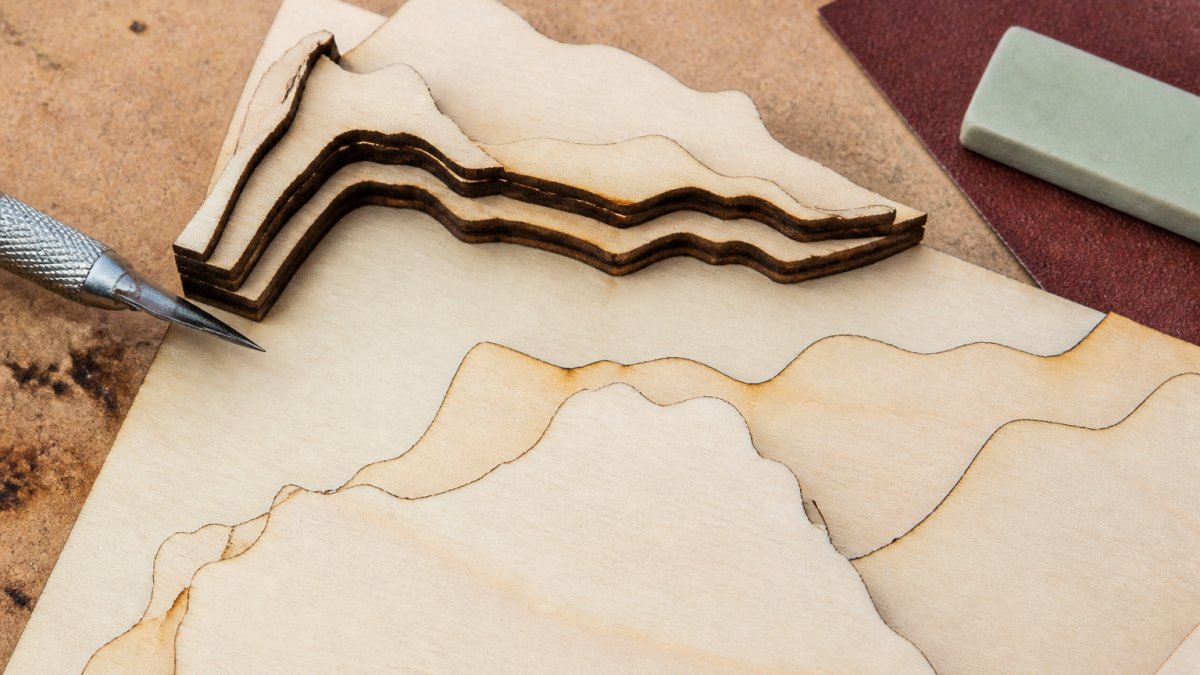
- Burnt edges and gaps on layered cuts, which usually trace back to path errors. Our guide on fixing burnt edges and gaps on laser-cut layers covers the fixes.
Preview the file before you burn it.
Step 7: Export a Clean File and Send It to Laser Layer Maker for Layered Output
Export is the last checkpoint, and the format depends on what happens next. For LightBurn work, export as SVG so paths stay editable.
Before you export, run this check:
- Background removed
- Nodes reduced
- Paths closed with no gaps
- Preview looks correct
If your project needs multiple engraving depths, hand-building those layers in LightBurn takes real time. That is where Laser Layer Maker fits.
Not sure whether to build layers yourself or send the file out? Our layered laser art file design service comparison breaks down cost, speed, and export quality so you can decide before you commit.
Converting images for LightBurn gets much easier once the workflow is fixed: import clean, choose raster or vector on purpose, adjust contrast, trace, simplify, and preview.
Frequently Asked Questions
Should I use a raster image or a vector file for laser engraving?
It depends on the job. Raster images suit photo engraving because dithering maps grayscale into dots that the laser burns line by line. Vector files suit cutting, scoring, and crisp logos because the laser follows paths instead of scanning a bitmap. For mixed projects, convert the photo to a raster engraving layer and trace the outline to a vector cut layer, then keep both in the same LightBurn workspace.
How do I make a single-line trace in LightBurn?
Open the Trace Image tool, load your high-contrast artwork, and lower the threshold until only the outer edges remain. Delete interior paths and check the preview for doubled lines. A single-line trace works best on simple silhouettes and logos; detailed photos will produce too many overlapping nodes to clean up by hand. Use it for cut lines, not for engraving gradients.
Can I convert a photo to LightBurn without losing detail?
You can keep detail if you prepare the photo before importing. Convert it to grayscale, raise contrast, and resize it to the engraving dimensions in pixels. Inside LightBurn, use Adjust Image to set brightness and contrast, then pick dithering for photos. Very fine detail still depends on your laser's dot size and the material, so test on a scrap piece before running a full batch.
What causes common conversion errors like broken paths or missing background?
Most errors come from low-resolution source images, busy backgrounds, or a threshold set too high or too low. Broken paths usually mean the trace picked up anti-aliased edges; raise contrast and re-trace. Missing background areas come from deleting nodes too aggressively. Preview the trace before you commit, and keep a copy of the original image so you can redo the conversion without starting over.