 comparison
Layered Laser Art File Design Service Review
Last Updated: November 8, 2026
Quick Summary
A layered laser art file design service turns a flat photo, logo, or illustration into separate cut files, each representing a depth plane that is cut and stacked into a three-dimensional piece. Laser Layer Maker splits any image into engraving-depth layers and exports them to LightBurn SVG, DXF, or xTool Studio, though light manual cleanup after export is common.
- Layered construction stacks multiple physical sheets, while surface engraving removes material from one sheet.
- Three to five layers suits most wall art; more than seven gets fragile and hard to register.
- Open every exported file in your laser software and confirm vector paths are closed before cutting.
- Free generator tools are enough for exploratory projects but leave cleanup that scales with every new design.
- Cut one test layer in scrap material before running a new layered file at production speed.
Table of Contents
- What a Layered Laser Art File Design Service Actually Delivers
- The Verdict: Laser Layer Maker Versus Manual and Free Workflows
- How to Create Layered Laser Cut Art in Four Stages
- Comparing the Layered Art Generator Options on the Market
- Where Layered Laser Cut Art Files Win and Where They Fall Short
- When Multi Layer Laser Cut Files Free Tools Are Enough
- Technical Settings, Materials, and Machine Compatibility
- Cost, Production Time, and Finishing Compared
- Frequently Asked Questions
What a Layered Laser Art File Design Service Actually Delivers
A layered laser art file design service turns a flat photo, logo, or illustration into a stack of separate cut files, each representing a depth plane cut and assembled into a three-dimensional piece. At Laser Layer Maker, we build exactly that: a tool that splits any image into engraving-depth layers and exports them to LightBurn SVG, DXF, or xTool Studio. This review covers what these services deliver, where they fall short, and how to decide whether you need one.
The core promise is simple: upload an image, the service separates it into layers, and you get files your laser can run. Manual cleanup after export is where much of the time goes.
Layered construction versus engraving into a single surface
These are two different techniques, and confusing them wastes material.
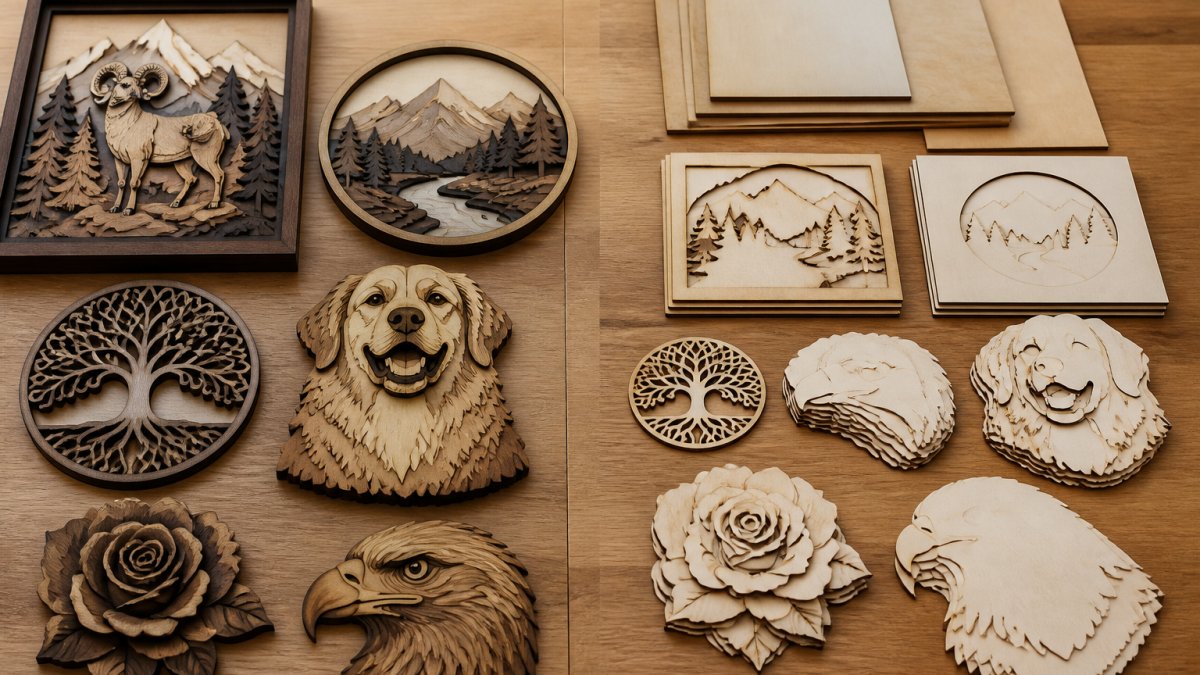
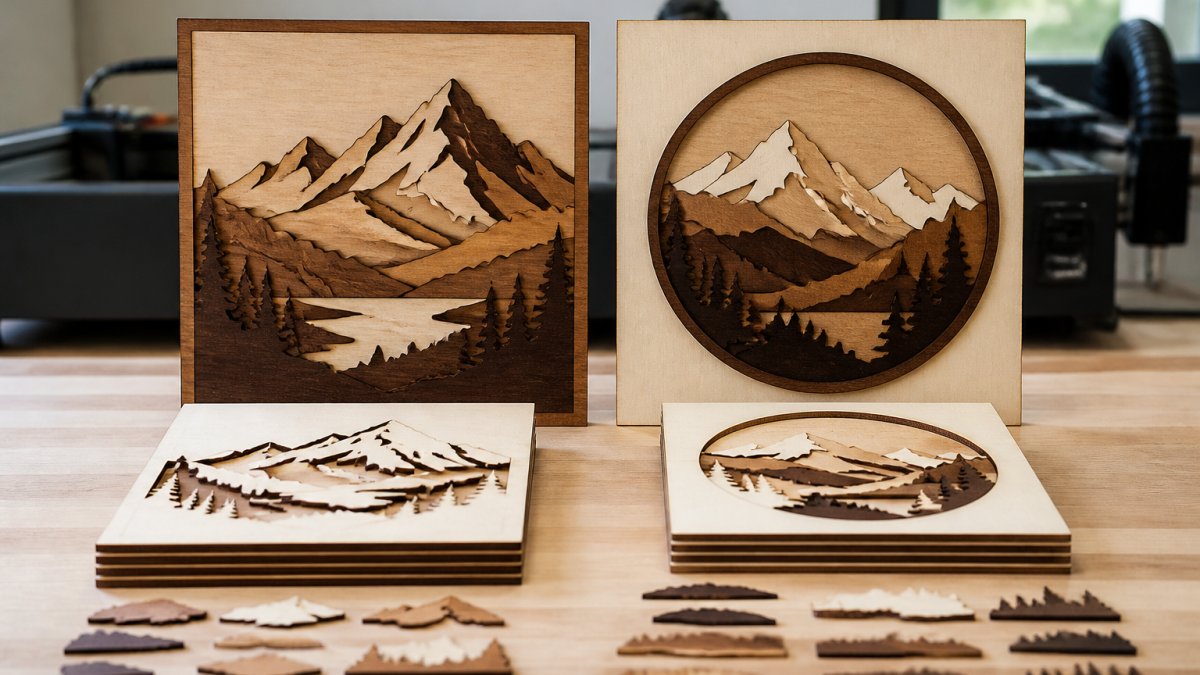
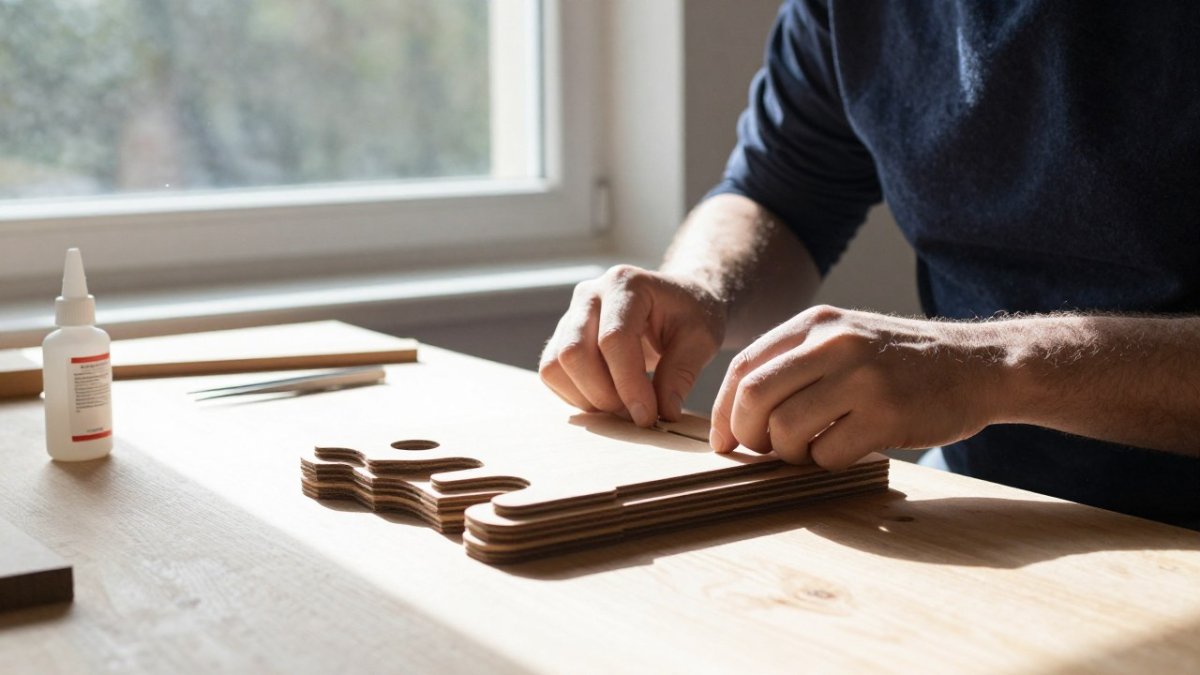
Layered construction means cutting multiple physical sheets and stacking them. Each layer adds visual depth through actual thickness: a five-layer mountain scene has five pieces of wood, glued in sequence, with real shadows.
Surface engraving removes material from one sheet. The laser burns or ablates the surface to create tonal variation, and depth comes from how deep the beam cuts, not from stacked sheets. Relief engraving sits between the two: you remove material to create a raised pattern on a single piece.
Layered pieces photograph beautifully and sell well at maker fairs; surface engraving is faster and cheaper per unit. Neither is better, they solve different problems, so match the service to the technique you plan to run.
The Verdict: Laser Layer Maker Versus Manual and Free Workflows
Laser Layer Maker is designed to handle the step that takes the most time: converting a source image into separated, export-ready layers without redrawing anything by hand.
Manual work in Illustrator or Inkscape gives you total control, and if you know those tools you can produce cleaner files than any generator. The cost is time, and time is the constraint that kills small operations.
Laser Layer Maker turns any image into laser-ready layered files, splits images into engraving-depth layers, and exports to LightBurn SVG, DXF, and xTool Studio.
Best for: Etsy and Shopify sellers producing custom engraved products at volume. Skip if: you only make one or two pieces a year and enjoy the design process itself.
How to Create Layered Laser Cut Art in Four Stages
Learning how to create layered laser cut art comes down to four stages: source preparation, layer separation, file export, and machine run. Each has one failure point that ruins the piece if you skip it.
- Prepare the source image. Use the highest-resolution version you have. Remove backgrounds and boost contrast before separation, because a muddy source produces muddy layers.
- Separate into layers. Decide your layer count first. Three to five layers suits most wall art; more than seven gets fragile and hard to register. Assign each tonal band to its own layer.
- Export and check the files. Open every exported file in your laser software before cutting. Confirm vector paths are closed and that raster areas sit where you expect them.
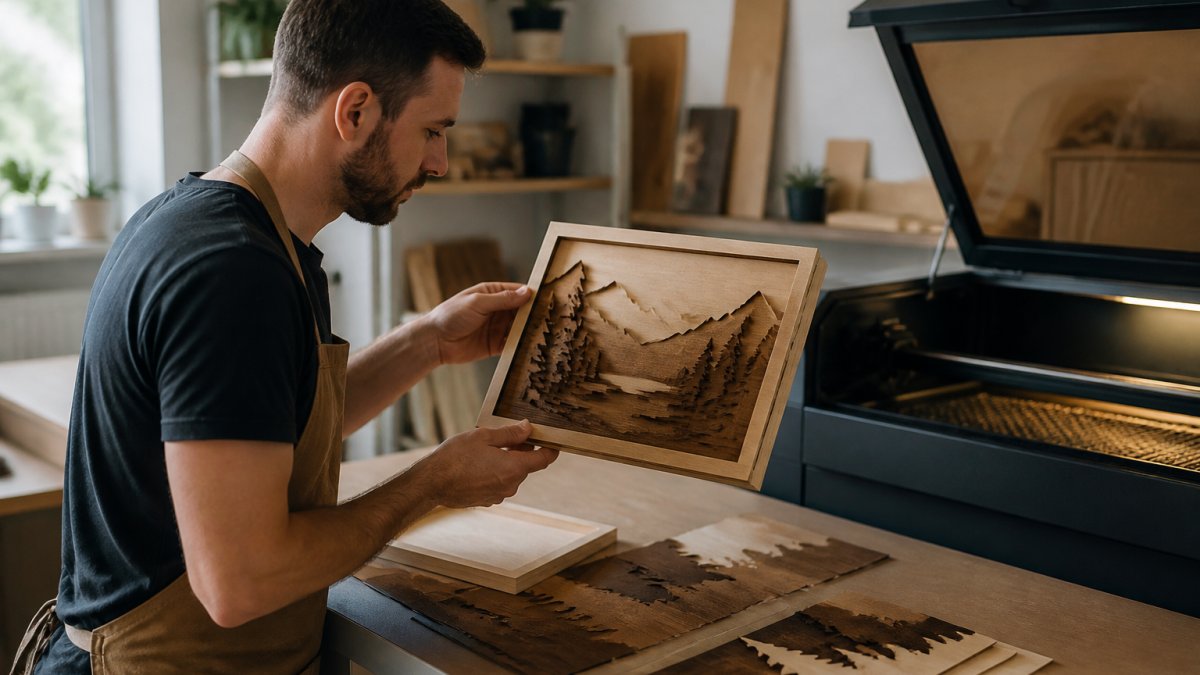
- Cut, assemble, and finish. Cut a test piece in scrap material, dry-fit the stack, then glue from the back forward so alignment errors stay hidden.
If you want a hands-on walkthrough of the design stage itself, our guide on how to design a layered wood mandala walks through the layer planning step by step.
Comparing the Layered Art Generator Options on the Market
Pricing and capability vary widely across layered art generator options, and the cheapest route is rarely the fastest. The useful comparison is total cost per finished file: tool cost plus cleanup hours plus material wasted on failed cuts.
Subscription tools such as Laser Layer Maker sit between those poles. They turn any image into laser-ready layered files, split images into engraving-depth layers, and export to LightBurn SVG, DXF, and xTool Studio. The value is concentrated in the separation step, which is often the slowest part of manual work. For current pricing, check the Laser Layer Maker website or request a quote.
| Option | Cost Model | Export Control | Time to Cut-Ready File | Best For |
|---|---|---|---|---|
| Laser Layer Maker | Subscription tool | LightBurn SVG, DXF, xTool Studio | Fast separation, light cleanup | Shops producing custom work at volume |
| Free online generator | Free | Not specified in available data | Fast concept, heavy cleanup | Concepting shadow boxes and dioramas |
| Marketplace file shops | Per-listing purchase | Fixed, seller-defined | Immediate, but fixed design | Buyers who want a proven ready-made design |
| Manual design | Your time | Full control | Slowest up front, faster with repetition | Designers already fluent in vector software |
Watch out: comparing tools on subscription price alone hides the cleanup hours, and those hours are the real cost driver once you produce more than a few designs a month.
For a wider side-by-side of the tools in this category, see our roundup of Imag-R alternatives for layered art. If you are weighing two specific services head to head, our EngraveIQ vs CraftGineer comparison breaks down pricing, file formats, workflow, and accuracy.
Where Layered Laser Cut Art Files Win and Where They Fall Short
Layered laser cut art files win on visual impact and perceived value. A stacked piece reads as craftsmanship, and buyers pay accordingly at fairs and online. The files also travel well: once you have a clean layered set, you can scale it, swap materials, and re-cut it for years.
They fall short in three predictable places.
- Assembly time. Every layer is another glue-up, another alignment check, and another chance for error.
- Material waste. A bad layer means recutting that sheet, not just re-engraving a patch.
- File fragility. Thin connecting bridges snap, and a design that looked fine on screen can arrive at the laser with paths too narrow to survive.
A common mistake is designing for how the piece looks flat rather than how it stacks. Check every layer against the one beneath it before you cut anything.
When Multi Layer Laser Cut Files Free Tools Are Enough
Free tools are enough when your project is exploratory. If you are testing whether a photo will work as a five-layer piece, a free generator gets you an answer without spending anything. They are also fine for simple silhouettes, text-based designs, and one-off gifts where a rough result is acceptable.
They stop being enough when volume enters the picture. Multi layer laser cut files free tools generally leave cleanup work that scales linearly with every new design, and that cleanup is what a paid service is really selling you. The question is not whether free is cheaper, but whether your hours are worth more than the subscription.
Technical Settings, Materials, and Machine Compatibility
Settings depend on your machine, not the file service, but the file format determines how much control you keep at the laser. Layered construction is a cutting job across multiple workpieces, while surface engraving is a raster or relief job on one workpiece. They tune differently.
Layered construction settings. Each layer is a through-cut, so power and speed are set for clean separation rather than tonal detail. Run a test cut on scrap of the same species and thickness, then adjust pass count until the kerf drops the piece free without charring the edge.
Surface engraving settings. Engraving removes material to create tonal variation, so lower power and more passes give finer gradients, while higher power and fewer passes give deeper relief with more contrast. Engraving depth is a function of power, speed, and pass count together, not power alone, and running too hot scorches the surface before the depth arrives.
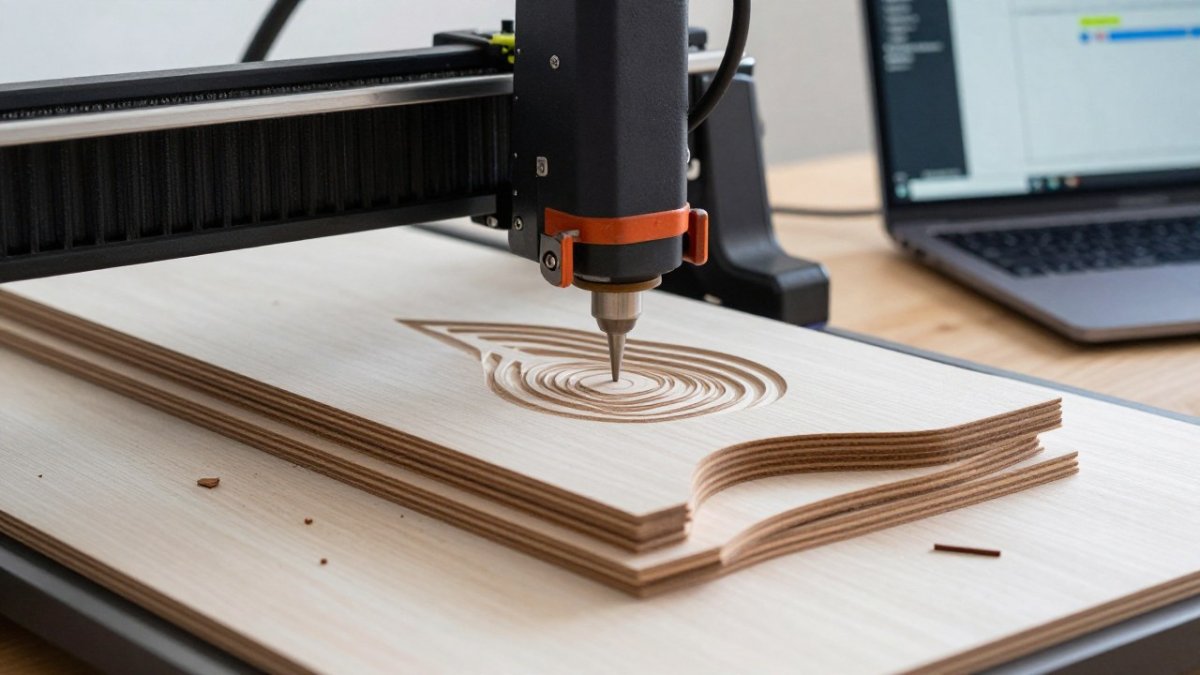
Laser type changes the workflow. Diode lasers cut and engrave wood well but are slow on thick stock and struggle with clear acrylic. CO2 lasers handle thicker material and faster cutting, which matters when a five-layer stack multiplies machine time by five. Fiber lasers are for marking metal, not layered wood art.
Materials. Wood cuts cleanly and glues well, making it the default for layered work; plywood is common but its internal voids can leave gaps in a cut edge, so solid hardwood or high-quality ply is safer for visible layers.
Compatibility checklist before you cut. Open every exported file in your laser software and confirm vector paths are closed, raster areas sit where you expect them, and layer order matches the stack order. Check that the file's units match your software's units, because a millimeters-versus-inches mismatch silently rescales the whole piece.
Watch out: running a new layered file at production speed on your first attempt is how you burn edges and lose alignment. Cut one test layer in scrap first.
If you are hitting burnt edges or gaps, our troubleshooting guide on fixing burnt edges and gaps on laser-cut layers covers the settings to adjust. For multi-layer acrylic work specifically, our reference on file settings for multi-layer acrylic engraving gives you starting values to apply.
Cost, Production Time, and Finishing Compared
Cost and time are where the decision usually gets made, and the gap between approaches is wider than most buyers expect.
Laser Layer Maker's own pricing depends on the plan you choose, so check the Laser Layer Maker website for current rates or a quote.
Laser Layer Maker turns any photo, cartoon, or logo into laser-ready layered files, splits images into precise engraving-depth layers, and exports directly to LightBurn SVG, DXF, and xTool Studio. Visit the Laser Layer Maker website to get started.
Frequently Asked Questions
What is the difference between layered laser art and 3D laser engraving?
Layered laser art is built from separate sheets of material cut to different shapes and stacked, so the depth comes from physical layers and assembly. 3D laser engraving removes material from a single surface to create relief and shading. Layered art gives you stronger visual depth and lets you mix and match materials, while engraving keeps the piece as one solid panel with no assembly step.
Can a photo be turned into a layered laser-cut file?
Yes. A design service can split a photograph into engraving-depth layers, separating highlights, midtones, and shadows into distinct cut paths. Detailed photos with gradients need more layers and more cleanup than simple cartoons or logos. Check that the export matches your software, whether that is LightBurn SVG, DXF, or xTool Studio, before you commit to a subscription.
How many layers should layered wood art have?
Most sellable pieces use three to six layers. Fewer than three looks flat, and more than six adds assembly time, adhesive cost, and alignment risk without a proportional gain in visual depth. Start with four layers for portraits and logos, and add a layer only when the design has a clear foreground element that needs separation.
Are layered laser-cut files profitable to sell?
They can be, because the file is made once and cut many times. Your margin depends on material cost, cut time, and assembly labor per unit. A design service that shortens file preparation shifts hours back into production, which matters more at volume than at one-off orders. Track cut time and assembly time per piece before you set a price.
What should you check before cutting a layered laser art file?
Verify layer count, material thickness, and that every cut path is closed. Run a small test cut on scrap wood at your planned power and speed settings, and check alignment marks so the layers register correctly during assembly. Confirm the export opens cleanly in LightBurn or xTool Studio with no stray nodes before you cut a full sheet.