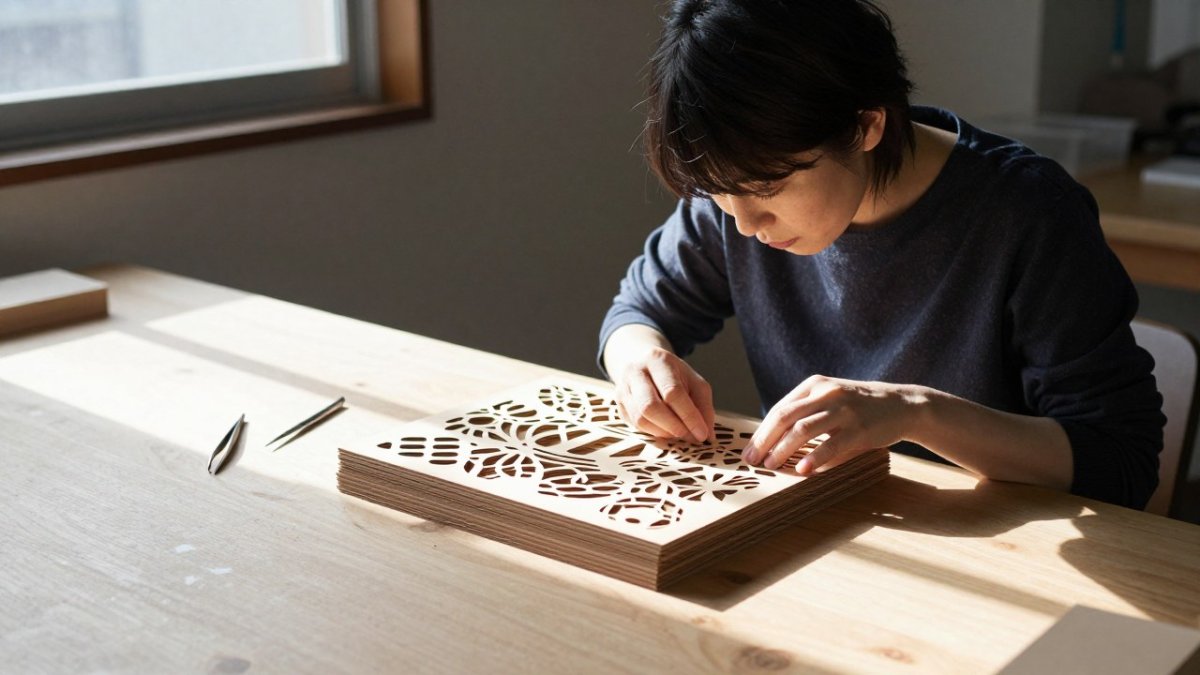
 listicle
5 Advanced Multi Layer Laser Art Tips That Add Real Depth
Last Updated: November 10, 2026
Quick Summary
Advanced multi layer laser art succeeds when you plan every layer before cutting, assign each layer one clear role, and calculate thickness and spacing up front. Build registration points into the file, run a material test matrix on scrap, and use controlled gaps to create real depth.
- Give every layer one job: background, midground, foreground, or accent detail.
- Measure material with calipers because nominal thickness drifts between sheets.
- Size registration holes for kerf, since the laser cuts them oversized.
- Test power, speed, passes, and focus on scrap from the same batch first.
- Keep gaps between layers consistent using spacer rings or stacked tape.
Table of Contents
- Tip 1: Plan Every Layer Before You Cut a Single Piece
- Tip 2: How to Create Layered Laser-Cut Art That Registers Correctly
- Tip 3: Run a Material Test Matrix Before the Final Cut
- Tip 4: Build 3D Layered Wood Art With Deliberate Depth
- Tip 5: Pick Laser-Cut Art Design Software That Matches Your Workflow
- Multi-Layer Laser Cutting Techniques That Prevent Failures
- Turn Your Next Photo Into a Layered File With Laser Layer Maker
- Frequently Asked Questions
Tip 1: Plan Every Layer Before You Cut a Single Piece
Most failed multi layer laser art starts long before the laser fires. It starts when someone imports a photo, splits it, and hopes the stack lines up. Advanced work runs the other way: you decide what each layer does, then you cut. This guide covers five moves that separate flat, muddy stacks from pieces with real dimension.
Assign a Job to Each Layer
Every layer needs one role. Background, midground, foreground, and one or two accent layers that carry fine detail. Write the role down before you open your design file. If you cannot name what a layer contributes, delete it. Fewer layers with clear jobs beat seven layers fighting for the same visual space.
Calculate Thickness and Spacing Up Front
Depth is math, not guesswork. Measure your plywood or acrylic with calipers, because nominal thickness drifts. Then set your spacer stack so the total depth matches your design intent. A common approach is to cut thin shim rings from the same sheet you build with, so every layer sits at a known offset instead of an estimated one.
If you want a deeper walkthrough on splitting an image into layers before cutting, our guide on how to split images for depth engraving walks through the full process.
Tip 2: How to Create Layered Laser-Cut Art That Registers Correctly
Registration means every layer shares the same reference points, so layer four lands exactly where layer one did. Build those points into the file, not into your hands. This section covers the mechanics: hole sizing, jig construction, and telling drift from design error.
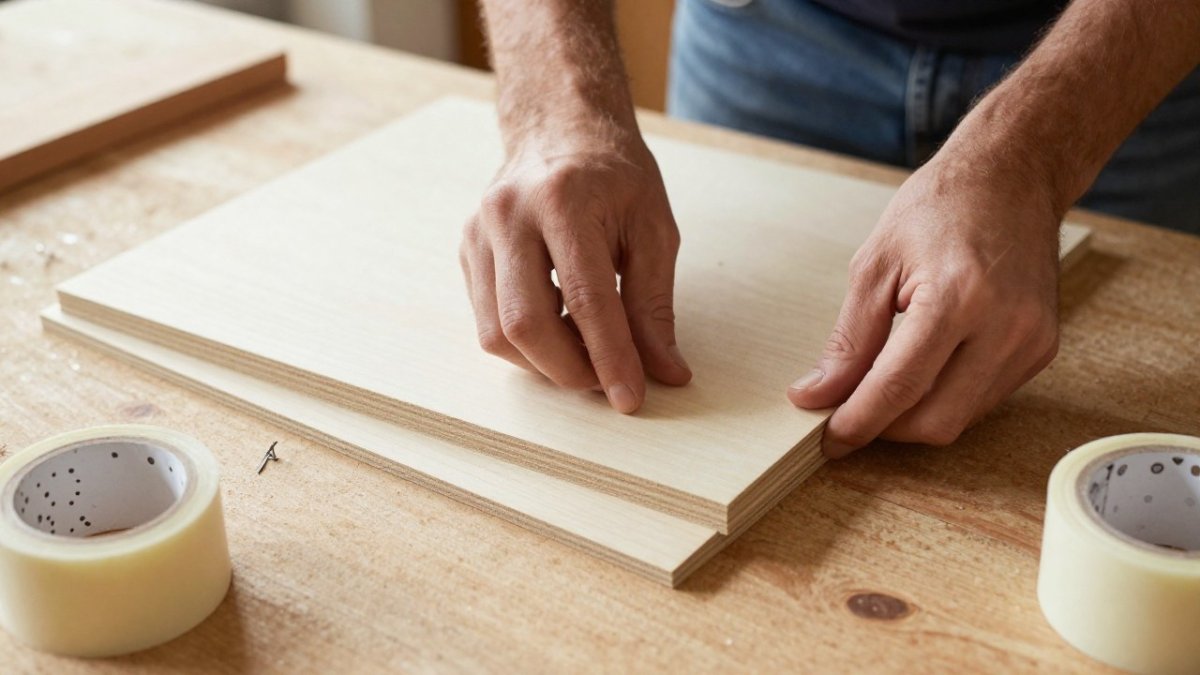
Size Registration Holes for Kerf, Not for the Pin
The laser removes material, so a hole drawn at the pin diameter will come out oversized. Test the fit on scrap before committing the final artwork.
Build a Reusable Corner Jig
A corner jig is an L-shaped fence that butts two edges of every layer against the same reference. It works best for small batches when every layer in the series is cut to the same outer dimensions.
Etched Crosshairs as a Backup
Engrave small crosshairs on every layer at the same file coordinates and line them up by eye during dry-fit. Eye alignment drifts over multiple layers, so do not rely on crosshairs alone for production runs.
Standardize One Method Per Series
Pick one method and use it on every piece in a series. Mixed methods cause drift, because each method has its own tolerance and the errors do not cancel. Write the chosen method, hole size, and pin diameter on the back of the jig so the next batch starts from the same numbers.
Watch out: if layer three sits perfectly but layer four is off by a visible margin, the problem is usually a changed hole size or a warped sheet, not the jig, measure the sheet and re-check the file before recutting.
Tip 3: Run a Material Test Matrix Before the Final Cut
A material test matrix is a grid of small test cuts that maps power, speed, and pass count to a specific sheet before you commit the final artwork. Ten minutes of testing saves a ruined sheet.
Test on scrap from the same batch you plan to use. Plywood varies between sheets, and a setting that cuts clean on one panel can scorch the next. Run a grid of small squares, vary one variable at a time, and label results directly on the scrap with a pencil.
| Variable | What to Test | What Good Looks Like |
|---|---|---|
| Power | 3-4 stepped levels | Full cut-through with light brown edge |
| Speed | 3-4 stepped levels | Clean separation, no charring |
| Passes | 1 vs 2 passes | Two light passes often beat one heavy pass |
| Focus | Small offset up or down | Narrowest kerf, least scorching |
If you need concrete starting values for acrylic stacks, our breakdown of file settings for multi-layer acrylic engraving covers the numbers we use.
Tip 4: Build 3D Layered Wood Art With Deliberate Depth
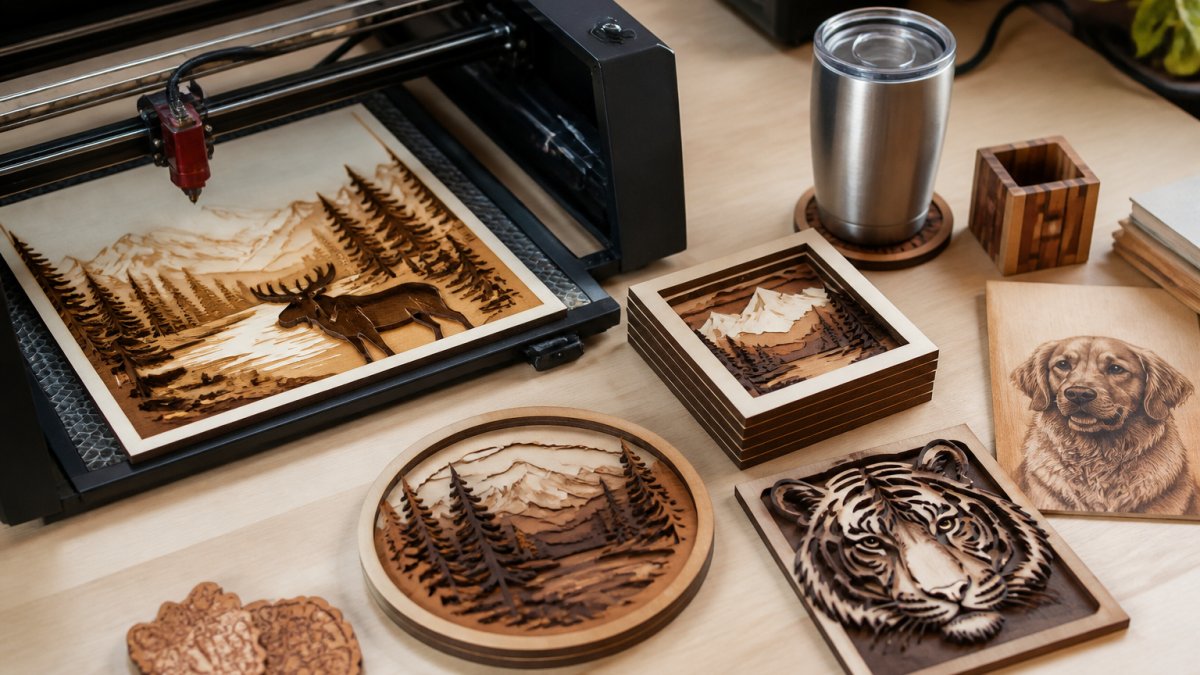
Depth in 3D layered wood art comes from controlled gaps, not from stacking everything flush. The eye reads shadow as dimension. Give each layer a small, intentional offset and the piece gains visual weight without any extra material.
Two rules carry most of the effect. First, keep the gap between layers consistent, usually a spacer ring or a stack of tape. Second, stagger your detail: put fine engraving on the front layer and broader shapes behind it, so the eye moves through the piece. A mandala or geometric design works well here because repeating shapes make misalignment obvious, which forces you to get registration right.
For a concrete design example, see how to design a layered wood mandala and adapt the depth plan to your own artwork.
Tip 5: Pick Laser-Cut Art Design Software That Matches Your Workflow
The right laser-cut art design software is the one that matches how you actually work, not the one with the longest feature list. A designer building files from scratch needs different tools than a seller converting photos into layered products.
What Each Tool Does Best
- Laser Layer Maker: converts a photo, cartoon, or logo into laser-ready layered files, splitting images into engraving-depth layers and exporting to LightBurn SVG, DXF, and xTool Studio.
Whatever you choose, file prep eats the most time. Our guide on saving time on laser file preparation shows where the hours actually go.
Multi-Layer Laser Cutting Techniques That Prevent Failures
Most failures trace to a small set of causes. Map a symptom to its likely cause before you recut, because the wrong fix wastes a sheet.
Symptom-to-Cause Map
- Burnt or charred edges: usually too much power, too many passes, or air assist not running. Drop power one step, raise speed one step, confirm air assist, and re-test on scrap from the same sheet.
- Scorching on the face: heat soaking into the surface during engraving. Apply masking tape, lower the engrave power, and increase speed so the beam spends less time in one spot.
- Gaps between layers: thickness drift or inconsistent spacers. Measure each sheet with calipers and cut shims to match rather than trusting nominal thickness.
- Layers that will not align: the registration method changed mid-project, or hole size drifted between cuts. Standardize the method and re-check the test strip.
- Warped layers: uneven heat or moisture in the sheet. Let stock acclimate to the shop, cut at lower power with more passes, and store finished layers flat under weight.
- Weak or broken details: feature size below what the material can hold. Increase the minimum feature size in the file or move fine detail to a thinner front layer.
Layer Order and Depth Consequences
Failure often shows up in the stack, not on a single layer. If the front layer is too thick, it casts a hard shadow that hides the midground; if spacers are uneven, the piece rocks and the gaps read as mistakes rather than depth. Keep spacer height consistent across the stack, and put the finest engraving on the front layer where the eye expects detail. A mandala or geometric design makes misalignment obvious, which is useful during testing but unforgiving in a final piece.
Kerf and Fit Checks
Kerf matters for every joint and pin, so test the fit on scrap before committing the final artwork.
A Short Pre-Flight Checklist
Before the final cut, confirm the sheet is from the tested batch, air assist is on, masking is applied where needed, the registration method matches the series, and the file's minimum feature size is above the material's limit. Ten minutes of checks prevents most of the failures above.
For a symptom-by-symptom walkthrough, our article on fixing burnt edges and gaps on laser-cut layers covers each failure in detail.
Turn Your Next Photo Into a Layered File With Laser Layer Maker
The gap between a good photo and a finished five-layer piece is file preparation, and that is the step most makers underestimate. You can spend an afternoon tracing layers by hand, or you can let the software do the splitting and spend that time on assembly and finishing.
Laser Layer Maker converts a photo, cartoon, or logo into layered files by splitting it into engraving-depth layers. Export to LightBurn SVG, DXF, or xTool Studio for use with your machine.
Here is the challenge: your next project deserves real depth, and depth starts with a clean layered file. Visit Laser Layer Maker's website for current details on getting started.
Frequently Asked Questions
How do you create depth in multi-layer laser art?
Depth comes from three things working together: the number of layers, the gap between them, and how much detail each layer carries. A five-layer piece with 3 mm plywood and small spacers between panels reads as far deeper than two thick layers stacked flat. Put your busiest detail on the front layer and simpler shapes behind it. Shading the back layers darker also pushes them visually backward, which strengthens the 3D effect without adding more material.
What is the difference between stacked laser-cut art and 3D laser engraving?
Stacked art is physical: separate cut pieces glued or spaced apart to build height. 3D laser engraving removes material from one solid block or panel, using varied power and multiple passes to carve a relief image. Stacked work is faster to assemble and easier to fix if a layer breaks. Engraved relief holds finer gradients and needs no adhesive, but a mistake means recutting the whole panel. Many makers combine both, engraving detail into the front layer of a stacked piece.
How do you align layers when assembling laser-cut art?
Cut a registration hole in the same spot on every layer and slide them onto a dowel or pin. For flat stacks, use a corner jig clamped to your bench so each panel butts against the same two edges. Apply double-sided tape or adhesive to the back of a layer before you seat it, not after. Dry-fit the full stack first, mark the top edge of each piece, then bond from the back forward so you never reach over a glued layer.
What materials work best for layered laser-cut art?
Plywood in 3 mm and 6 mm thicknesses is the standard because it cuts cleanly, holds shape, and takes stain well. Basswood is softer and cheaper for prototypes. MDF cuts evenly but produces more dust and darkens at the edges. Acrylic works for accent layers and color, though it needs different power and speed settings than wood. Test every new sheet on scrap before committing a full design to it, since thickness varies between suppliers and even between batches.
How can you prevent scorching on layered wood art?
Run air assist at full flow and keep the focus point right at the surface of each layer. Mask the wood with transfer tape before cutting, then peel it after assembly to lift away soot. Lower power with more passes usually produces less char than one high-power pass. Space cut lines so heat does not build up in one area, and cut the finest detail first so the surrounding material still supports it. Wipe finished edges with a soft cloth before staining.